How to Color Soap: Testing Soap Colors
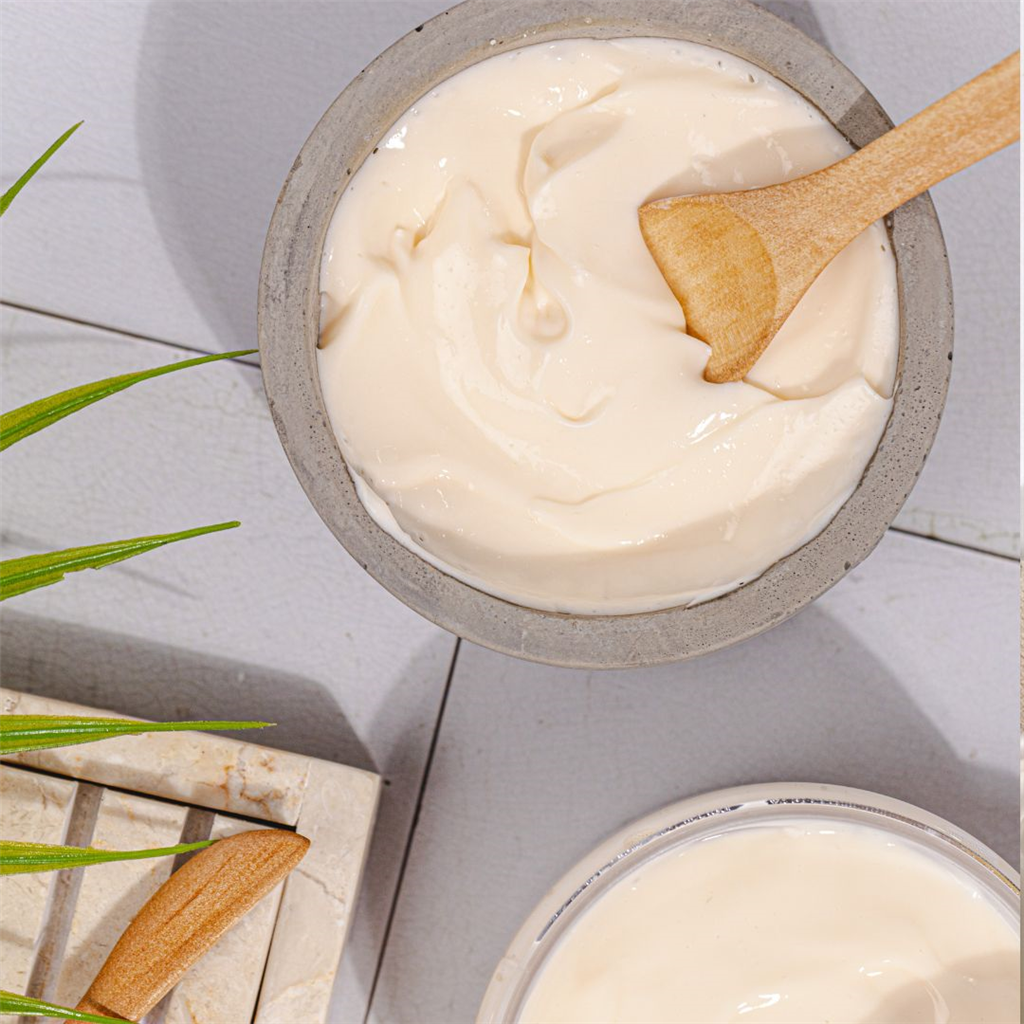
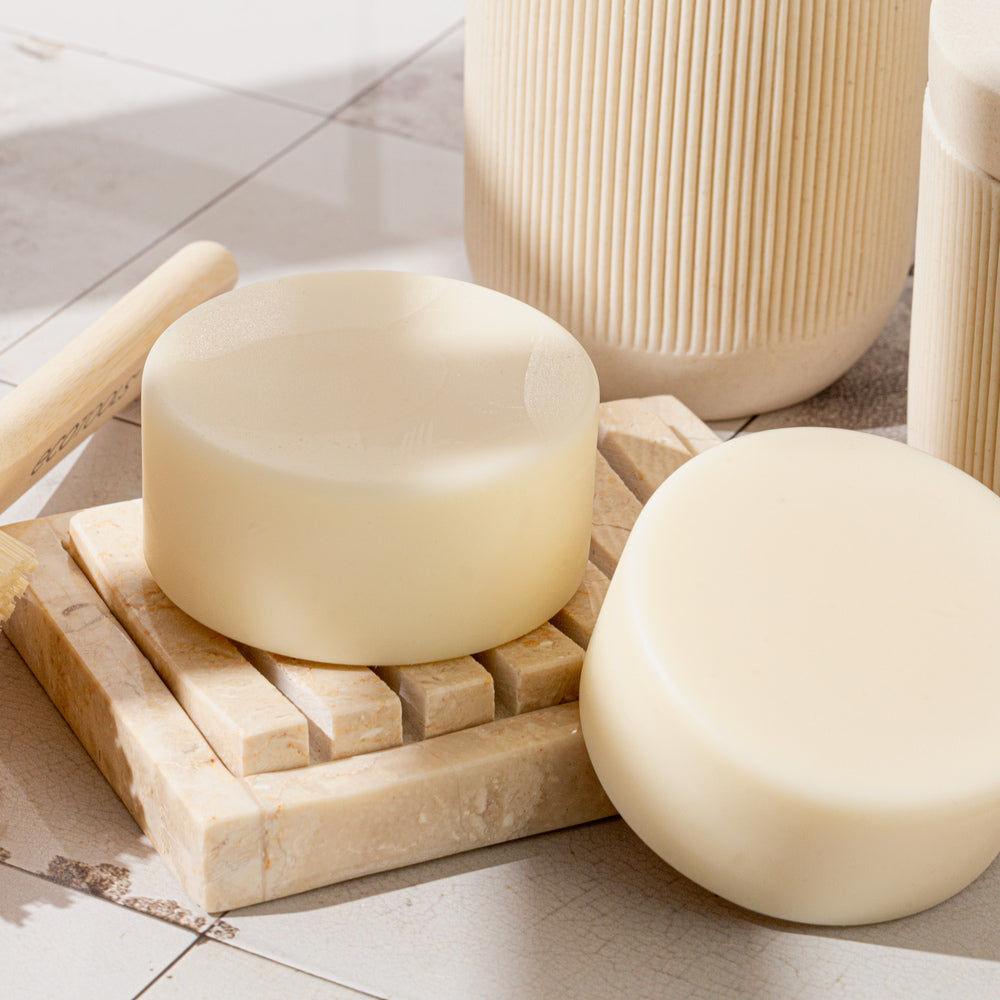
Coloring soap is an exciting part of the soap-making process, offering a chance to customize your creation to suit your tastes or match your branding. The journey to finding the perfect hue involves selecting the right soap colorants and knowing how much to use. Let's explore the best ways to add colors to your soap, focusing on methods that are both effective and beginner-friendly. Using premixed liquid colorants is a straightforward method, allowing for precise control over the intensity of the color. This technique involves adding the colorant to the soap base and mixing until the desired shade is achieved. It's suitable for beginners and offers consistent results, making it a popular choice among soap makers. When it comes to coloring soap, you have a wide range of options, each offering its unique finish and appeal. Here's a breakdown of the various colorants you can use to add vibrancy and depth to your soap creations:
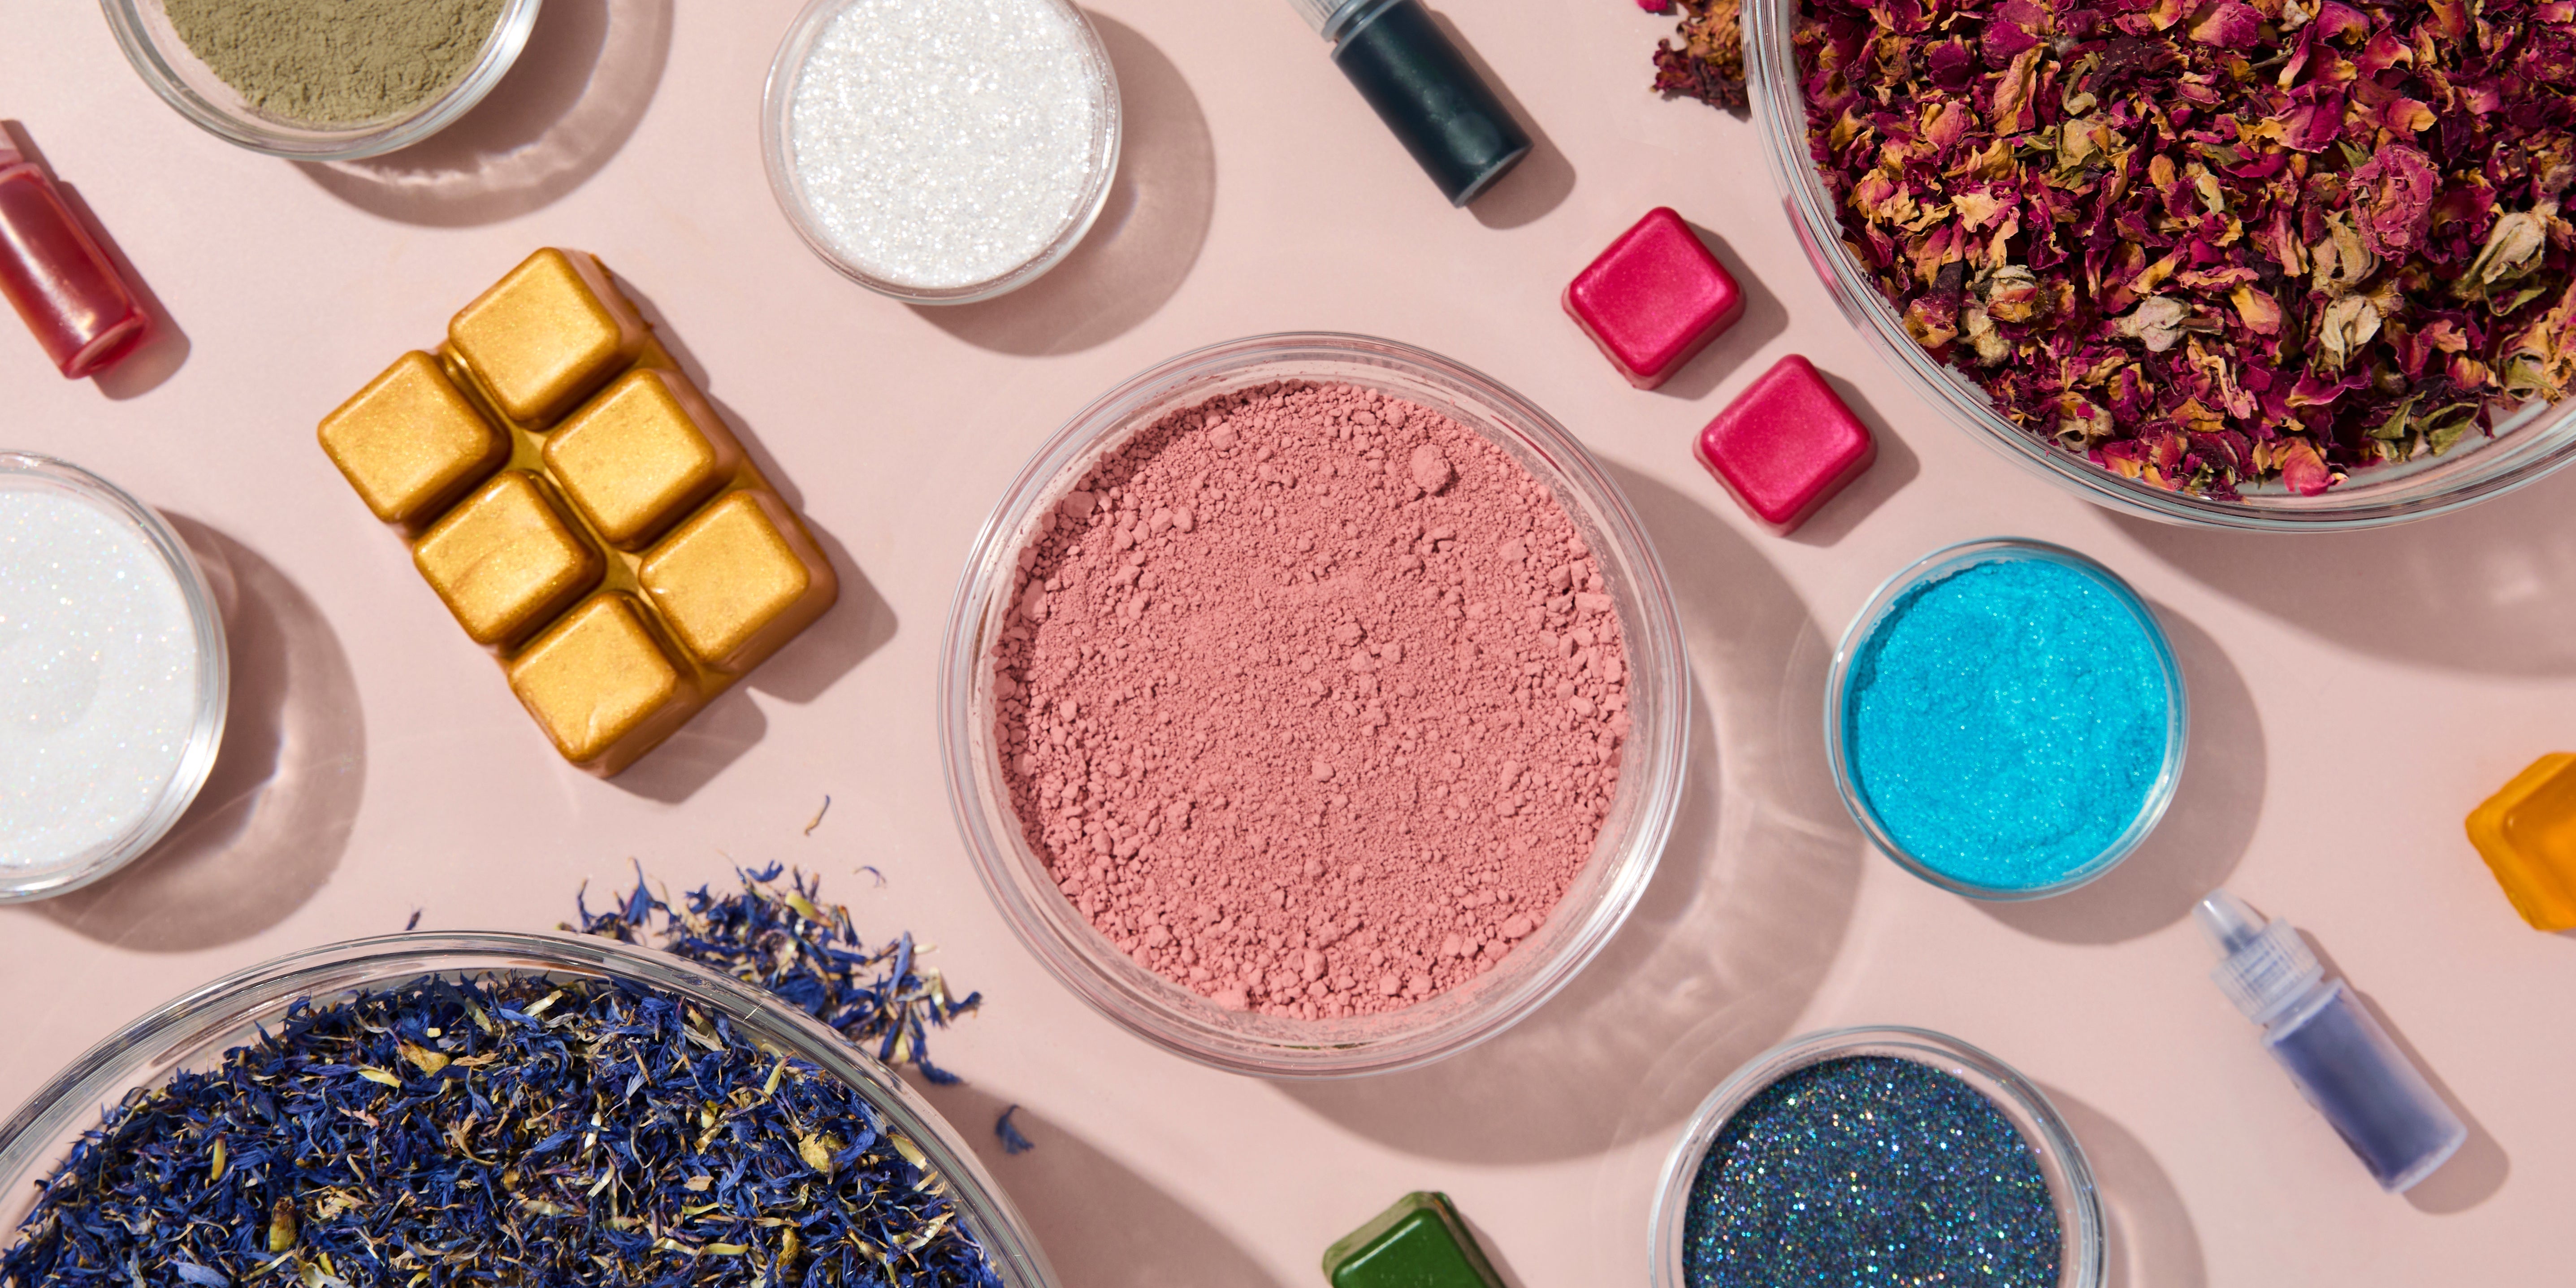
Micas
Micas are fine mineral powders that can add shimmer and pearlescence to your soaps. They come in a plethora of colors, from natural hues to bright, vivid shades. Micas are particularly popular for their ability to create a sparkling effect in the soap, making them a favorite for decorative soaps. They're best used in melt-and-pour soap bases or mixed with a little alcohol or oil before being added to cold-process soap to ensure even distribution.
Natural Pigments and Dyes
Natural pigments are derived from plants, minerals, and other natural sources. These include clays, spices, and botanical extracts. Natural colorants not only offer a range of beautiful, earthy tones but can also provide additional benefits to the soap, such as exfoliating properties from clays or antioxidant benefits from certain botanicals. However, the colors from natural pigments can be more muted compared to synthetic dyes and may fade over time when exposed to light.
Oxides and Ultramarines
Oxides and ultramarines are synthetic pigments that are lab-made but replicate natural minerals. They are non-toxic and offer a wide range of vibrant colors, from deep blues and greens to bright yellows and reds. These pigments are stable in soap and do not bleed or fade, making them ideal for creating bold and colorful designs in cold-process soap.
Liquid Dyes
Liquid dyes are another popular choice for coloring soap. They are easy to use, especially for beginners, as they can be added directly to your soap base and mixed well. Liquid dyes are great for achieving vibrant colors and are suitable for both melt and pour and cold process soap making. However, they can bleed into other colors in your soap over time, so they might not be the best choice for intricate designs.
LabColors
LabColors are highly concentrated liquid dyes specifically formulated for soap making. They can produce a wide range of colors, from pastels to deep, rich shades. LabColors need to be diluted before use and require precise measurement, making them more suited for experienced soap makers. They are also non-bleeding, making them excellent for layered soaps and intricate designs.
Food Coloring and Other Kitchen Ingredients
While not typically recommended for professional soap making, food colorings, spices, and even coffee or tea can be used to color homemade soaps. These ingredients are readily available and can be a fun way to experiment with soap-making at home. However, they may not provide consistent results, and some food colorings can bleed or fade.
For cold process soap, micas and natural pigments are the top choices. Micas provide a shimmering effect and come in a wide range of colors, offering versatility for soap makers. Natural pigments, derived from plants and minerals, are ideal for those seeking a more natural approach to soap coloring. Both options blend well in the cold process method, ensuring an even distribution of color throughout the soap. Determining the right amount of soap colorant to use can be a bit of trial and error. A good starting point is to use one teaspoon of colorant per pound of soap base.
However, the exact amount may vary depending on the type of colorant and the desired intensity of the color. It's essential to start with a smaller quantity and gradually increase it until the preferred shade is achieved. Remember, it's easier to add more colorant than to correct a color that's too intense. INFORMATION
DIRECTIONS
Before starting this tutorial please make sure to read all instructions.
You should have a basic understanding of making cold-process soap before you begin this tutorial.
Step 1 – Measure All Ingredients
Put on your long sleeves, long pants, shoes, safety goggles, and gloves. Work in a well-ventilated area that is free from distractions.
To make the process go faster, measure all ingredients first. To cut down on dishes, measure cold water into the funnel pitcher and measure coconut oil into a different funnel pitcher. Measure sodium hydroxide last.
Step 2 – Make Lye Solution
Sprinkle approximately half of the sodium hydroxide into the cold water and stir gently to avoid splashing. Make sure to avoid breathing any fumes. Repeat, and stir until mixture is dissolved. (Always add lye to water and not the other way around because of the potential lye volcano. Just remember, “Snow falls on the lake.”) Set aside in a safe place to cool.
Step 3 – Make Oil Solution
Melt coconut oil in 30-second bursts until completely melted.
Next, add the melted palm oil and olive oil, pouring down the side to avoid introducing air bubbles. If the mixture doesn’t appear clear, microwave in 30-second bursts until completely clear and set aside to cool.
Step 4 – Prepare Colorants
Step
Micas
Micas are fine mineral powders that can add shimmer and pearlescence to your soaps. They come in a plethora of colors, from natural hues to bright, vivid shades. Micas are particularly popular for their ability to create a sparkling effect in the soap, making them a favorite for decorative soaps. They're best used in melt-and-pour soap bases or mixed with a little alcohol or oil before being added to cold-process soap to ensure even distribution.
Natural Pigments and Dyes
Natural pigments are derived from plants, minerals, and other natural sources. These include clays, spices, and botanical extracts. Natural colorants not only offer a range of beautiful, earthy tones but can also provide additional benefits to the soap, such as exfoliating properties from clays or antioxidant benefits from certain botanicals. However, the colors from natural pigments can be more muted compared to synthetic dyes and may fade over time when exposed to light.
Oxides and Ultramarines
Oxides and ultramarines are synthetic pigments that are lab-made but replicate natural minerals. They are non-toxic and offer a wide range of vibrant colors, from deep blues and greens to bright yellows and reds. These pigments are stable in soap and do not bleed or fade, making them ideal for creating bold and colorful designs in cold-process soap.
Liquid Dyes
Liquid dyes are another popular choice for coloring soap. They are easy to use, especially for beginners, as they can be added directly to your soap base and mixed well. Liquid dyes are great for achieving vibrant colors and are suitable for both melt and pour and cold process soap making. However, they can bleed into other colors in your soap over time, so they might not be the best choice for intricate designs.
LabColors
LabColors are highly concentrated liquid dyes specifically formulated for soap making. They can produce a wide range of colors, from pastels to deep, rich shades. LabColors need to be diluted before use and require precise measurement, making them more suited for experienced soap makers. They are also non-bleeding, making them excellent for layered soaps and intricate designs.
Food Coloring and Other Kitchen Ingredients
While not typically recommended for professional soap making, food colorings, spices, and even coffee or tea can be used to color homemade soaps. These ingredients are readily available and can be a fun way to experiment with soap-making at home. However, they may not provide consistent results, and some food colorings can bleed or fade.
For cold process soap, micas and natural pigments are the top choices. Micas provide a shimmering effect and come in a wide range of colors, offering versatility for soap makers. Natural pigments, derived from plants and minerals, are ideal for those seeking a more natural approach to soap coloring. Both options blend well in the cold process method, ensuring an even distribution of color throughout the soap. Determining the right amount of soap colorant to use can be a bit of trial and error. A good starting point is to use one teaspoon of colorant per pound of soap base.
However, the exact amount may vary depending on the type of colorant and the desired intensity of the color. It's essential to start with a smaller quantity and gradually increase it until the preferred shade is achieved. Remember, it's easier to add more colorant than to correct a color that's too intense. INFORMATION
- Difficulty: Moderate
- Yield: 30 Color Samples
- Prep Time: 15 minutes
- Perform Time: 2 hour, 30 minutes
- Total Time: 2 hours 45 minutes (longer if putting through gel)
- Digital Thermometer or Infrared Thermometer
- Fine Mesh Strainer (Stainless Steel)
- Extra Long Disposable Gloves (easily found in the dishwashing section at the local supermarket)
- Small Containers (for holding ingredients)
- Goggles
- Digital Scale
- Plastic Wrap
- Paper Towels
- Squeeze Bottle with Liner (optional)
- 3 x Funnel Pitchers
- Plexiglass or other apropriate surface to mix colorants on
- 2 x 15 Capacity Round Bar Silicone Soap Mold 1.5″ x 0.8″ (optional)
- 2 x Boards to Stabilize the Cups or Silicone Molds (we use foam board cut to 8.5″ x 11″)
- Pipettes (if testing any fragrance or essential oils)
- Embossing Stylus, Toothpick, or Other Tool to Mark Samples
- 1 tsp. Measuring Spoon
- Pointed Tip Cotton Swabs (Q-Tips) (for cleaning .15cc scoops)
- 30 x Skinny Sticks or Popsicle Sticks (for stirring)
- 30 x 0 0.15cc Measuring Scoops (or use a few and clean out with cotton swabs)
- Soft Brush (for use when cleaning marked soap) (we used a new baby hair brush) (optional)
- Permanent Marker (to mark cups if not using silicone molds)
- Pencil for Making Notes on Colorants or Fragrances
- 30 x 3 oz Paper Cups
- Paint Brush (for removing loose soap when marking soap) (optional)
- Vegetable Peeler, Planer, or Detail & Clean-Up Tool (for removing soda ash)
- Spatula
- Palette Knife (for premixing colorant with oil)
- Stick Blender (not pictured)
- Heating Pad
- Timer
- Towels/Blankets
- 193 g Olive Oil (44%) (plus additional oil for dispersing colorants)
- 141 g Palm Oil (Melted) (32%)
- 105 g Coconut Oil (24%)
- 110 g Cold Distilled Water (25% Water as percent of oil weight)
- 62 g Sodium Hydroxide (Lye) (5% Super Fat/Lye Discount)
- 1 teaspoons Sodium Lactate (Optional) (helps soap to harden and release from mold sooner) (1 teaspoon Per Pound of Oils) If not available, dissolve 1/8 teaspoon salt per pound of hard (saturated) oils in distilled water. For this recipe use a scant 1/8 teaspoon.)
- 30 Colorants to Test
DIRECTIONS
Before starting this tutorial please make sure to read all instructions.
You should have a basic understanding of making cold-process soap before you begin this tutorial.
Step 1 – Measure All Ingredients
Put on your long sleeves, long pants, shoes, safety goggles, and gloves. Work in a well-ventilated area that is free from distractions.
To make the process go faster, measure all ingredients first. To cut down on dishes, measure cold water into the funnel pitcher and measure coconut oil into a different funnel pitcher. Measure sodium hydroxide last.
Step 2 – Make Lye Solution
Sprinkle approximately half of the sodium hydroxide into the cold water and stir gently to avoid splashing. Make sure to avoid breathing any fumes. Repeat, and stir until mixture is dissolved. (Always add lye to water and not the other way around because of the potential lye volcano. Just remember, “Snow falls on the lake.”) Set aside in a safe place to cool.
Step 3 – Make Oil Solution
Melt coconut oil in 30-second bursts until completely melted.
Next, add the melted palm oil and olive oil, pouring down the side to avoid introducing air bubbles. If the mixture doesn’t appear clear, microwave in 30-second bursts until completely clear and set aside to cool.
Step 4 – Prepare Colorants
- Decide a layout of the colorants you are going to test.
- Measure.15 cc of each colorant onto a glass, or Plexiglas sheet.
- Add a small amount of olive oil to each pile of colorant.
- Using a palette knife, mix each colorant until entirely incorporated.
- Label each cup, if you are using them as molds
- If using a silicone mold, make a map of which colorants you are using where.
Step