How to Make Floating Candles
Floating candles are small, lightweight candles designed to float on water. Unlike traditional candles, they have a flat, often wider base that ensures stability on the water's surface. Their popularity has surged due to their use in decorative settings like weddings, holiday events, and home décor. Historically, floating candles have been used for centuries in various cultures for ceremonies and celebrations, symbolizing light, guidance, and serenity. To create your own floating candles, you'll need:
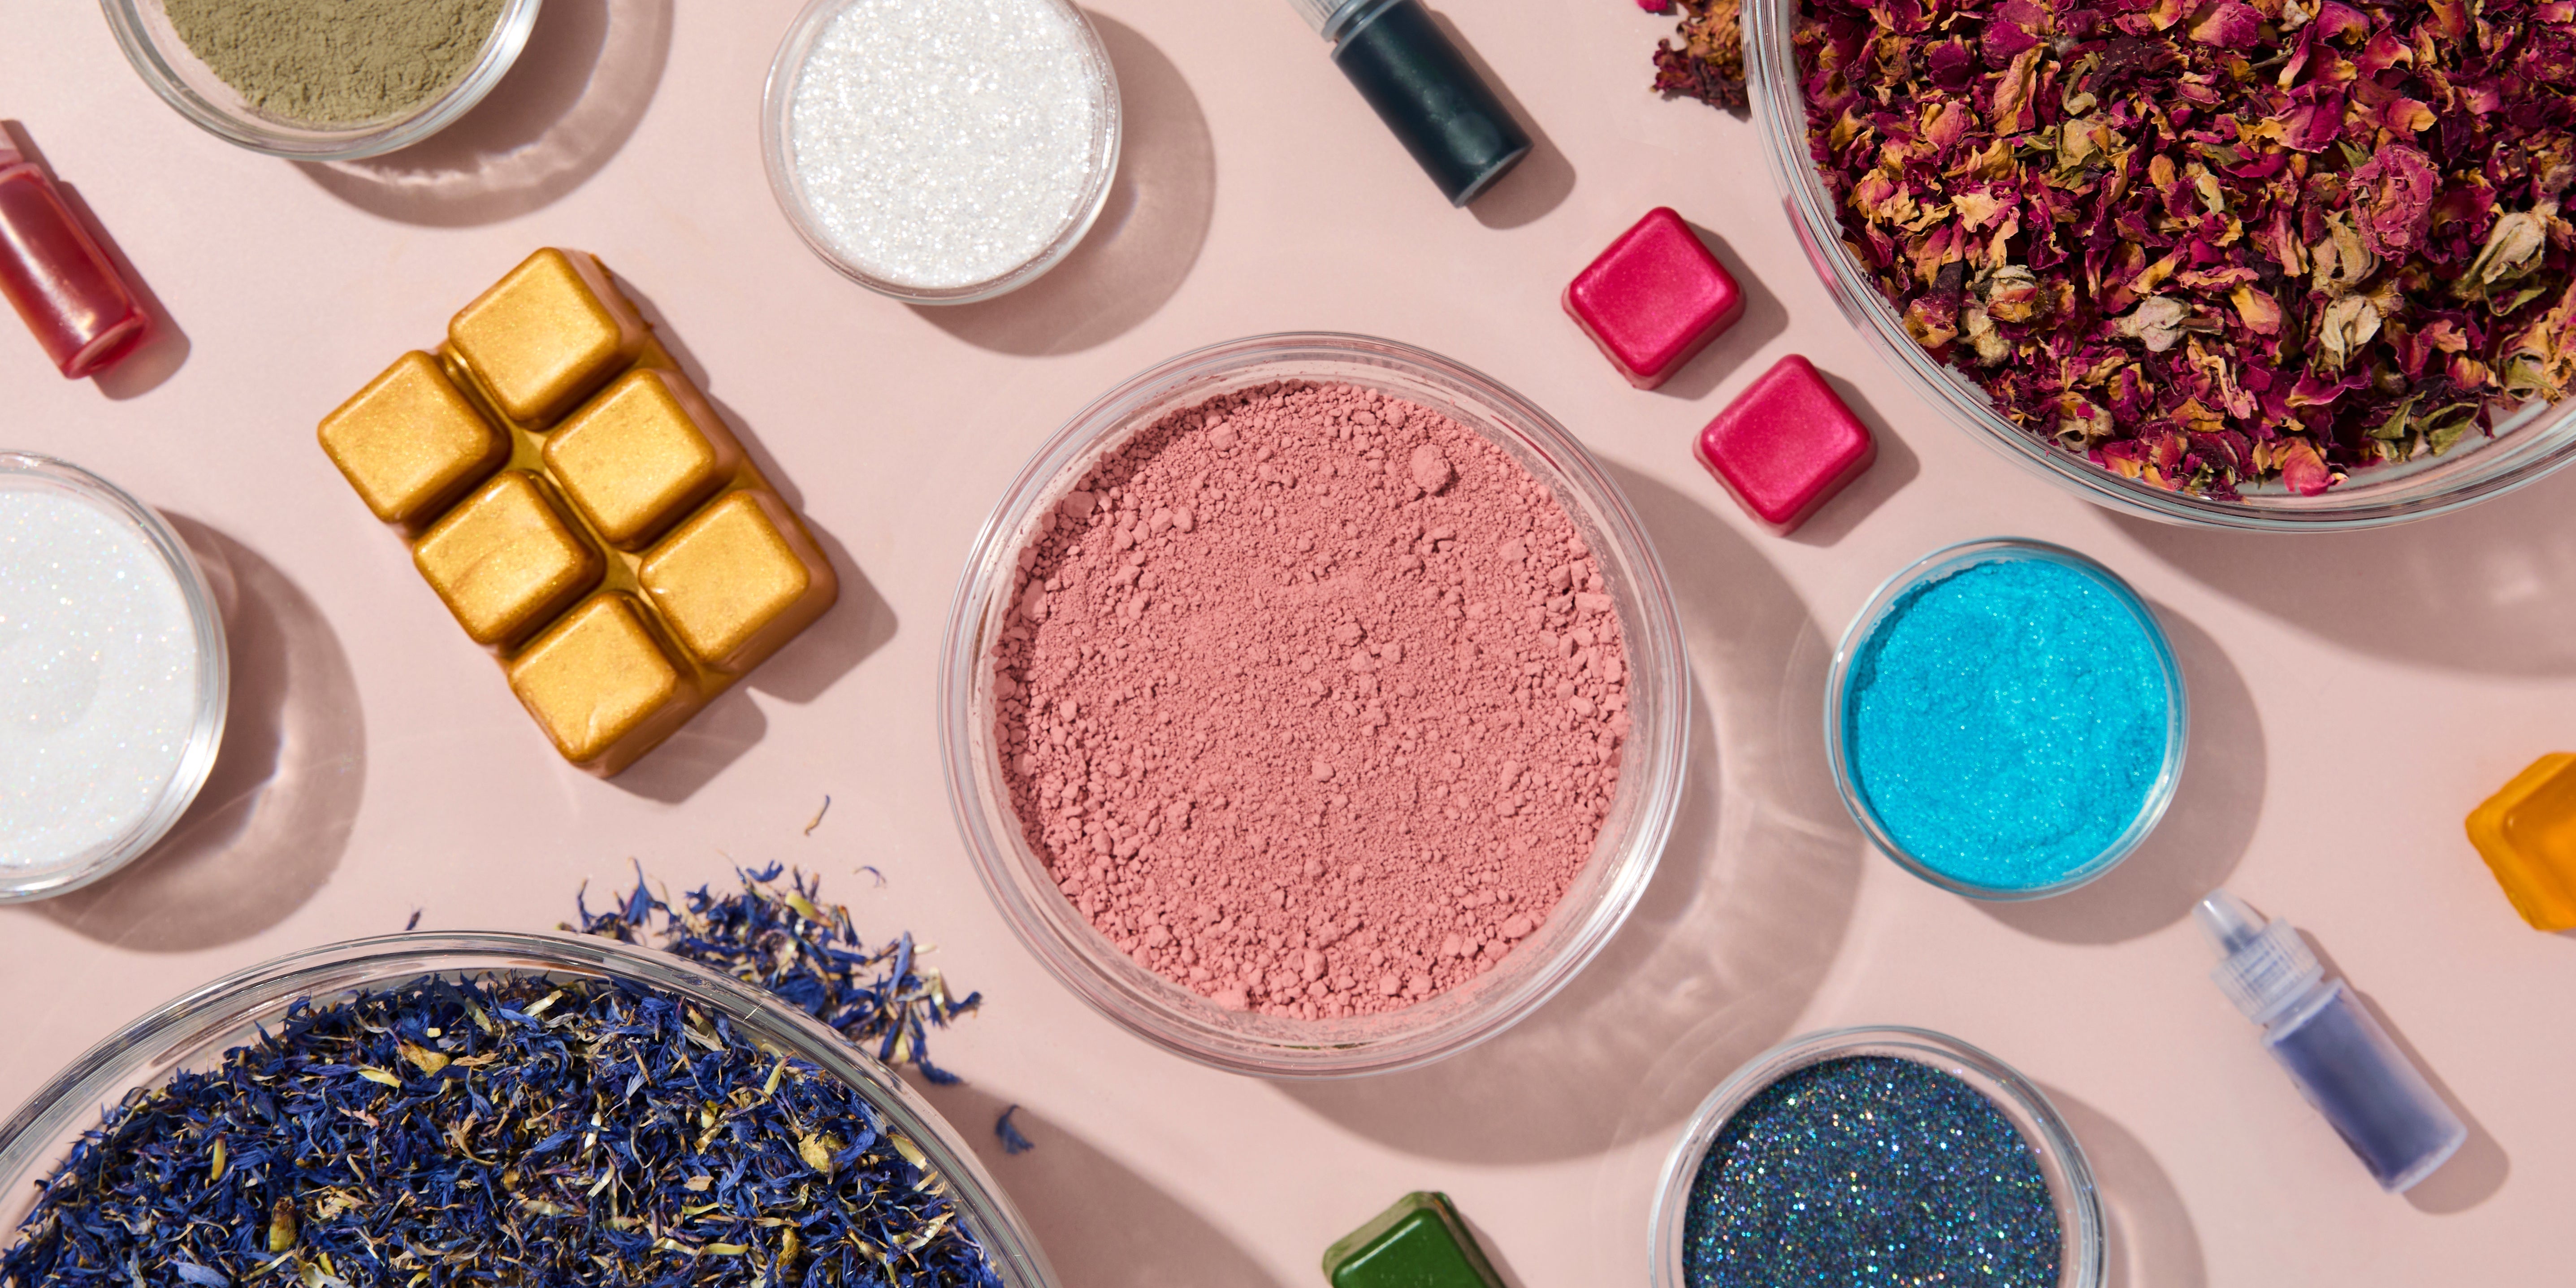
- Wax: Paraffin or beeswax works best for floating candles due to their density and burn qualities.
- Small Candle Molds: Shapes like flowers or stars are popular.
- Tea Light Wicks: These are the right size for floating candles.
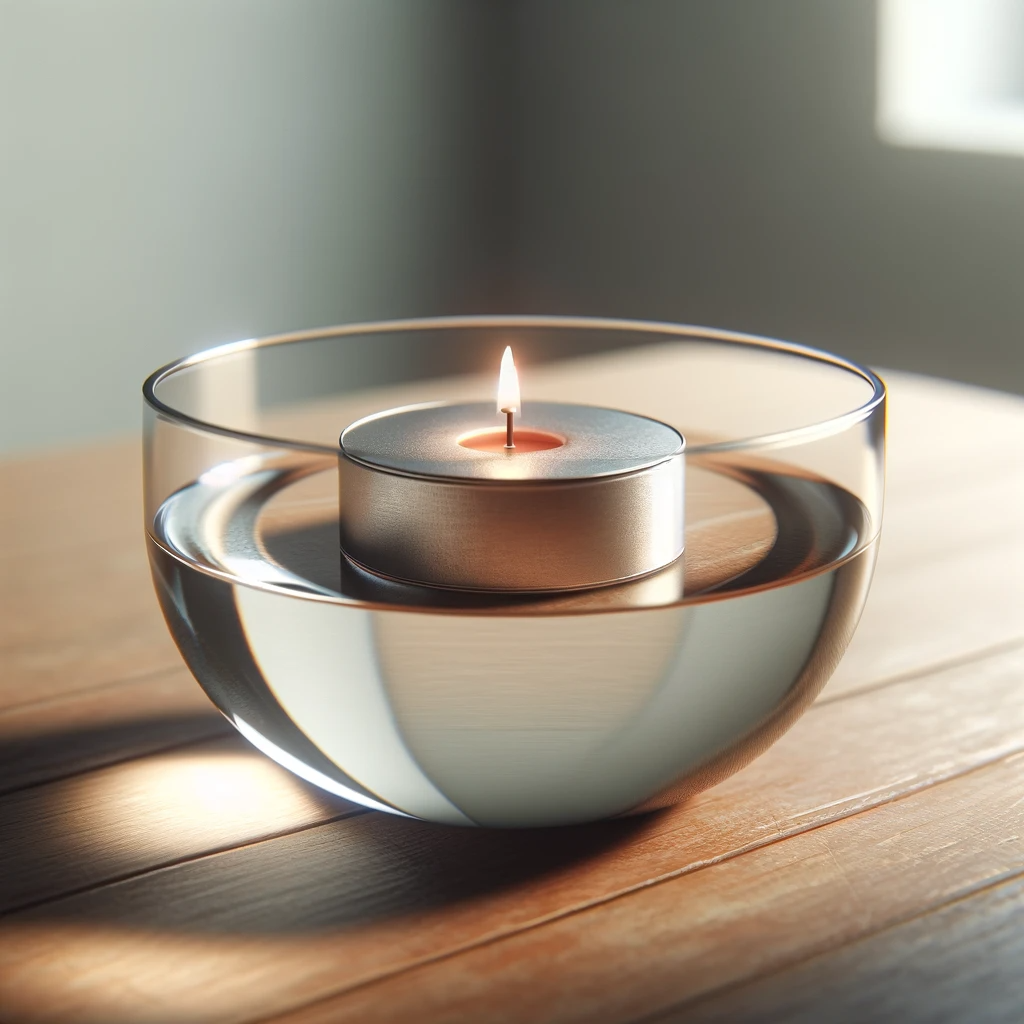
- Large Clear Glass Vase: For displaying your candles.
- Fresh or Artificial Flowers: To enhance the visual appeal.
- Double Boiler: For melting the wax.
- Kitchen Scale: To measure wax accurately.
- Baking Sheet: To catch spills and drips.
- Safety Equipment: Gloves and goggles for protection.
- Melting the Wax: Use a double boiler to melt 1 lb of wax. Paraffin wax is a good choice for its clear burn.
- Color and Fragrance: Choose colors that complement your wedding theme. For a delicate touch, add a few drops of a liquid dye in a color like soft pink or lavender. Incorporate a subtle fragrance like rose or jasmine to enhance the romantic atmosphere.
- Pouring and Wicking: Once the wax cools to around 180ºF, pour it into your molds, leaving a small space for shrinkage. Place a tea light wick in the center. Avoid using wick stickers as the candles need to release from the molds.
- Decorating and Setting Up: Release the candles from the molds once cooled. In a large clear vase, arrange complementary decorative elements like pearls, crystals, or flowers that match the bridal bouquet. Fill with water and gently place the candles on the surface.
- Lighting Up: Illuminate the candles just before the event starts to create an inviting and warm ambiance.
- Use tree-shaped or star-shaped molds to reflect the holiday spirit.
- Choose colors like red, green, or gold, and scents like pine, cinnamon, or vanilla.
- Decorate the water with glitter, small ornaments, or holly leaves for a festive look.
- Opt for molds in shapes like pumpkins, ghosts, or bats.
- Dye your wax in Halloween colors like orange, black, or purple.
- Consider coloring the water with food coloring and adding elements like plastic spiders or small bones for a creepy effect.
- Use autumnal scents like pumpkin spice or apple cinnamon to add to the atmosphere.