How to Make Two-Tone Layer & Chunk Tarts
Creating two-tone layer and chunk wax tarts is a fun and creative way to blend colors and fragrances, resulting in unique and beautiful homemade tarts. While they take a bit more time than single-color, single-scent tarts, the process is still straightforward and rewarding. Let your imagination run wild as you mix and match candle wax colors with fragrance oils, and add a touch of glitter for a sparkly finish that will make your tarts stand out. Before you begin, make sure you have all your supplies ready:
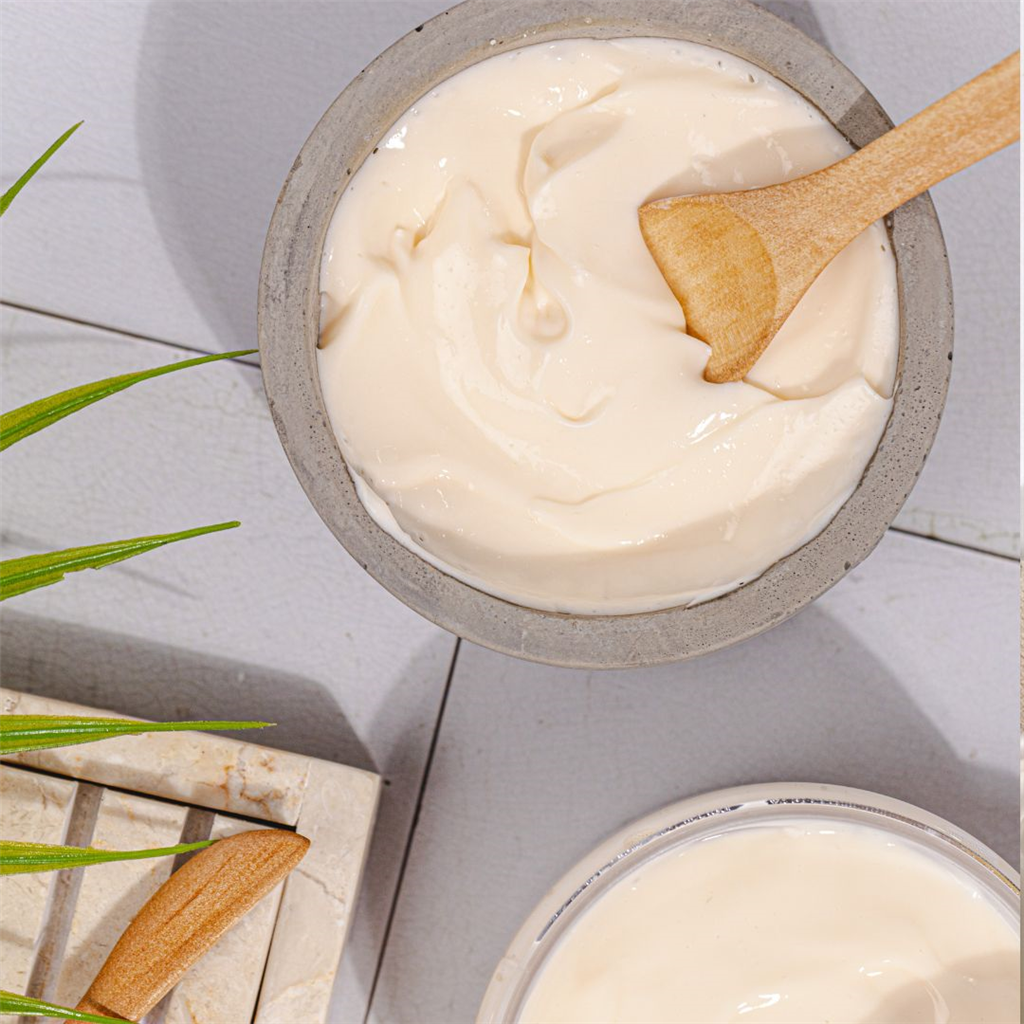
Add the candle wax to your melter and heat it to approximately 175°F. Use a thermometer to check the temperature, as the Presto Pot's thermostat may not be completely accurate.
Step 2:
Place your pouring pot on the digital scale and tare it to zero, ensuring accurate measurements.
Step 3:
Ladle the desired amount of melted candle wax into the pour pitcher.
Step 4:
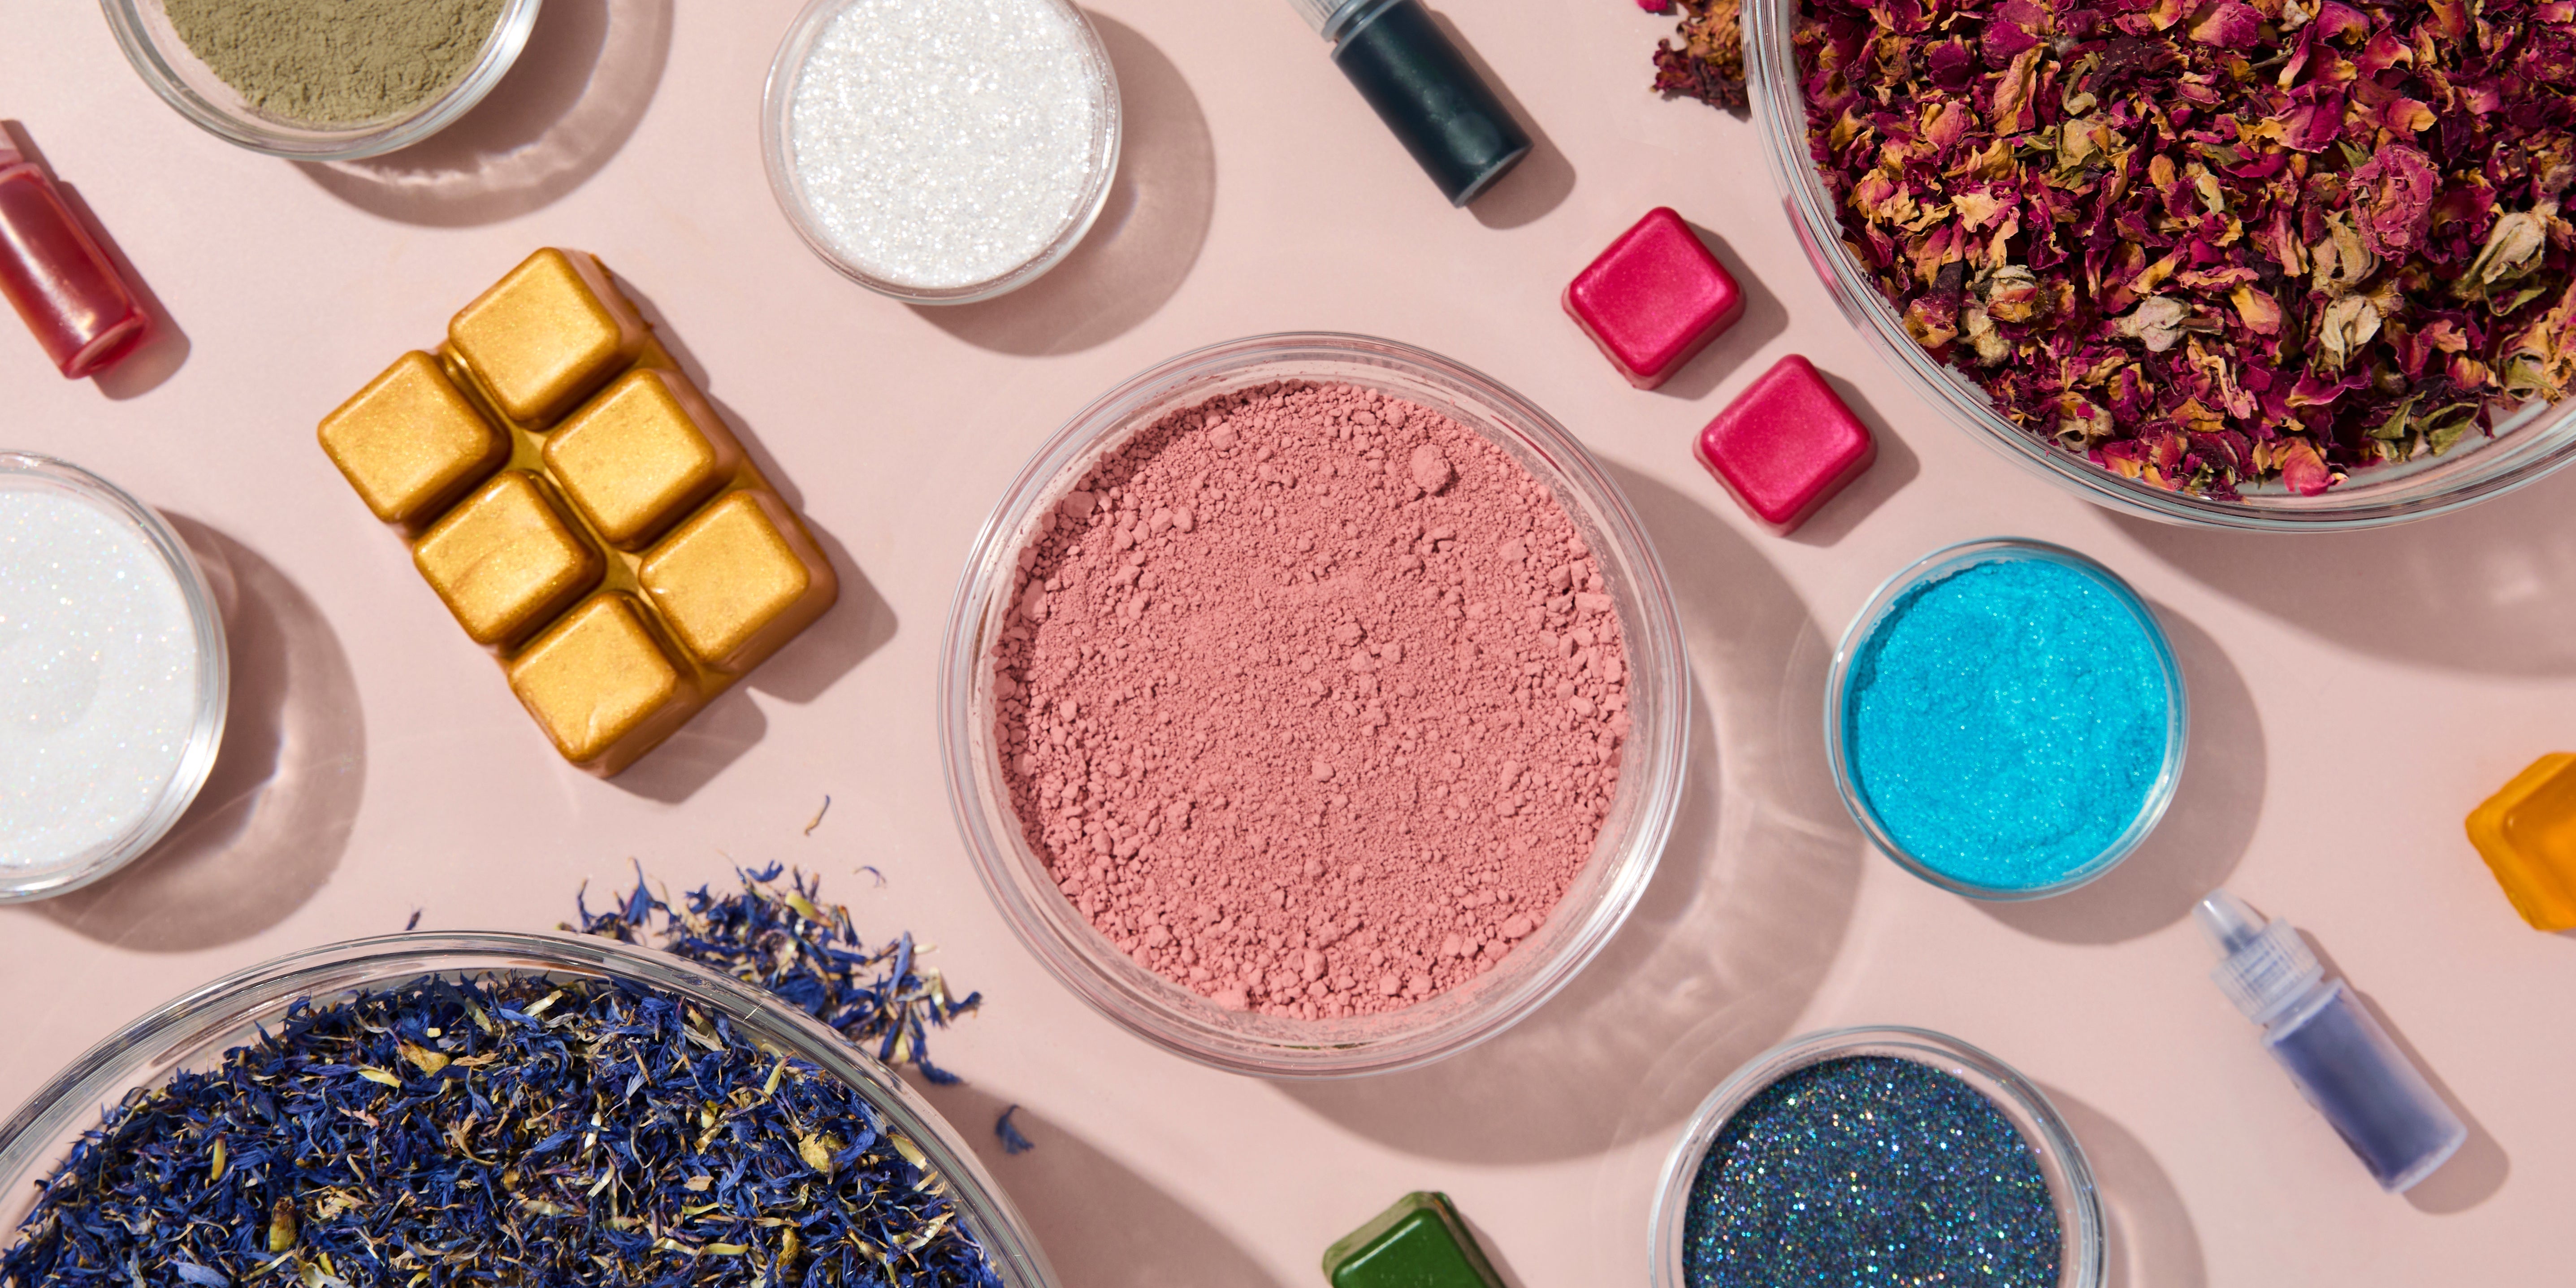
Add the candle dye to the melted wax until you achieve the desired color. Remember, the color intensity can vary depending on the type and amount of dye used, so adjust as needed.
Step 5:
Measure the candle fragrance oil in a disposable Dixie Cup, then add it to the melted wax. Stir for about 2 minutes to ensure the fragrance is evenly distributed throughout the wax.
Step 6:
Check the temperature of the wax; it should be between 150°F and 155°F before you pour.
Step 7:
For the first color, pour the wax into the mold or clamshells until they are about half full. Let it sit until the wax is set but still warm and slightly soft to the touch.
Step 8:
Now, it's time to add your second color. Make sure this layer is at least as hot as the first. Since the first layer is still warm, you don't need to pour the second layer at a higher temperature. However, if the first layer has completely cooled, you should pour the second layer 10°F hotter than the first to ensure proper adhesion.
Tip: If you want to add a little sparkle, sprinkle a small amount of iridescent Diamond Dust Glitter on top of the second layer while it's still warm. This will add a touch of bling to your homemade tarts.
Step 9:
Let the wax cool completely. Congratulations! You now have beautiful two-tone tarts. All that's left is to package them for use or gifting. To create chunk wax melts, follow the steps above, and then:
Step 1:
Spray a sheet pan with non-stick spray (like Pam) and wipe it out thoroughly.
Step 2:
Pour the first layer of candle wax onto the sheet pan. Let it set until it's firm but still slightly warm and soft.
Step 3:
Pour the second color over the first layer, ensuring the second layer is at least as hot as the first. Let it set up until it's still warm but slightly soft.
Step 4:
Using a butter knife, cut the wax into small cubes without removing them from the pan. Once both layers are completely set and cool, turn the pan over and break the wax into chunks. You now have vibrant, two-tone wax chunks!
Step 5:
Return to the initial steps of the process. Fill your tart molds with these colorful wax chunks, then overpour with the scented, colored wax you prepared earlier.
Tip: For an extra touch, sprinkle iridescent Diamond Dust Glitter on the top layer while it's still warm. This will add a delightful sparkle to your chunk wax melts.
Step 6:
Allow the tarts to set and cool completely. If you're using Ky 133 Versatile Paraffin Wax Blend, your homemade tarts should pop right out of the molds, ready for packaging or use. Making two-tone layer and chunk tarts is a creative and enjoyable way to craft beautiful, homemade wax tarts that are as unique as you are. By experimenting with different colors, scents, and even a touch of glitter, you can design DIY wax tarts that are perfect for any occasion. The process might take a little more time than single-color tarts, but the results are truly worth it. Whether you're making these chunk wax melts for yourself or as thoughtful gifts, the possibilities are endless. So, gather your supplies, follow these steps, and have fun making your own homemade tarts that are sure to impress!
- Melter for candle wax: A Presto Pot or double boiler works well for melting your wax.
- Digital scale: Essential for accurate measurements.
- Thermometer: Use this to monitor the wax temperature instead of relying solely on the melter's thermostat.
- Candle wax: Ky 133 Versatile Paraffin Wax Blend is recommended for best results.
- Fragrance oil: Choose scents that complement your chosen candle dyes.
- Candle dye: Pick colors that will create a striking contrast in your two-tone tarts.
- Ladle: For dipping out the melted candle wax.
- Pour pot or pitcher: To pour the wax into your molds.
- Dixie cups: Useful for measuring fragrance oil.
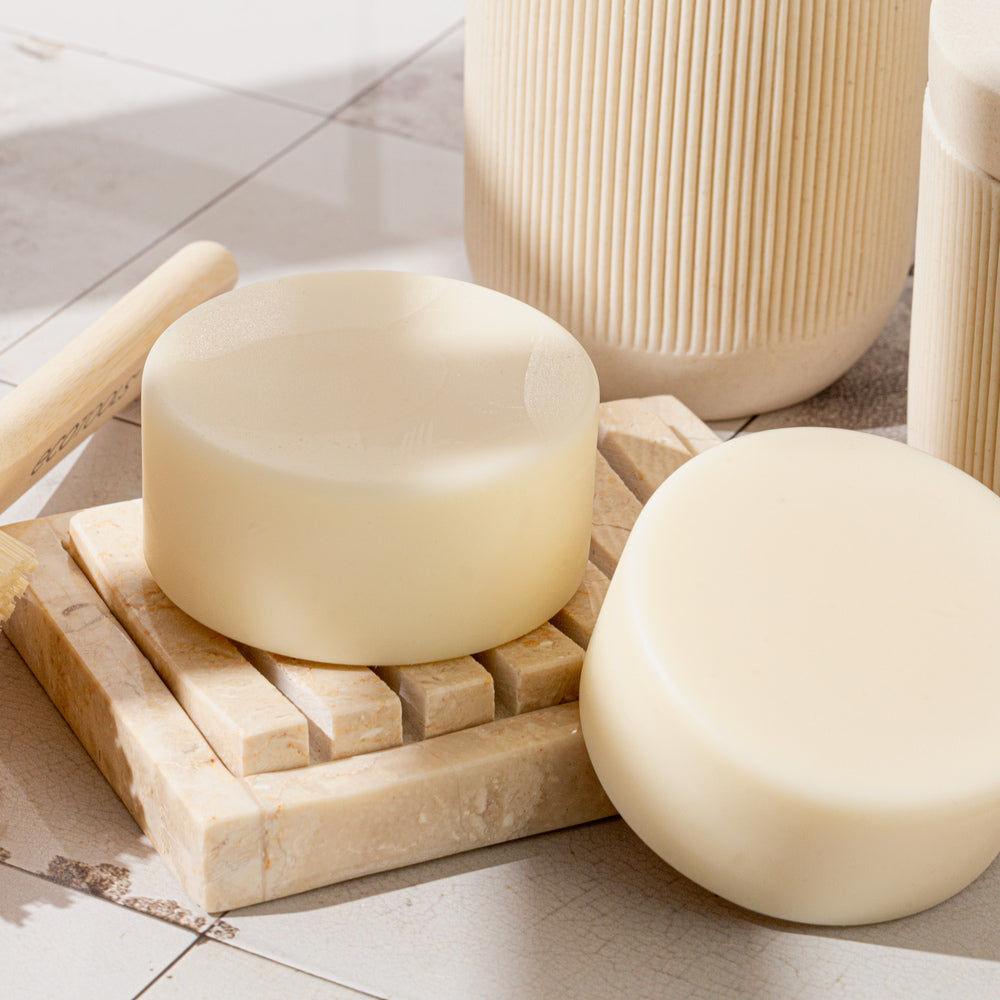
- Tart molds: You can use portion cups, clamshells, metal tart molds, or other creative molds.
- Cookie sheet: Necessary if you're making wax chunks.
Add the candle wax to your melter and heat it to approximately 175°F. Use a thermometer to check the temperature, as the Presto Pot's thermostat may not be completely accurate.
Step 2:
Place your pouring pot on the digital scale and tare it to zero, ensuring accurate measurements.
Step 3:
Ladle the desired amount of melted candle wax into the pour pitcher.
Step 4:
Add the candle dye to the melted wax until you achieve the desired color. Remember, the color intensity can vary depending on the type and amount of dye used, so adjust as needed.
Step 5:
Measure the candle fragrance oil in a disposable Dixie Cup, then add it to the melted wax. Stir for about 2 minutes to ensure the fragrance is evenly distributed throughout the wax.
Step 6:
Check the temperature of the wax; it should be between 150°F and 155°F before you pour.
Step 7:
For the first color, pour the wax into the mold or clamshells until they are about half full. Let it sit until the wax is set but still warm and slightly soft to the touch.
Step 8:
Now, it's time to add your second color. Make sure this layer is at least as hot as the first. Since the first layer is still warm, you don't need to pour the second layer at a higher temperature. However, if the first layer has completely cooled, you should pour the second layer 10°F hotter than the first to ensure proper adhesion.
Tip: If you want to add a little sparkle, sprinkle a small amount of iridescent Diamond Dust Glitter on top of the second layer while it's still warm. This will add a touch of bling to your homemade tarts.
Step 9:
Let the wax cool completely. Congratulations! You now have beautiful two-tone tarts. All that's left is to package them for use or gifting. To create chunk wax melts, follow the steps above, and then:
Step 1:
Spray a sheet pan with non-stick spray (like Pam) and wipe it out thoroughly.
Step 2:
Pour the first layer of candle wax onto the sheet pan. Let it set until it's firm but still slightly warm and soft.
Step 3:
Pour the second color over the first layer, ensuring the second layer is at least as hot as the first. Let it set up until it's still warm but slightly soft.
Step 4:
Using a butter knife, cut the wax into small cubes without removing them from the pan. Once both layers are completely set and cool, turn the pan over and break the wax into chunks. You now have vibrant, two-tone wax chunks!
Step 5:
Return to the initial steps of the process. Fill your tart molds with these colorful wax chunks, then overpour with the scented, colored wax you prepared earlier.
Tip: For an extra touch, sprinkle iridescent Diamond Dust Glitter on the top layer while it's still warm. This will add a delightful sparkle to your chunk wax melts.
Step 6:
Allow the tarts to set and cool completely. If you're using Ky 133 Versatile Paraffin Wax Blend, your homemade tarts should pop right out of the molds, ready for packaging or use. Making two-tone layer and chunk tarts is a creative and enjoyable way to craft beautiful, homemade wax tarts that are as unique as you are. By experimenting with different colors, scents, and even a touch of glitter, you can design DIY wax tarts that are perfect for any occasion. The process might take a little more time than single-color tarts, but the results are truly worth it. Whether you're making these chunk wax melts for yourself or as thoughtful gifts, the possibilities are endless. So, gather your supplies, follow these steps, and have fun making your own homemade tarts that are sure to impress!