Help & How Tos
Article
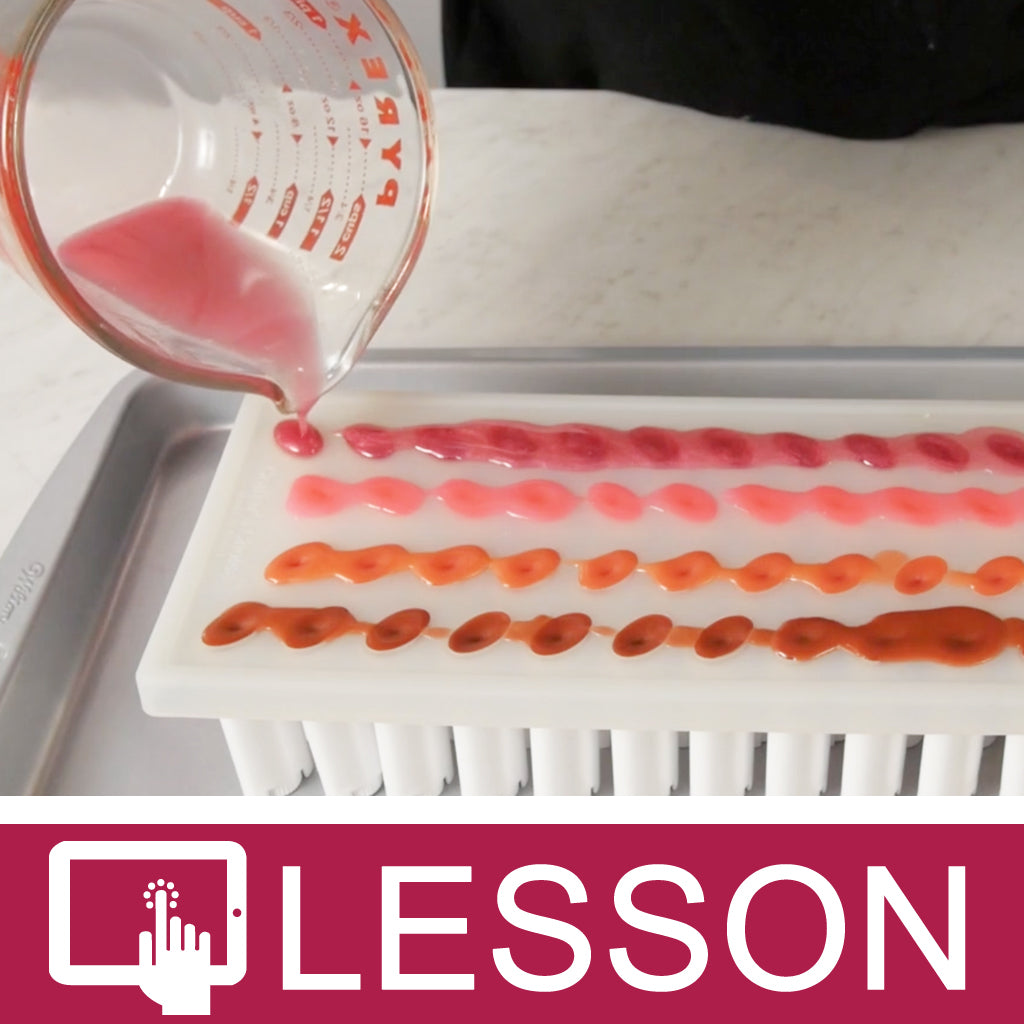
How to Make a Lip Sugar Scrub
Article
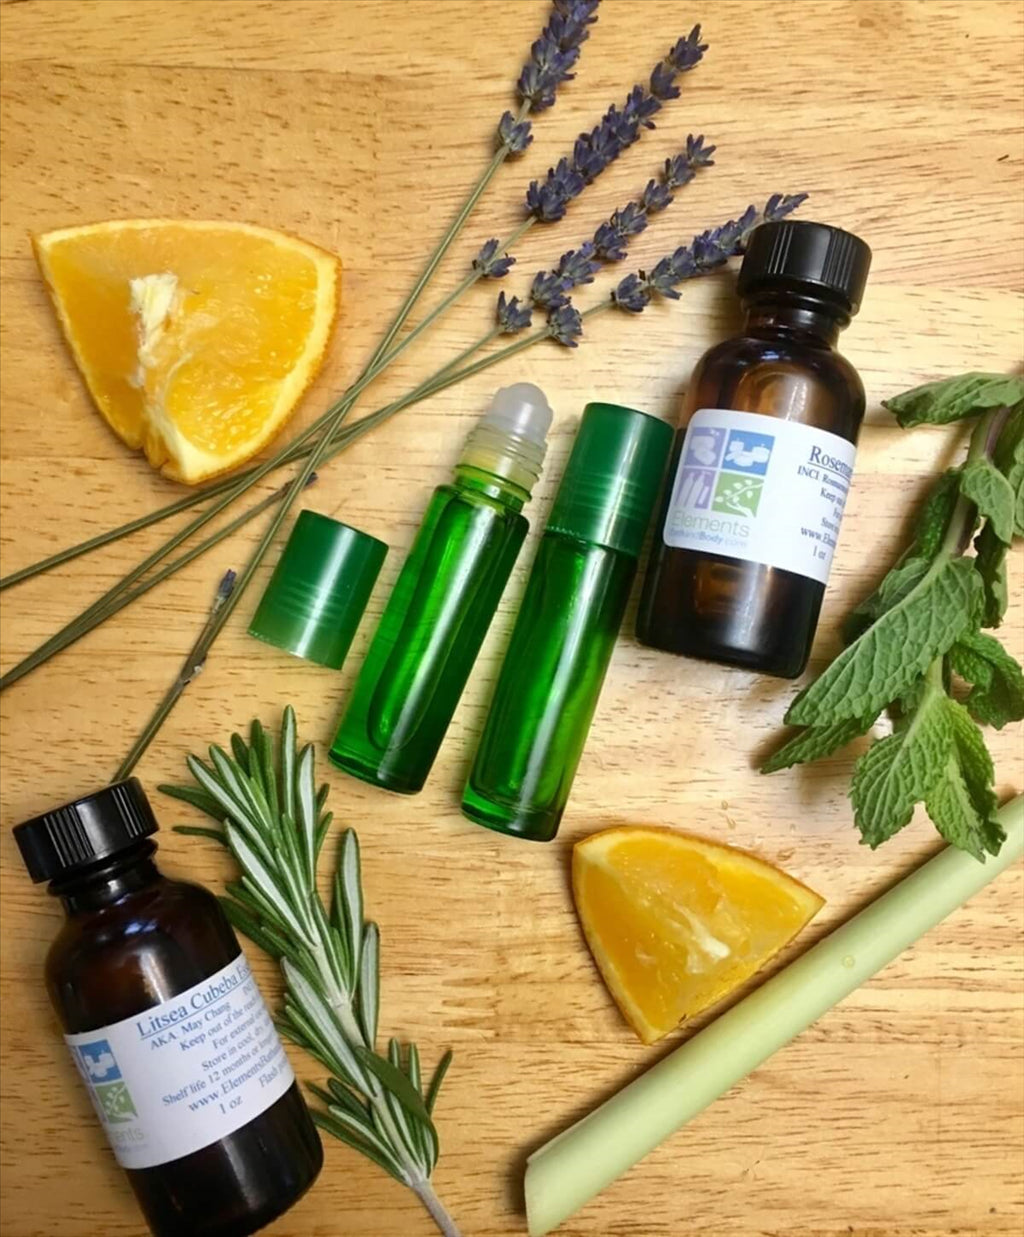
How to Make a Perfume Roll-On
Article
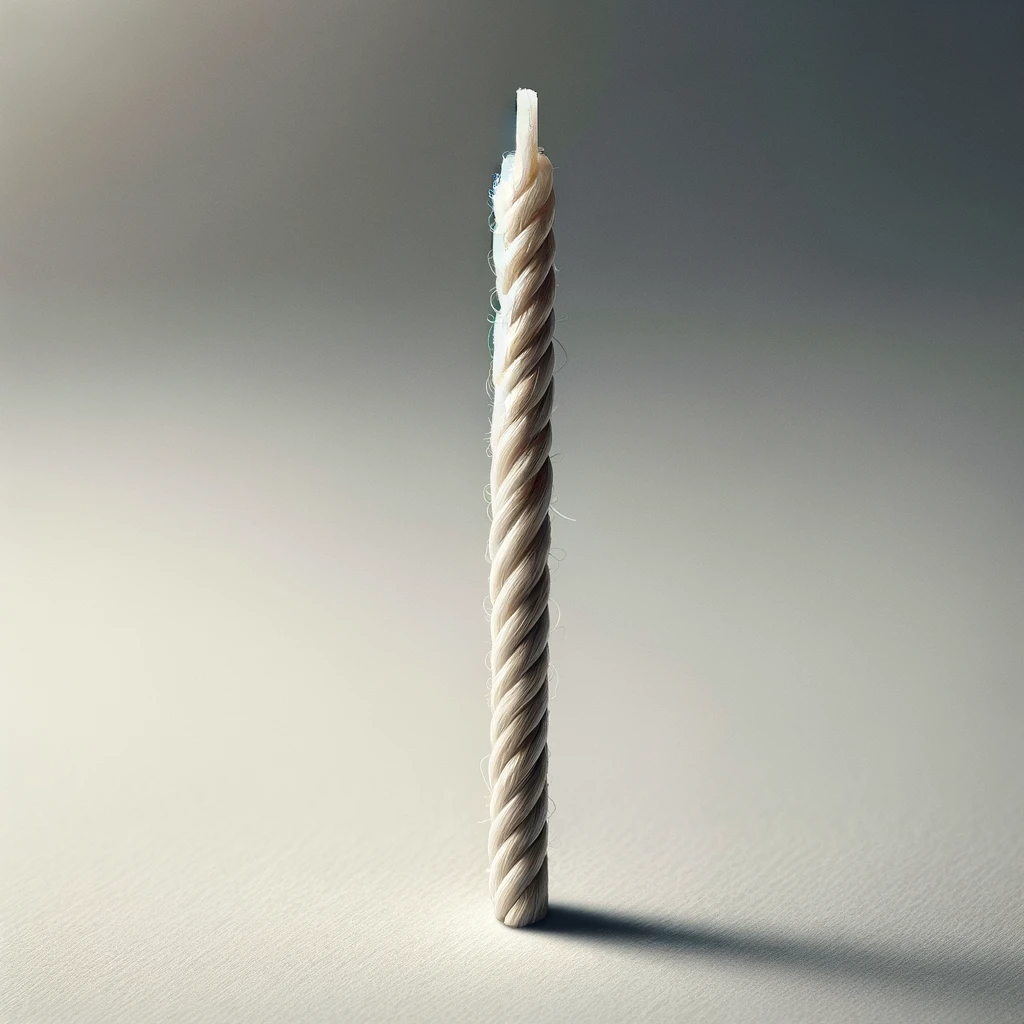
How to Make a Candle Wick

Article
How to Make DIY Peppermint Candles

Article
How to Use Mica Powder in Melt and Pour Soap: A Beginner's Guide
Article
Learn to Make: Lip Balm From A Base
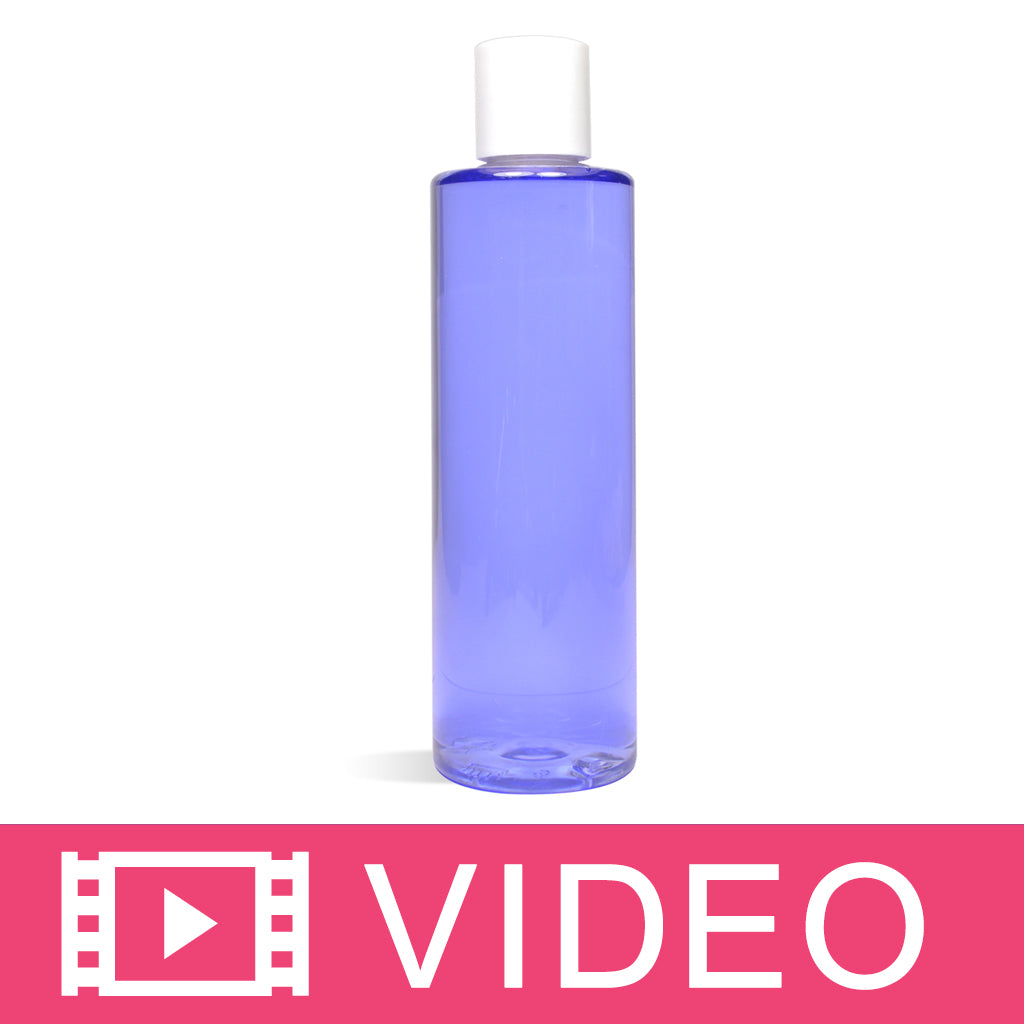
Article
Making Clear Shower Gel Video
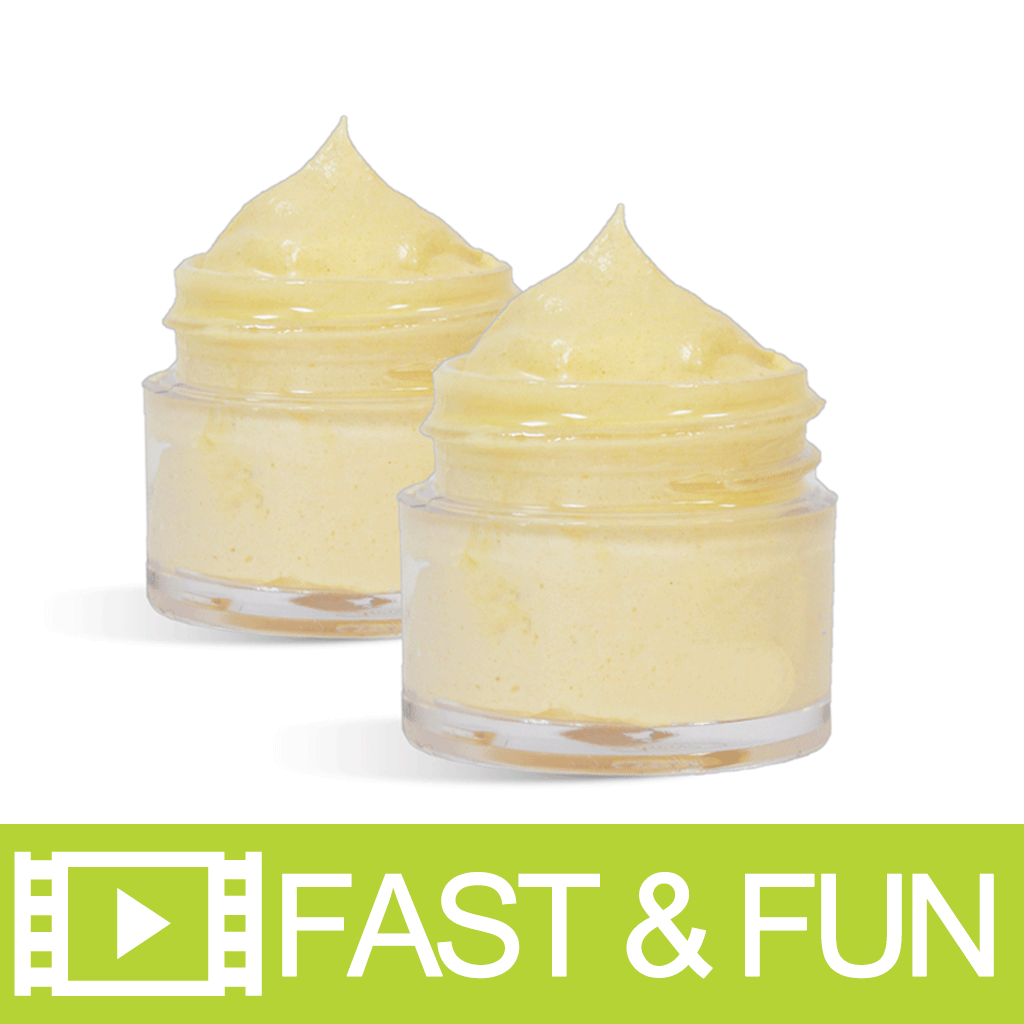
Article
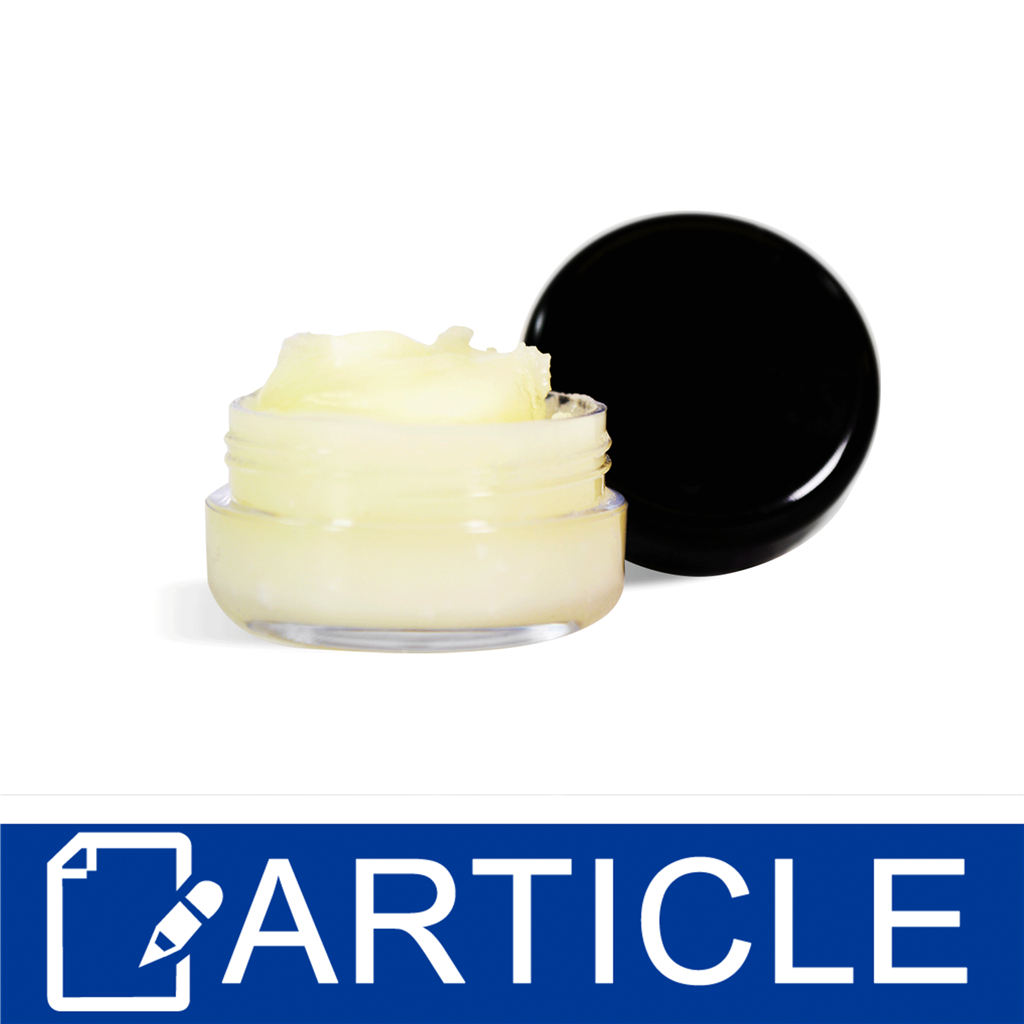
Making Whipped Coffee Lip Butter
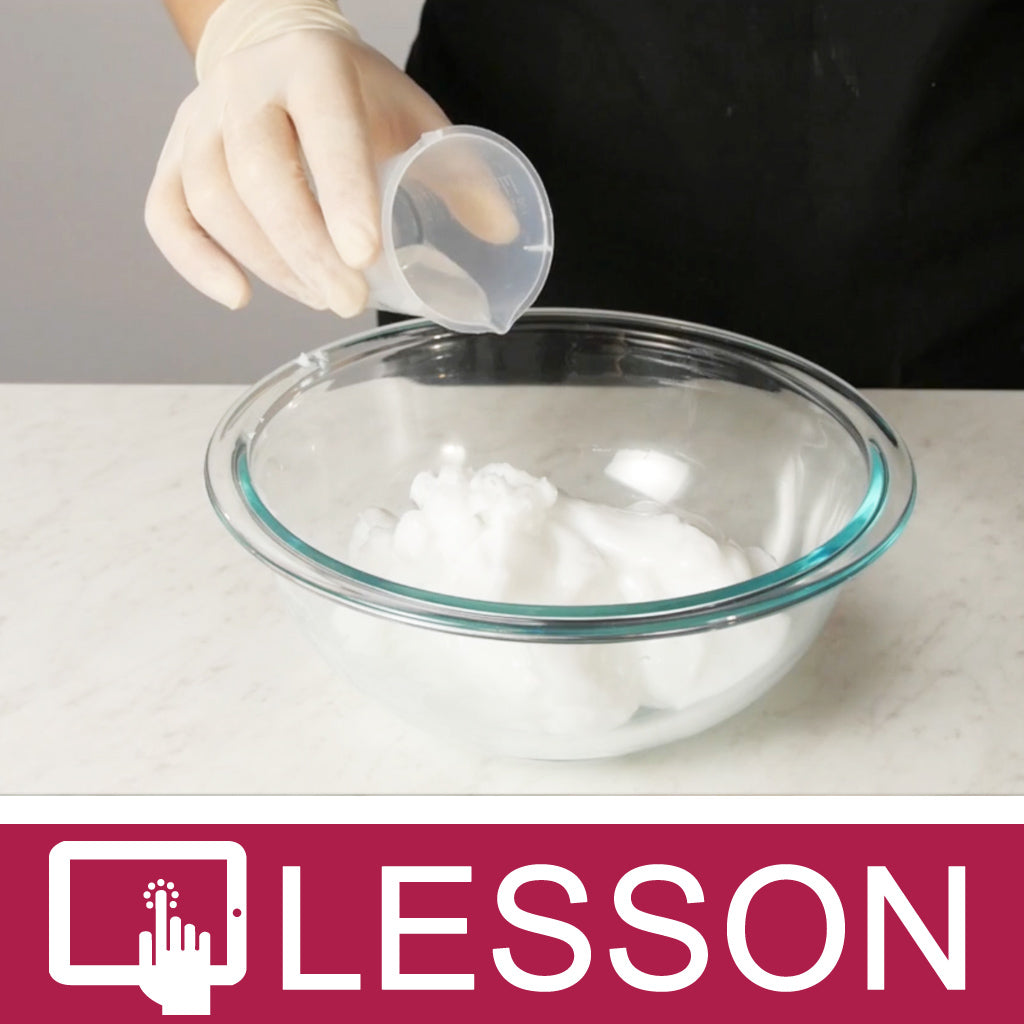
Article
Learn to Make: Face Care Products
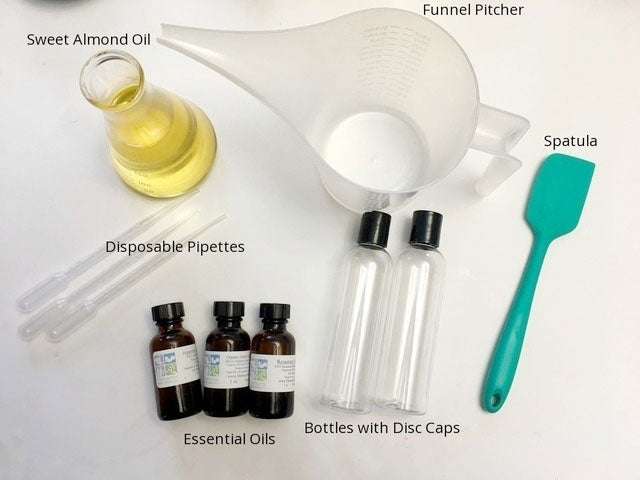
Article
How to Make Massage Oil for Men: A Comprehensive Guide
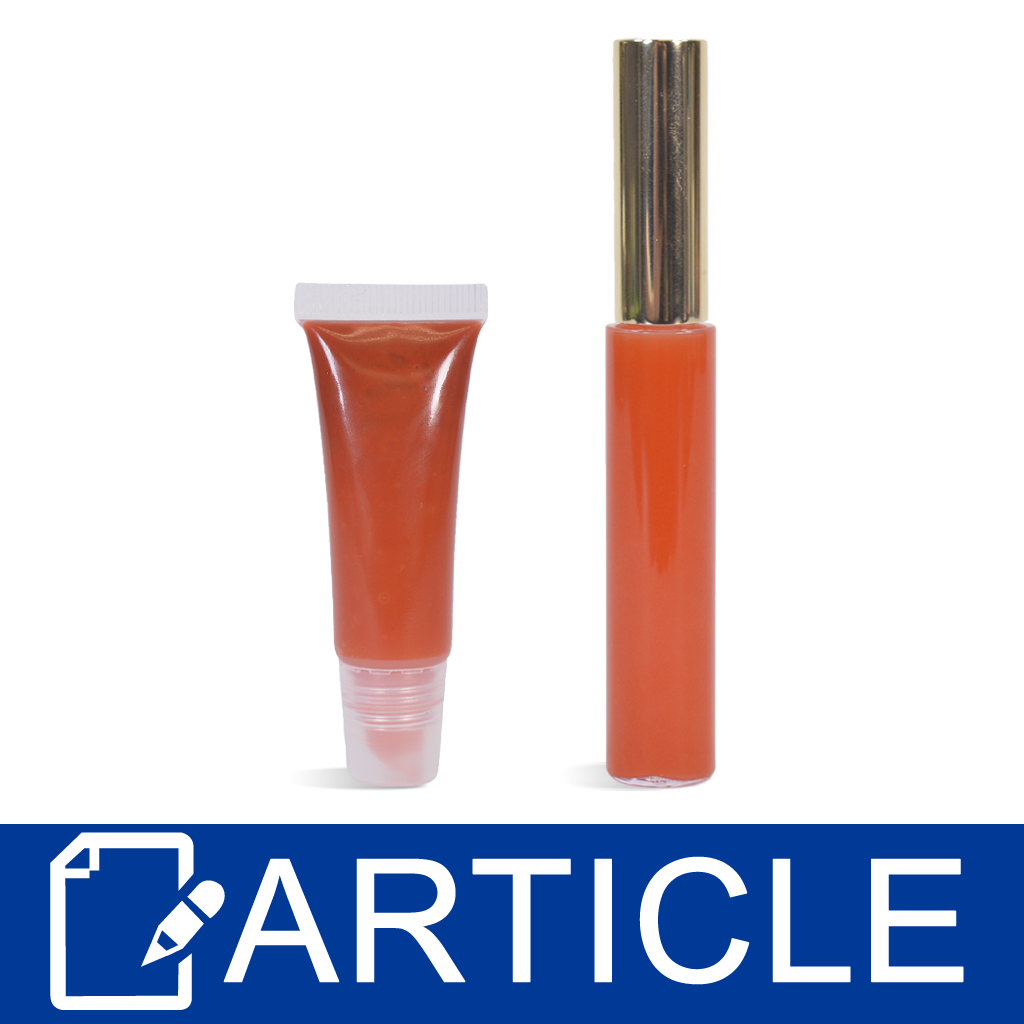
Article
How to Make: Lip Gloss with Versagel

Article
Money Soap Tutorial: A Fun and Unique Gift Idea
Best Sellers
View All

Crafter's Choice
Orange (Sweet) Essential Oil - 100% Pure 134


Crafter's Choice
Black Raspberry Vanilla* - EO & FO Blend 89


Crafter's Choice
Eucalyptus (80/82) Essential Oil - 100% Pure 705


Crafter's Choice
Pink Grapefruit Fragrance Oil 97


Crafter's Choice
Lemon Essential Oil - 100% Pure 140


Crafter's Choice
Sandalwood - EO & FO Blend 104


Crafter's Choice
Barber Shoppe - EO & FO Blend 123


Crafter's Choice
Lemongrass Essential Oil - 100% Pure 138


Crafter's Choice
Tea Tree Essential Oil - 100% Pure 136


Rustic Escentuals
Beachwood Vetiver Fragrance Oil 15014
Crafter's Choice
Orange (Sweet) Essential Oil - 100% Pure 134
Crafter's Choice
Black Raspberry Vanilla* - EO & FO Blend 89


Crafter's Choice
Lavender 40/42 Essential Oil - 100% Pure 139


Crafter's Choice
Love Spell* - EO & FO Blend 90

Crafter's Choice
Lavender Fragrance Oil 91


Crafter's Choice
Oatmeal, Milk & Honey ORIGINAL Fragrance Oil 105
Crafter's Choice
Eucalyptus (80/82) Essential Oil - 100% Pure 705
Crafter's Choice
Pink Grapefruit Fragrance Oil 97
Crafter's Choice
Lemon Essential Oil - 100% Pure 140
Crafter's Choice
Sandalwood - EO & FO Blend 104


Crafter's Choice
Foaming Bath Whip - Traditional


Crafter's Choice
Aloe Vera Gel


Crafter's Choice
Shower Gel - Crystal Clear


Crafter's Choice
Liquid Suspension Soap Base


Crafter's Choice
Shea Butter & Aloe Lotion


Crafter's Choice
Goat Milk & Honey Lotion


Crafter's Choice
Lip Balm Base for Sticks


Crafter's Choice
Body Wash - Pearl (Sulfate Free & Paraben Free)


Crafter's Choice
Satin & Silk Lotion


Crafter's Choice
Basic Lotion Base


Crafter's Choice
Citric Acid Powder


Crafter's Choice
White Kaolin Clay


Crafter's Choice
Glycerin - Natural


Crafter's Choice
Preservative - Water Soluble PF (Compare to Germall Plus)


Crafter's Choice
Stearic Acid


Crafter's Choice
Sodium Hydroxide Flakes


Crafter's Choice
Polysorbate 80


Crafter's Choice
Emulsifying Wax - Soft & Silky

Crafter's Choice
Baking Soda (Sodium Bicarbonate)


Crafter's Choice
Oatmeal - Colloidal


Crafter's Choice
Beeswax - Yellow Pastilles


Crafter's Choice
Beeswax - Ivory

Golden Brands
Golden Brands 464 Container Soy Wax


Crafter's Choice
Beeswax - Ultra Refined & Bleached

Rustic Escentuals
Ky Para-Soy Tart & Votive Blend Wax

Rustic Escentuals
Ky 133 Versatile Paraffin Wax Blend

Golden Brands
Golden Brands 415 Soy Wax

ProBlend
ProBlend 600 Para-Soy Container Wax

Golden Brands
Golden Brands 454 Coconut Soy Wax
Rustic Escentuals