Bath Bomb Recipe and Molding Guide
Bath bombs serve as a splendid canvas for creative expression, blending the allure of fragrance, the vibrancy of colors, and the satisfaction of crafting something uniquely soothing. This tutorial is your gateway to producing sturdy, luxurious bath bombs that not only look beautiful but are also designed to withstand shipping. We'll cover everything from a basic bath bomb base recipe to utilizing our user-friendly Bath Bomb and Fizzy Base for those seeking a more straightforward approach. Plus, we'll delve into the nuances of storing bath bombs and ensuring they're ready to delight your friends, family, and customers alike. If you're embarking on the journey of crafting bath bombs from the ground up, our meticulously formulated recipe is designed to guide you through creating not just any bath bombs, but the perfect ones. This comprehensive guide is your key to unlocking the secrets of how to make bath bombs from scratch, ensuring each creation is not only visually stunning but also structurally sound for shipping and storage. Let's dive into the art and science of making 9-10 large, 3-inch bath bombs that are robust enough to ship across the country without a hitch.
This particular bath bomb base recipe is tailored for beginners and yields approximately seven bath bombs, each with a diameter of 2.6 inches and weighing about 4.5 ounces. It's worth noting that the size of the bath bomb mold you opt for will directly influence the quantity of your output—using larger molds results in fewer bath bombs, whereas smaller ones increase your batch size.
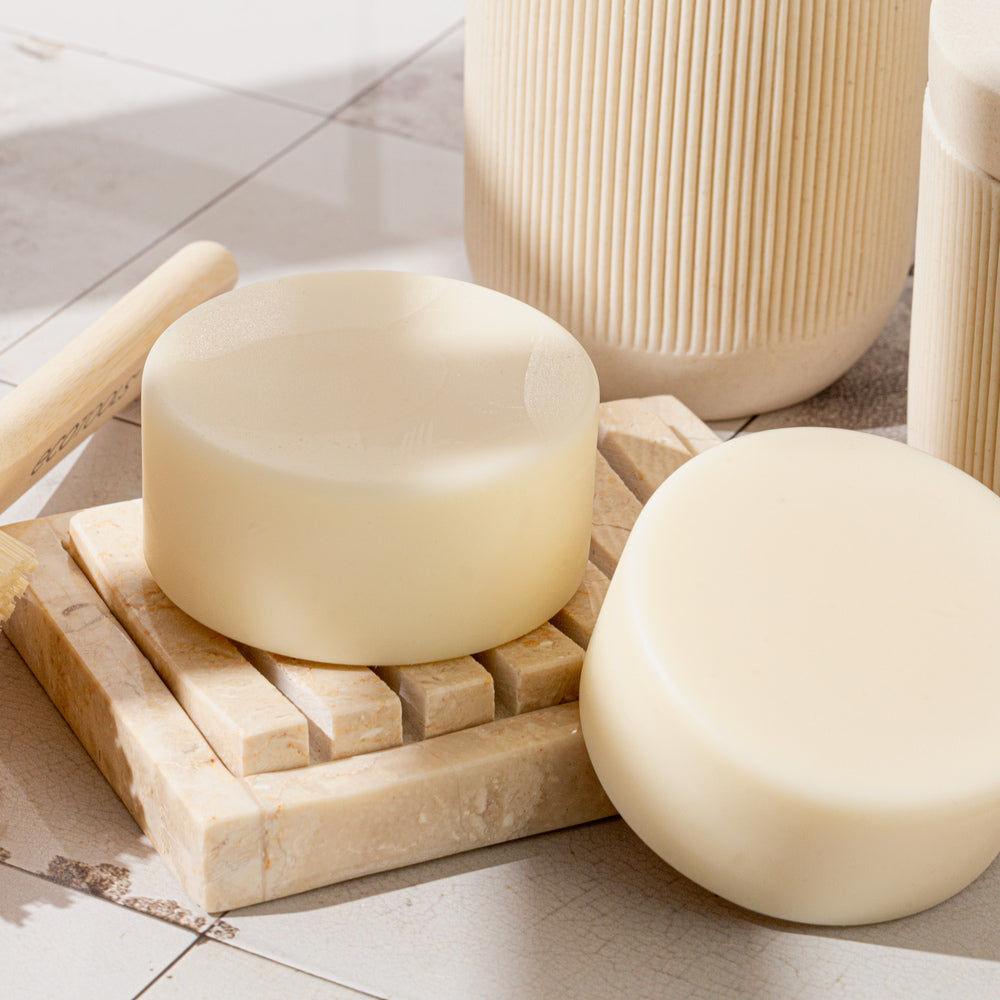
For those interested in producing petite, effervescent delights quickly, the Perfector is your go-to. It's not just about making tiny bath bombs but about precision and speed. If your goal includes protective, displayable packaging that also aids in retaining the shape of your bath bombs as they dry, our Plastic Bath Bomb Molds are the ideal choice. Lastly, our Stainless Steel Molds are the quintessential tools for creating bath bombs that are perfectly round and uniform, ensuring they're ready for the best way to ship bath bombs without compromising their integrity.
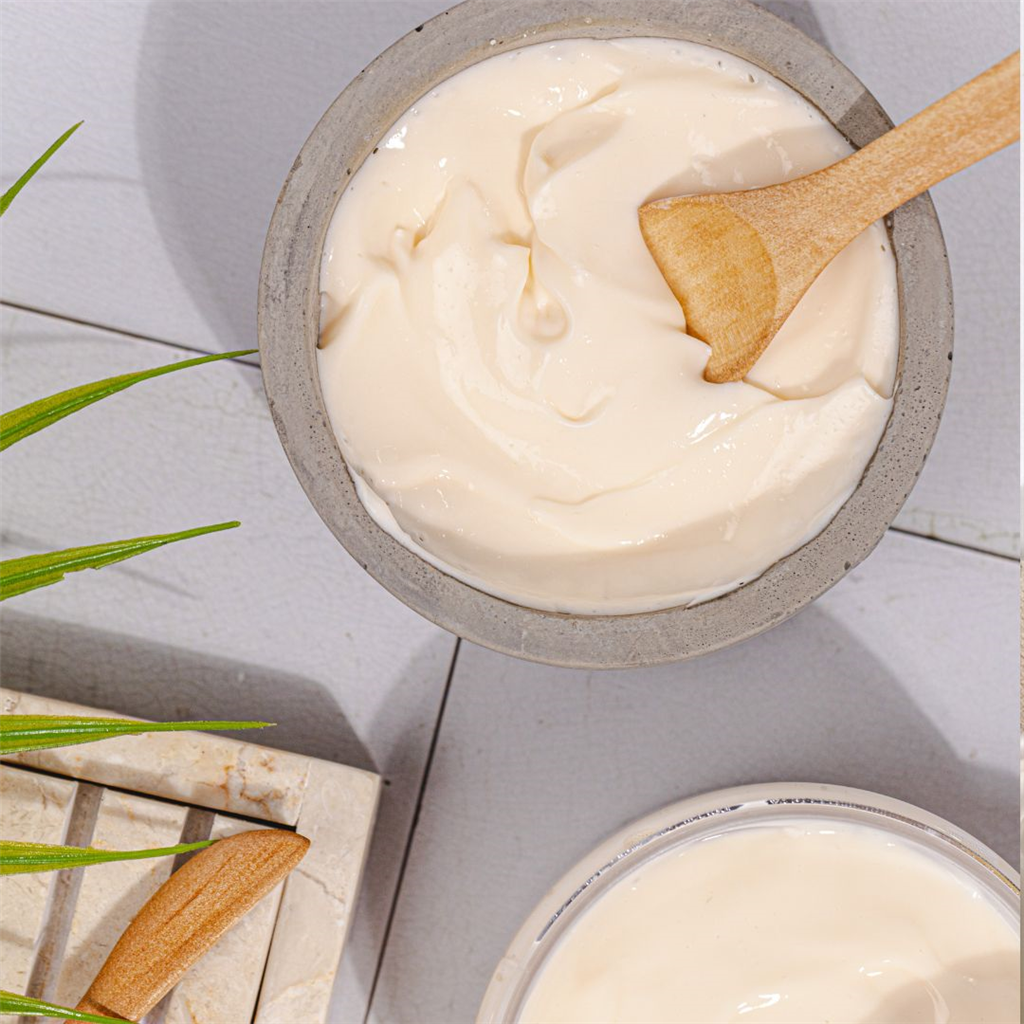
Before you dive into molding, take a moment to assess the consistency of your bath bomb mixture. It's crucial for the base to hold together when compressed, indicating it's ready for the mold. Achieving the perfect bath bomb requires a bit of experimentation. Whip up a few practice bombs to get a feel for the process, adjusting with a dash of isopropyl alcohol if the mixture crumbles or adding a sprinkle of baking soda if it feels too soft. Once you've nailed the consistency, you're set to start molding.
Molding Bath Bombs Using the Bath Bomb Perfector
For an efficient scooping process, especially when making bath bombs from scratch, transfer your mixture into a narrow bowl. To manage the tail end of your batch effectively, consider moving the remainder into a smaller cup. With the Perfector, scoop a generous amount of your prepared fizzy base, applying firm pressure to compact it. Neatly trim any excess from the mold's edges with your thumb, then gently tap the mold with a metal spoon or butter knife to loosen the bath bomb. Carefully release your creation and set it aside to dry.
Molding Bath Bombs Using Stainless Steel Molds
Begin by generously filling each half of your mold with the bath bomb mixture without compressing it. Bring the two halves together firmly without twisting. Clean any stray bits from the mold's edge with a gentle swipe of your thumb. While holding the mold in one hand, apply a s
- Difficulty Level: Intermediate
- Outcome: 9-10 Large Bath Bombs (3″ diameter, approx. 8 oz each)
- Timing is Everything
- Preparation and Cleanup: 15 minutes to set the stage
- Active Crafting Time: 25 minutes of hands-on creation
- Drying Time: A crucial 2 hours for setting
- Total Time Investment: 2 hours and 40 minutes (40 minutes of active involvement)
- A precise Digital Scale for accurate measurements
- Your choice of Bath Bomb Mold, catering to your design preferences
- Two Large Mixing Bowls for combining ingredients
- A Spoon or Spatula for mixing
- A Microwaveable Bowl or a 4-cup Pyrex Measuring Cup for melting butters
- Latex or Nitrile Gloves to protect your hands and manicure
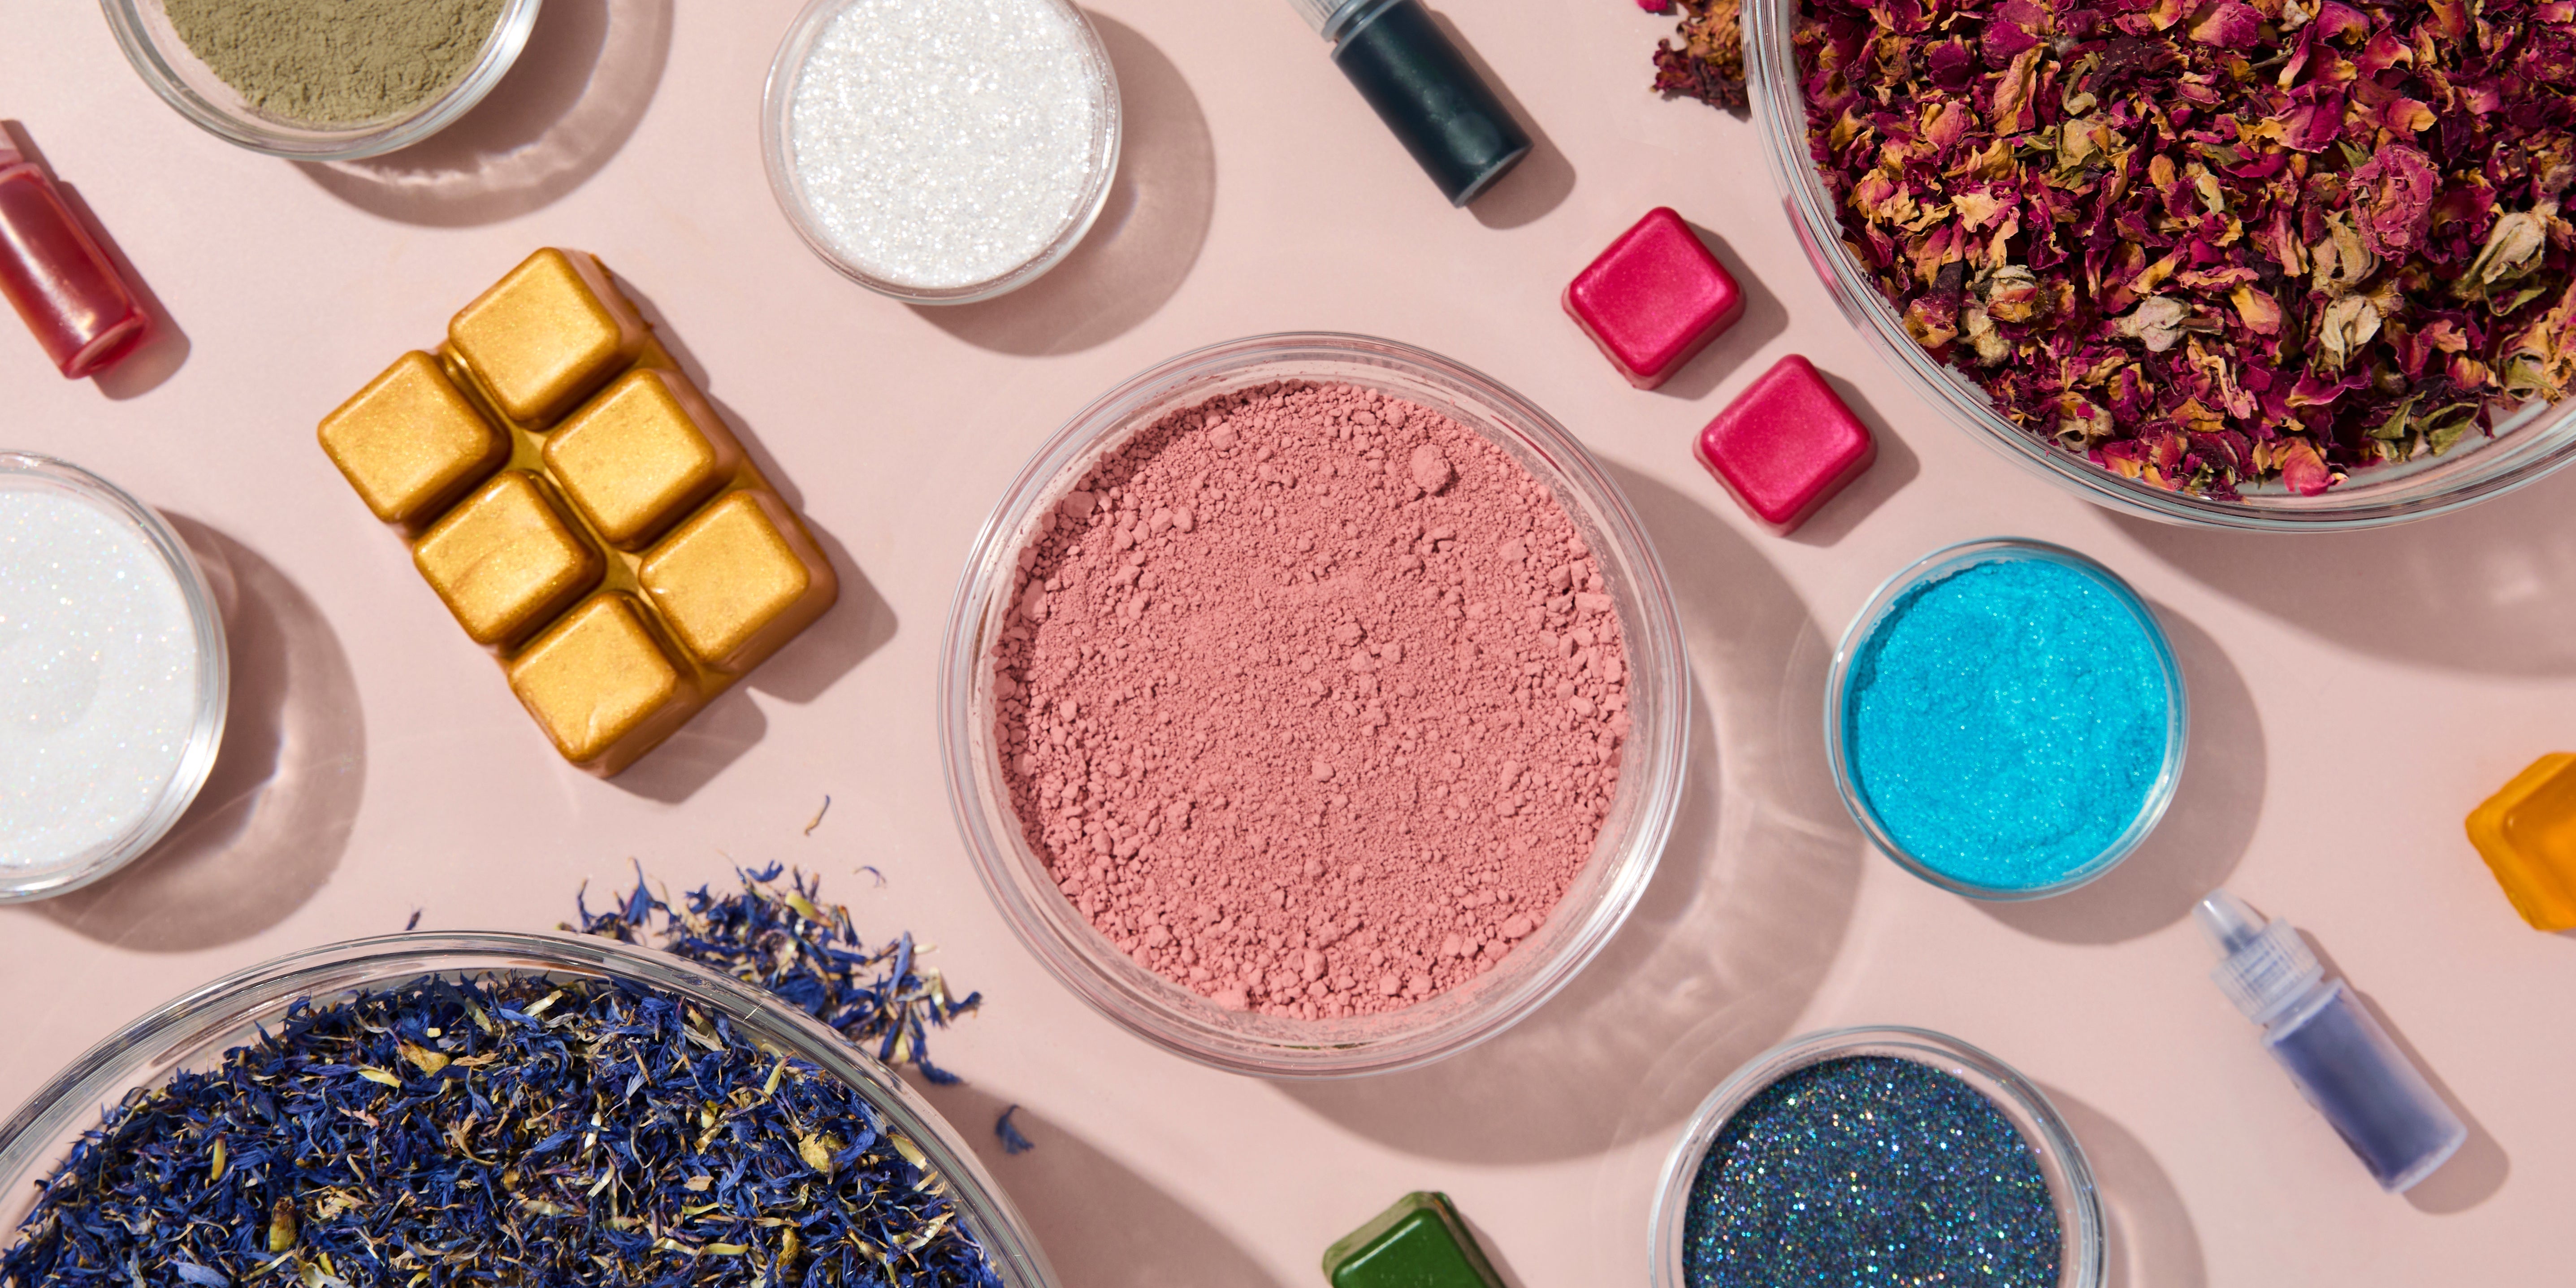
- The Perfect Blend of Ingredients
- Baking Soda (45 oz / 1276 g) - The backbone of your bath bomb, providing effervescence.
- Citric Acid (20 oz / 567 g) - Reacts with baking soda to create the fizz.
- Epsom Salts (6 oz / 170.1 g) - Adds a soothing, therapeutic quality.
- White Kaolin Clay (1 oz / 28.3 g) - For silky texture and skin softening.
- Cream of Tartar (1 oz / 28.3 g) - Stabilizes the fizz and structure.
- Sodium Lauryl Sulfoacetate (SLSA) (Optional, 0.5 oz) - Enhances the fizz and foam.
- Cocoa Butter (1 oz / 28.3 g) and Shea or Mango Butter (2 oz / 56.7 g) - Moisturizes and binds the mixture.
- Sunflower Oil (1 oz / 28.3 g) - A light carrier oil to nourish the skin.
- Polysorbate 80 (1 oz / 28.3 g) - Helps oil and color mix into the bathwater without staining.
- Fragrance or Essential Oil (2 oz / 56.7 g) - Scents your bath bombs beautifully.
- 91% Isopropyl Alcohol (2 oz / 56.7 g) - Binds the ingredients and aids in the molding process.
- Water Soluble Liquid Colorant (1 tsp / 5 mL) or tap water - Colors your bath bombs without staining the tub.
- Preparation: Begin by reading through all instructions carefully. Melting the butters requires caution; avoid using plastic containers for fragrance oils to prevent reaction and degradation.
- Melting Butters: Melt the cocoa and shea or mango butter using your chosen method, either in the microwave or a double boiler. Allow to cool briefly.
- Combining Dry Ingredients: In a large mixing bowl, thoroughly mix the dry ingredients, breaking up any clumps with your fingers. This ensures a smooth texture for your bath bombs.
- Incorporating Liquids: To the cooled butters, add the sunflower oil, polysorbate 80, isopropyl alcohol, liquid colorant (or tap water), and fragrance oil. Stir well to combine these wet ingredients.
- Final Mix: Pour the liquid mixture over the dry ingredients. Using your hands (protected with gloves), mix until well combined, ensuring there are no clumps. This hands-on approach allows for a finer control over the consistency of your bath bomb mixture, a crucial factor in the molding process.
This particular bath bomb base recipe is tailored for beginners and yields approximately seven bath bombs, each with a diameter of 2.6 inches and weighing about 4.5 ounces. It's worth noting that the size of the bath bomb mold you opt for will directly influence the quantity of your output—using larger molds results in fewer bath bombs, whereas smaller ones increase your batch size.
- Digital Scale
- Bath Bomb Mold (here's where knowing how to use bath bomb molds becomes crucial)
- Large Mixing Bowl
- Small Microwaveable Bowl
- Latex or Nitrile Gloves (essential for protecting your manicure during the process)
- 2 lbs Bath Bomb and Fizzy Base
- 2 oz Your Preferred Butter (enhancing the bath bombs' texture)
- 10 ml / 2 tsp Water Soluble Liquid Colorant or Tap Water
- 0.66 oz Fragrance Oil or Essential Oil (for a sensory delight)
- 2 oz 91% Isopropyl Alcohol (A staple available at any pharmacy, though if you're using 99% Isopropyl Alcohol, an adjustment with ½ tsp additional water or liquid colorant is advised. This variant can often be found in pharmacies or online platforms like WSP.)
- Prior to commencing, it's essential to familiarize yourself with all instructions and practice caution when handling melted oils. Avoid weighing fragrance oils in plastic containers; instead, opt for glass or stainless steel. Wearing gloves not only protects your hands but also keeps your manicure pristine.
- Begin by melting the cocoa butter in a small microwaveable bowl. This should take about 3 minutes on high power. Remember to stir halfway through the melting process. Alternatively, for those not using a microwave, melting the butter in a double boiler on the stove top is a viable option. Once melted, allow it to cool briefly.
- In a separate vessel, blend the liquid colorant or tap water with the isopropyl alcohol.
- The next step involves adding the melted cocoa butter and isopropyl alcohol mixture to the bath bomb and fizzy base situated in a large mixing bowl. Thoroughly combine the ingredients with your hands, ensuring any clumps are broken up. This process not only incorporates all the elements but also is a crucial stage in learning how to use a bath bomb mold effectively.
For those interested in producing petite, effervescent delights quickly, the Perfector is your go-to. It's not just about making tiny bath bombs but about precision and speed. If your goal includes protective, displayable packaging that also aids in retaining the shape of your bath bombs as they dry, our Plastic Bath Bomb Molds are the ideal choice. Lastly, our Stainless Steel Molds are the quintessential tools for creating bath bombs that are perfectly round and uniform, ensuring they're ready for the best way to ship bath bombs without compromising their integrity.
Before you dive into molding, take a moment to assess the consistency of your bath bomb mixture. It's crucial for the base to hold together when compressed, indicating it's ready for the mold. Achieving the perfect bath bomb requires a bit of experimentation. Whip up a few practice bombs to get a feel for the process, adjusting with a dash of isopropyl alcohol if the mixture crumbles or adding a sprinkle of baking soda if it feels too soft. Once you've nailed the consistency, you're set to start molding.
Molding Bath Bombs Using the Bath Bomb Perfector
For an efficient scooping process, especially when making bath bombs from scratch, transfer your mixture into a narrow bowl. To manage the tail end of your batch effectively, consider moving the remainder into a smaller cup. With the Perfector, scoop a generous amount of your prepared fizzy base, applying firm pressure to compact it. Neatly trim any excess from the mold's edges with your thumb, then gently tap the mold with a metal spoon or butter knife to loosen the bath bomb. Carefully release your creation and set it aside to dry.
Molding Bath Bombs Using Stainless Steel Molds
Begin by generously filling each half of your mold with the bath bomb mixture without compressing it. Bring the two halves together firmly without twisting. Clean any stray bits from the mold's edge with a gentle swipe of your thumb. While holding the mold in one hand, apply a s