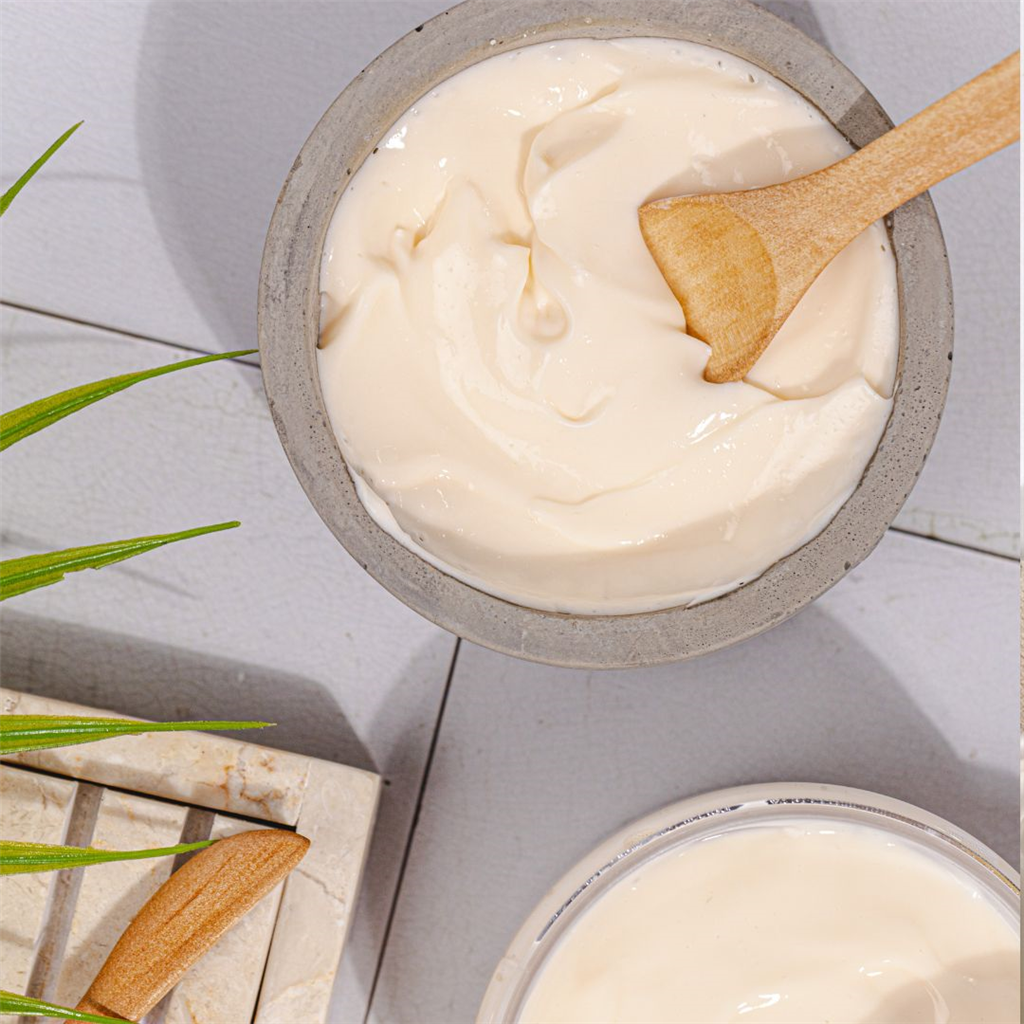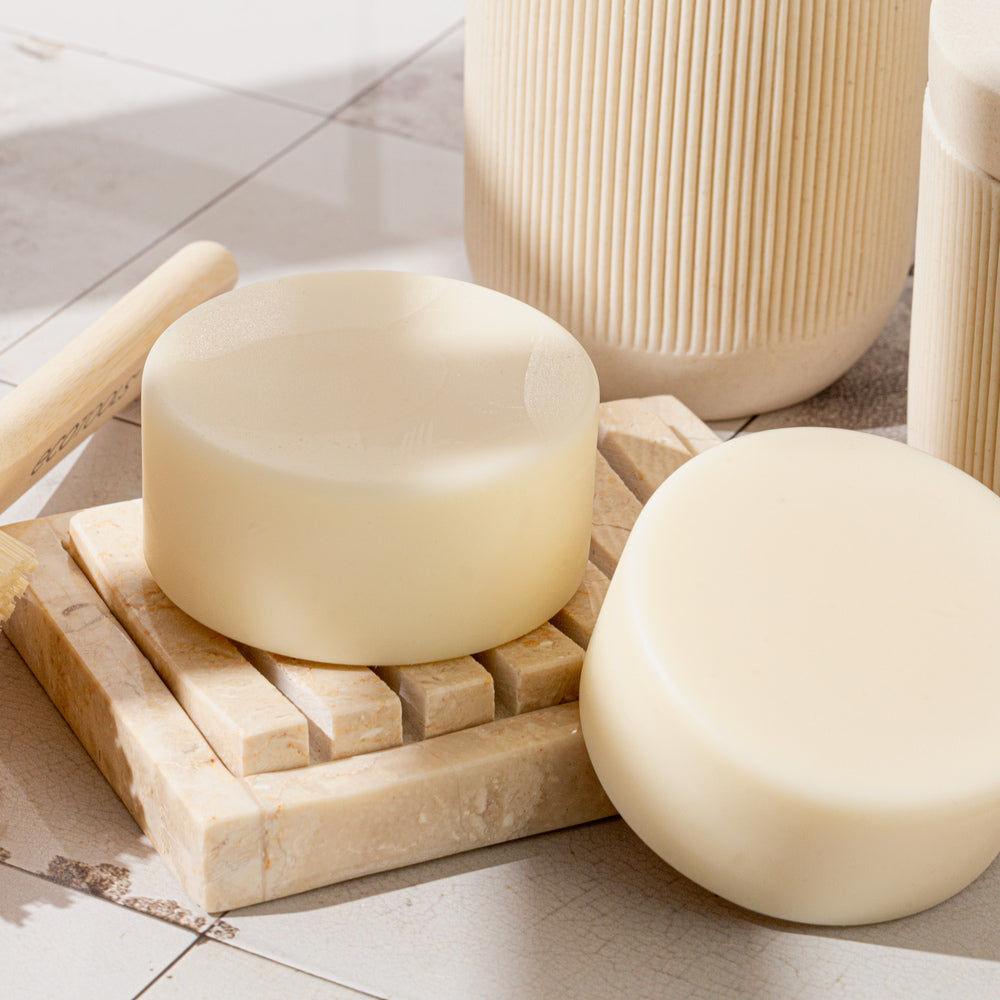
How To Make Melt and Pour Soap Video
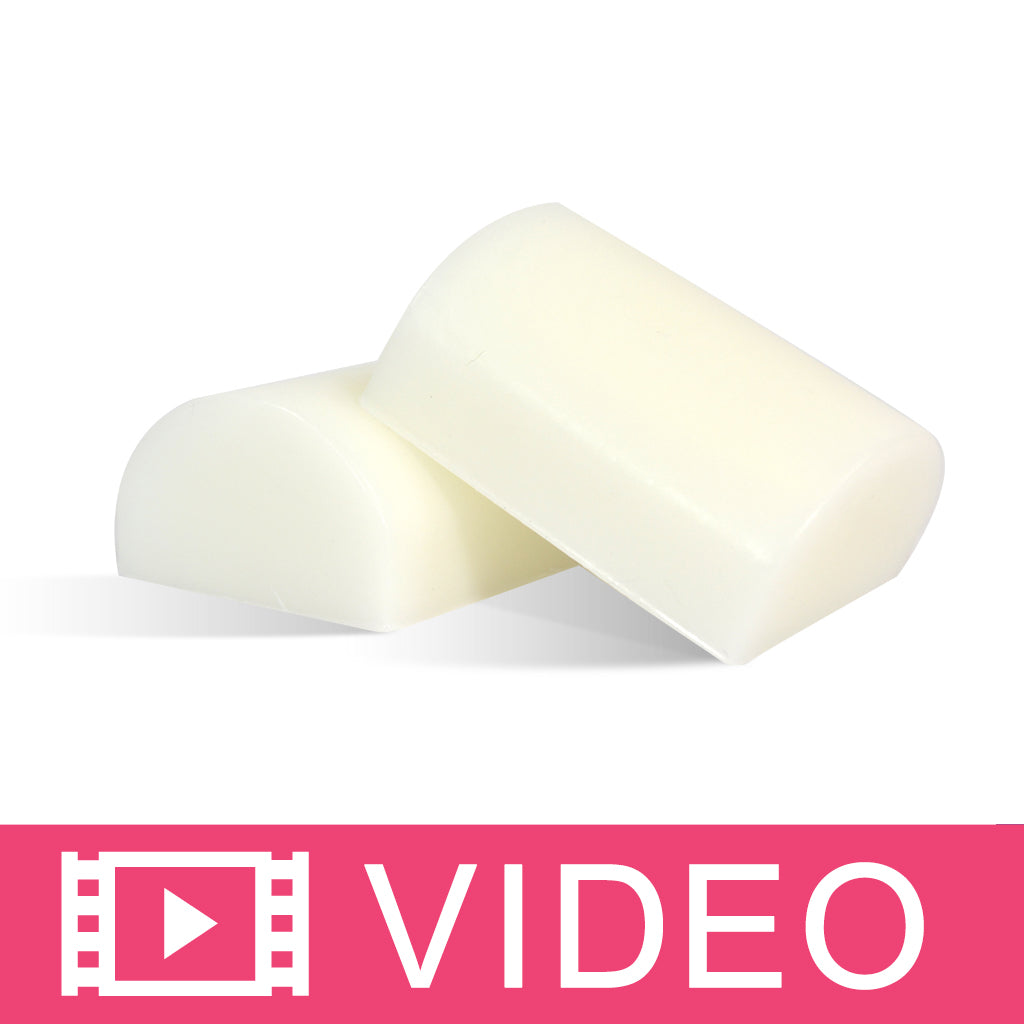
Are you new to soap making? This is the video to watch to learn the basics to get started making soap! This video is an introduction to melt and pour soap, and instructs you how to make a simple bar soap. In this recipe we use Basic Goat Milk MP Soap Base, Revitalizing Rosemary Mint Fragrance Oil and a Euro Round Silicone Soap Mold to create this lovely soap. Once you learn the basics, you can add color, choose a different mold or choose a different fragrance to create a soap bar customized to your taste. Are you new to soap making?