Articles

Article
Layered DIY Mason Jar Candles

Article
Best Gourmand Scents for Homemade Projects
Article
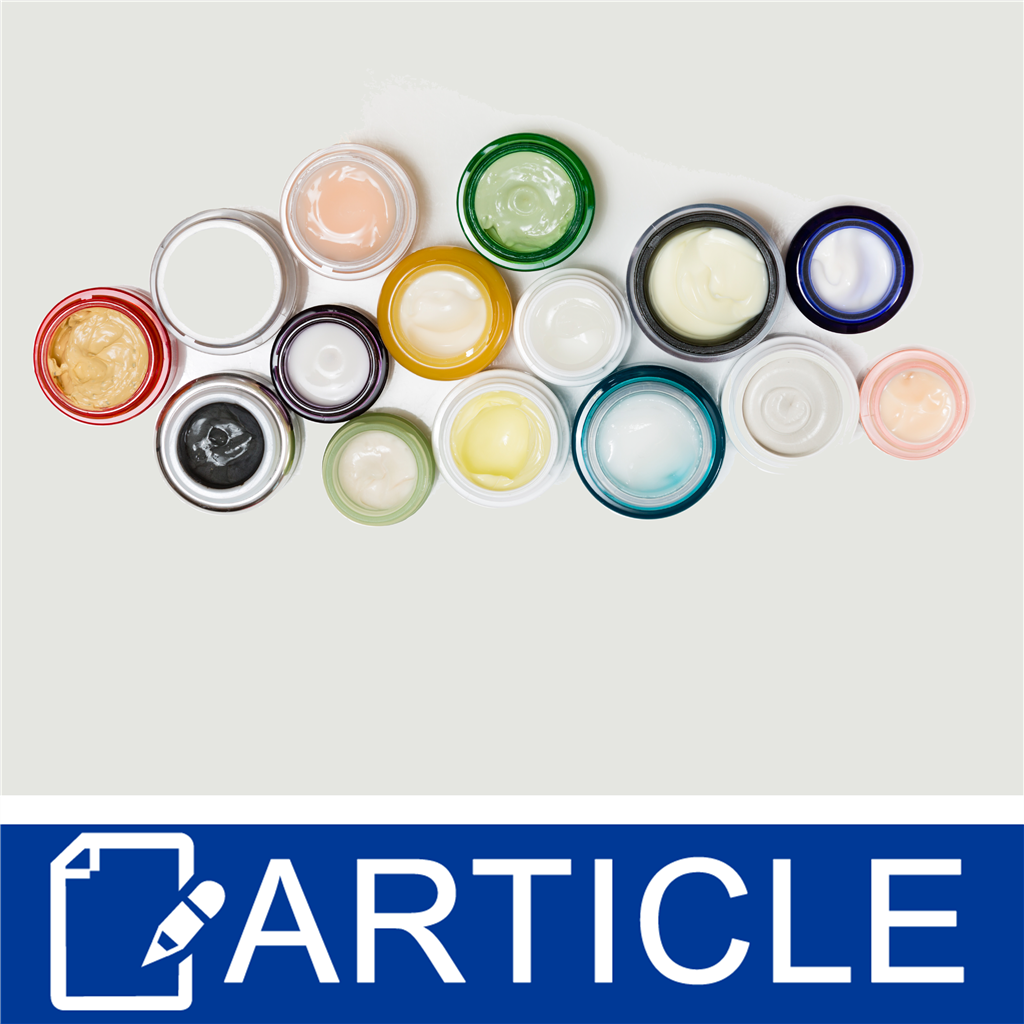
Emulsifiers
Article
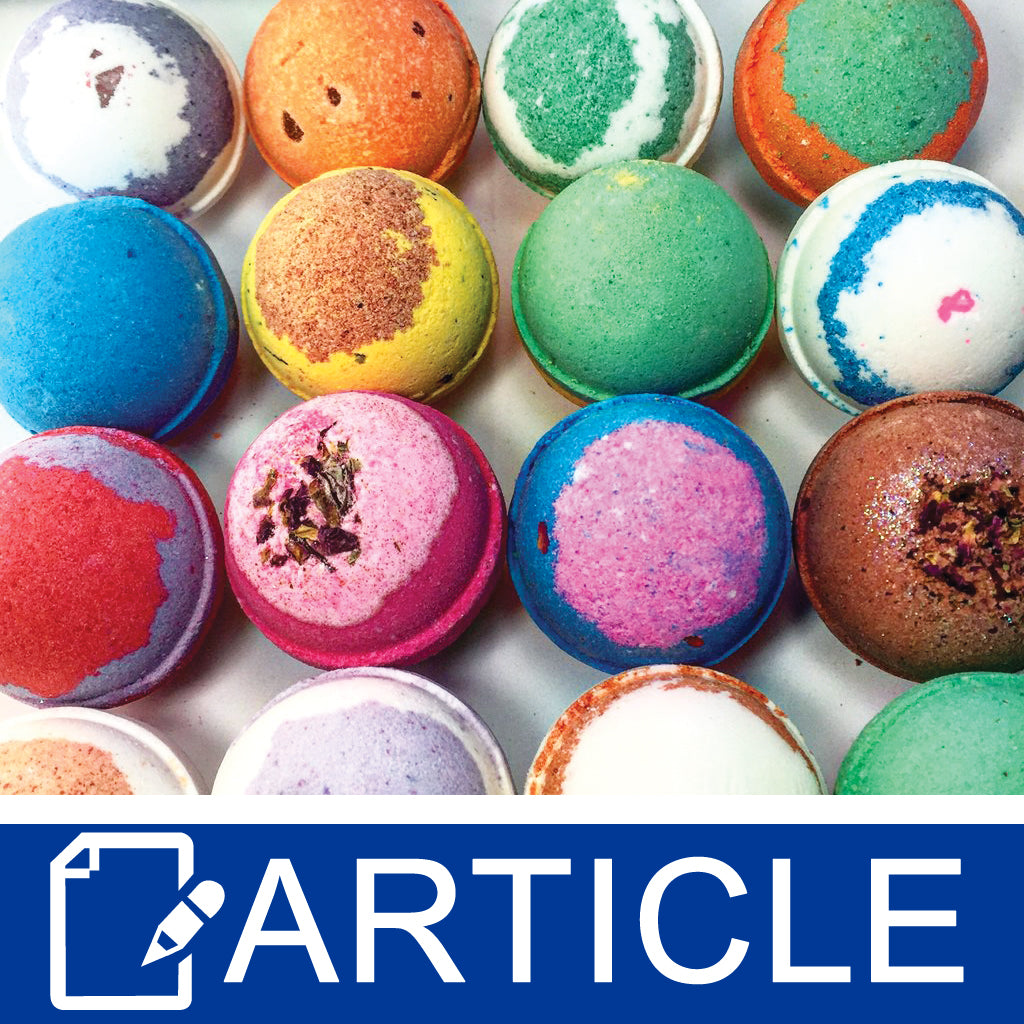
Chemistry of Bath Bombs

Article
If An Avocado Could Talk
Article
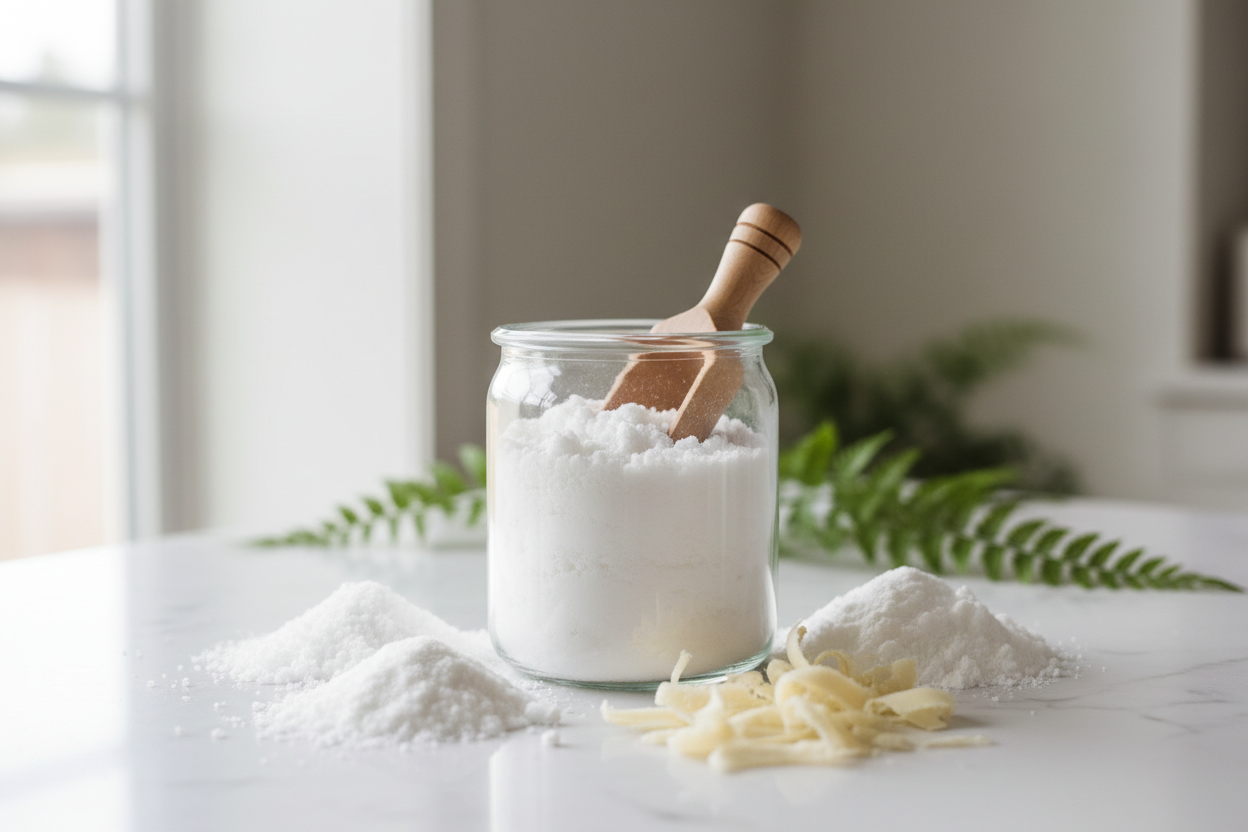
DIY Natural Laundry Detergent Powder Recipe: Clean and Green Laundry Solution

Article
How to Support a Cause as a Small Business

Article
All About E-Commerce

Article
How to Make Candle Carvings
Article
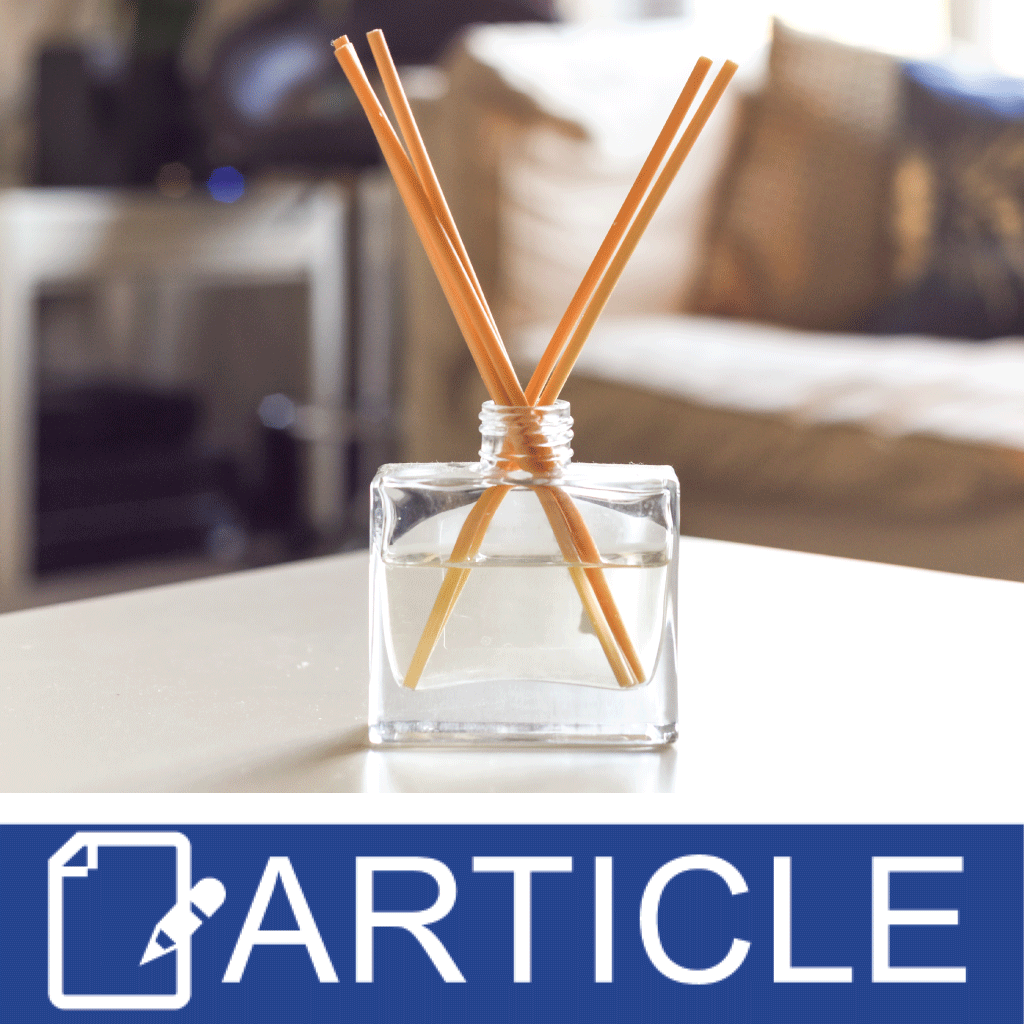
Tips for Room Diffusers & Aromatherapy
Article
Video Newsletter Farmer's Market Inspiration

Article
Proteins In Our Products
Best Sellers
View All

Crafter's Choice
Orange (Sweet) Essential Oil - 100% Pure 134


Crafter's Choice
Black Raspberry Vanilla* - EO & FO Blend 89


Crafter's Choice
Eucalyptus (80/82) Essential Oil - 100% Pure 705


Crafter's Choice
Pink Grapefruit Fragrance Oil 97


Crafter's Choice
Lemon Essential Oil - 100% Pure 140


Crafter's Choice
Sandalwood - EO & FO Blend 104


Crafter's Choice
Barber Shoppe - EO & FO Blend 123


Crafter's Choice
Lemongrass Essential Oil - 100% Pure 138


Crafter's Choice
Tea Tree Essential Oil - 100% Pure 136


Rustic Escentuals
Beachwood Vetiver Fragrance Oil 15014
Crafter's Choice
Orange (Sweet) Essential Oil - 100% Pure 134
Crafter's Choice
Black Raspberry Vanilla* - EO & FO Blend 89


Crafter's Choice
Lavender 40/42 Essential Oil - 100% Pure 139


Crafter's Choice
Love Spell* - EO & FO Blend 90

Crafter's Choice
Lavender Fragrance Oil 91


Crafter's Choice
Oatmeal, Milk & Honey ORIGINAL Fragrance Oil 105
Crafter's Choice
Eucalyptus (80/82) Essential Oil - 100% Pure 705
Crafter's Choice
Pink Grapefruit Fragrance Oil 97
Crafter's Choice
Lemon Essential Oil - 100% Pure 140
Crafter's Choice
Sandalwood - EO & FO Blend 104


Crafter's Choice
Foaming Bath Whip - Traditional


Crafter's Choice
Aloe Vera Gel


Crafter's Choice
Shower Gel - Crystal Clear


Crafter's Choice
Liquid Suspension Soap Base


Crafter's Choice
Shea Butter & Aloe Lotion


Crafter's Choice
Goat Milk & Honey Lotion


Crafter's Choice
Lip Balm Base for Sticks


Crafter's Choice
Body Wash - Pearl (Sulfate Free & Paraben Free)


Crafter's Choice
Satin & Silk Lotion


Crafter's Choice
Basic Lotion Base


Crafter's Choice
Citric Acid Powder


Crafter's Choice
White Kaolin Clay


Crafter's Choice
Glycerin - Natural


Crafter's Choice
Preservative - Water Soluble PF (Compare to Germall Plus)


Crafter's Choice
Stearic Acid


Crafter's Choice
Sodium Hydroxide Flakes


Crafter's Choice
Polysorbate 80


Crafter's Choice
Emulsifying Wax - Soft & Silky

Crafter's Choice
Baking Soda (Sodium Bicarbonate)


Crafter's Choice
Oatmeal - Colloidal


Crafter's Choice
Beeswax - Yellow Pastilles


Crafter's Choice
Beeswax - Ivory

Golden Brands
Golden Brands 464 Container Soy Wax


Crafter's Choice
Beeswax - Ultra Refined & Bleached

Rustic Escentuals
Ky Para-Soy Tart & Votive Blend Wax

Rustic Escentuals
Ky 133 Versatile Paraffin Wax Blend

Golden Brands
Golden Brands 415 Soy Wax

ProBlend
ProBlend 600 Para-Soy Container Wax

Golden Brands
Golden Brands 454 Coconut Soy Wax
Rustic Escentuals