Articles

Squiggle 2" Column Silicone Soap Mold Video

Article

Squiggle 2" Column Silicone Soap Mold Video

This video demonstrates how easy it is to make a 2" squiggle shaped soap using the Crafter's Choice Squiggle 2" Column Silicone Soap Mold. The squiggle soap looks great embedded into a larger loaf of soap! Use them on their own for interesting designs or with a daisy or tulip for a full flower. Perfect for spring, Mother's Day, and Valentine's Day.
Hydrolized Rice Protein

Article

Hydrolized Rice Protein

Hydrolized Rice Protein is an additive ingredient for cosmetics largely known for use in skin and haircare products.
DIY Turmeric Face Scrub Recipe

Article

DIY Turmeric Face Scrub Recipe

Turmeric has long been cherished for its skin-enhancing properties, making it a popular ingredient in beauty routines worldwide. If you're looking to brighten your complexion and give your skin a healthy glow, a turmeric face scrub might be just the solution. This easy-to-make, all-natural scrub can exfoliate gently while promoting a more even skin tone. Here's how to make your own turmeric face scrub at home with simple ingredients you likely already have in your kitchen. 1 tablespoon turmeric powder 2 tablespoons finely ground oats or sugar 1 tablespoon honey (optional for added moisture) 1 tablespoon plain yogurt (optional for a creamy texture) 1 tablespoon coconut oil or olive oil Mix Dry Ingredients: In a small bowl, combine the turmeric powder and finely ground oats or sugar. The oats offer a gentler exfoliant, while sugar will provide a slightly rougher texture for more intense exfoliation. Add Wet Ingredients: Stir in the honey and yogurt to form a paste. These ingredients help add moisture and offer soothing properties to your skin. Add the coconut or olive oil gradually, mixing until you reach a spreadable consistency. Apply the Scrub: Gently massage the diy turmeric face scrub onto clean, damp skin in circular motions, avoiding the delicate area around the eyes. Allow the scrub to sit for 1-2 minutes before rinsing with warm water. Moisturize: After rinsing, pat your skin dry and follow up with your favorite facial moisturizer to lock in hydration. A turmeric face scrub can help rejuvenate your skin by exfoliating dead cells, brightening your complexion, and reducing the appearance of dark spots. The anti-inflammatory properties of turmeric also make it great for soothing irritated skin. Plus, the additional ingredients like honey and yogurt work to keep your skin moisturized and soft. 1. How often should I use a turmeric face scrub?It's best to use your homemade turmeric face scrub 1-2 times a week. Over-exfoliating can irritate the skin, so it’s important to give your skin time to recover between uses.2. Can turmeric stain my skin?While turmeric has a strong yellow pigment, it typically washes off after rinsing. However, if you’re worried about staining, use less turmeric or rinse thoroughly with a mild cleanser afterward. The use of oil in the scrub also helps prevent staining.3. Is this diy turmeric face scrub suitable for all skin types?Yes, this scrub is generally safe for most skin types. However, if you have very sensitive skin, you might want to patch test first or use oats instead of sugar for a gentler exfoliation. The honey and yogurt also provide added moisture, making it suitable for dry or combination skin.4. Can I store the turmeric face scrub for future use?It’s best to make this scrub fresh each time you use it, as natural ingredients can spoil. However, if you’d like to store it, keep it in an airtight container in the refrigerator and use it within 3-4 days.
Stay Organized and Sane During the Busy Season

Article

Stay Organized and Sane During the Busy Season

Do the busy fall/winter seasons sneak up on you year-after-year? It may be simply due to a little lack of preparation on your part. Ramp up now by getting organized, making decisions and doing a little research. From finding happy solutions for the demands of family, to hiring seasonal help, there are many things you can do now to make this season productive, organized and profitable. 
Best Essential Oils for Candle Making

Article

Best Essential Oils for Candle Making

When it comes to creating high-quality candles, the choice of essential oils plays a crucial role. While some may question the compatibility of essential oils with candle making, it's essential to understand that not all essential oils are created equal. Wholesale Supplies Plus emphasizes the importance of using the best essential oils for candle making to ensure a delightful and long-lasting fragrance.
Creating Your Credibility

Article

Creating Your Credibility

For startups, building your business credibilty may seem like a challenge, but with these quick tips you'll be on your way to building a customer base.
Kaolin Clay Mask Recipe: A Gentle Detox for All Skin Types

Article

Kaolin Clay Mask Recipe: A Gentle Detox for All Skin Types

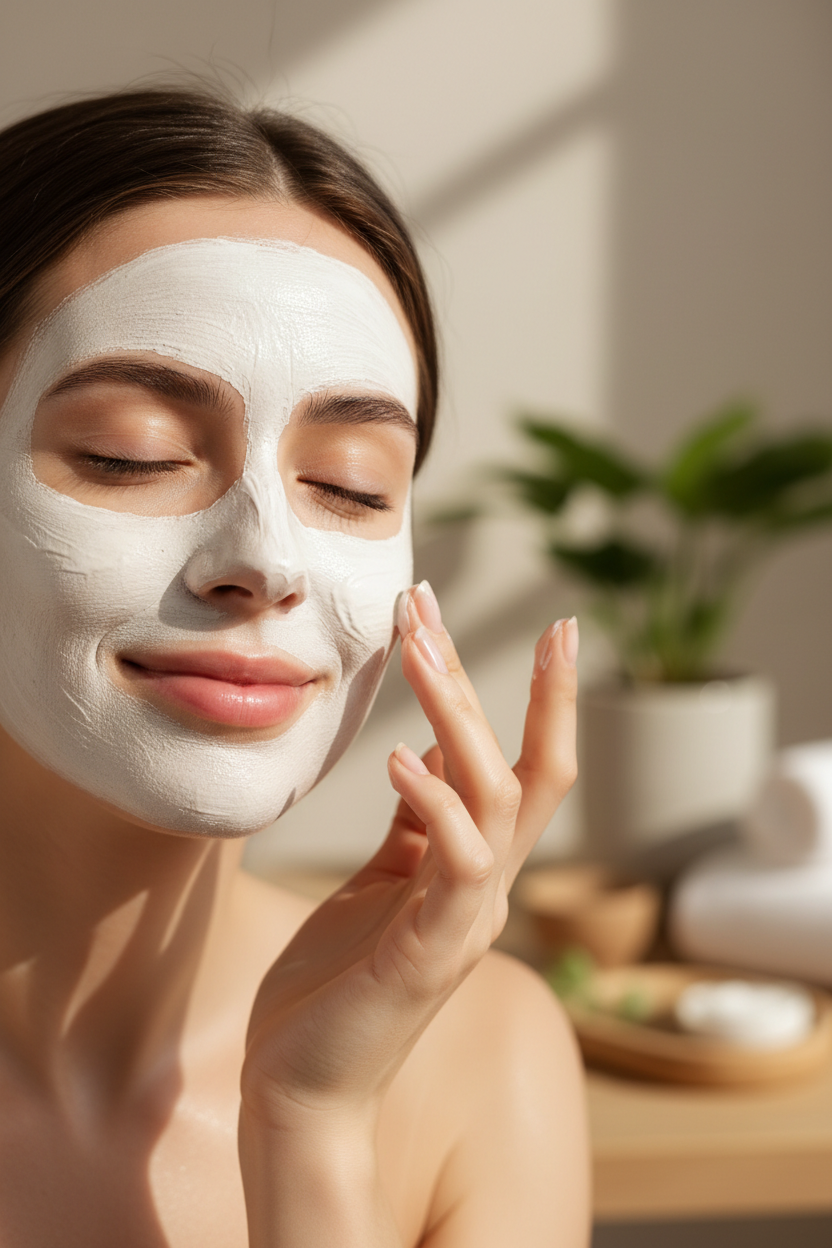
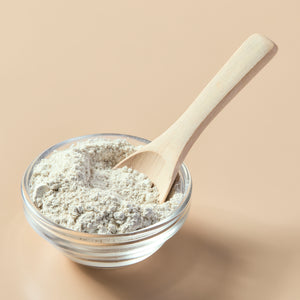
If you're looking for a gentle yet effective detox for your skin, a Kaolin clay mask is the perfect solution. Kaolin clay is known for its mild exfoliating and cleansing properties, making it suitable for even the most sensitive skin. This DIY clay mask is easy to make at home and offers numerous benefits for a wide range of skin types. In this guide, we'll explore what makes Kaolin clay so special and how you can create your own Kaolin clay face mask to refresh and rejuvenate your skin. Kaolin clay, also known as white clay or China clay, is a soft, fine-textured clay that has been used in skincare for centuries. Unlike other clays, Kaolin is particularly gentle and has a lower pH, which means it won't strip your skin of its natural oils. It's rich in minerals like silica and works by absorbing excess oil, removing impurities, and exfoliating dead skin cells. Thanks to its mild nature, Kaolin clay is suitable for all skin types, including dry, sensitive, and mature skin. Incorporating Kaolin clay into your skincare routine can offer a variety of benefits: Gentle Detoxification: Kaolin clay is believed to draw out toxins, dirt, and impurities from the skin without causing irritation or dryness. Oil Control: Its absorbent properties make it excellent for balancing oily skin by reducing excess sebum production, which can help prevent breakouts. Exfoliation: The fine texture of Kaolin clay provides a mild exfoliation that helps slough off dead skin cells, leaving your skin feeling soft and smooth. Soothes Irritation: Because of its gentle nature, Kaolin clay can help soothe irritated or inflamed skin, making it ideal for sensitive or reactive skin. Improved Skin Tone: Regular use of Kaolin clay face masks can help brighten your complexion by improving circulation and removing dead skin cells that can make your skin look dull. Creating your own Kaolin clay mask at home is simple, and you only need a few basic ingredients: Kaolin Clay: The star ingredient, known for its detoxifying and exfoliating properties. Water or Rose Water: Rose water adds a soothing element to the clay when mixed with it, but plain water works just as well. Aloe Vera Gel (Optional): This gel adds moisture and helps to soothe the skin, especially for those with sensitive or dry skin. Honey (Optional): Honey, known for its antibacterial and moisturizing properties, can give your mask a nourishing boost. Essential Oils (Optional): Depending on your skin's needs, a few drops of essential oils like lavender or tea tree oil can add extra benefits. Here's how to make a simple yet effective Kaolin clay mask at home: Measure the Ingredients: In a small bowl, combine 1 tablespoon of Kaolin clay with 1 tablespoon of water or rose water. Adjust the amounts if needed to achieve a smooth, paste-like consistency. Add Optional Ingredients: If you'd like to add moisture or additional benefits, mix in ½ teaspoon of aloe vera gel and/or ½ teaspoon of honey. You can also add 1-2 drops of essential oil if desired. Mix Thoroughly: Stir the ingredients together until you form a smooth paste. The mixture should be thick enough to spread easily but not too runny. Apply the Mask: Using clean fingers or a brush, apply a thin, even layer of the mask to your face, avoiding the eye and mouth areas. Let It Sit: Allow the mask to sit for 10-15 minutes. You don't want the mask to dry out completely, as this can cause unnecessary dryness, especially for sensitive skin. Rinse Off: After 10-15 minutes, gently rinse the mask off with warm water, using circular motions to help exfoliate the skin as you remove it. Moisturize: After patting your skin dry, apply your favorite moisturizer to lock in hydration and soothe the skin. For optimal results, here are some tips on how to use a Kaolin clay mask:Frequency: Use the mask once or twice a week to keep your skin balanced and refreshed. Overuse can cause dryness, especially if you have sensitive skin. Application Tips: Always apply the mask to clean skin, so the clay can properly absorb excess oil and impurities without interference from surface dirt or makeup. Moisturize After Use: Because clay masks can remove oil from the skin, it's important to follow up with a good moisturizer to replenish hydration. Patch Test: If you're trying Kaolin clay for the first time, it's a good idea to do a patch test on a small area of skin to ensure you don't have any sensitivities or allergies to the clay. Q: Is Kaolin clay good for all skin types?A: Yes, Kaolin clay is known for being one of the gentlest clays, making it suitable for all skin types, including sensitive, dry, and mature skin.Q: How often can I use a Kaolin clay mask?A: You can use a Kaolin clay mask once or twice a week. For those with very dry or sensitive skin, once a week may be sufficient to avoid over-drying.Q: Can I use Kaolin clay if I have acne-prone skin?A: Yes, Kaolin clay's oil-absorbing properties can help balance oily skin and reduce breakouts. However, it's always best to monitor how your skin responds, especially if you have active acne.Q: What's the difference between Kaolin clay and other clays?A: Kaolin clay is much gentler than other clays like bentonite or French green clay, making it ideal for sensitive skin. It's also less drying, which is why it's popular for more frequent use.
Winterizing Your Skin and Hair

Article

Winterizing Your Skin and Hair

Winter is a harsh time on all skin and hair types. The proportion of ceramide 1 linoleate (acylceramide) decreases, leading to dry, itchy skin. Exposure to the elements and increased heat at home, your car and work can result in wind or cold chapped skin or dry, brittle hair. When your stratum corneum or outer layer is damaged, transepidermal water loss (TEWL) increases, starting a cycle of dry skin becoming drier because it doesn’t have the moisture it needs and it can’t retain the little moisture it has. During this chilliest season, we want to choose ingredients that soothe itchy, cracked skin and lifeless tresses by hydrating and moisturizing while protecting from future damage and inflammation.
Fragrance Formulator: Red, White & Blue Scents

Article

Fragrance Formulator: Red, White & Blue Scents

This month we are inspired by red, white and blue! This classic color combination is suitable not only for Independence Day, but also Labor Day. Summer picnics and family gatherings came to mind when creating these scents. We thought of a sunny summer picnic with blue skies, a red gingham picnic blanket, fizzy sodas and all of our favorite desserts. Our fragrance blends are based on ten parts. Each part represents 10% of the fragrance blend.
How to Use Body Language to Make a Sale

Article

How to Use Body Language to Make a Sale

When making sales, the connection betwen your audience and you is the most important thing. Body language and verbal cues will help you effectively communicate and ultimately make your sale.
DIY Holiday Soap Ideas to Craft the Perfect Seasonal Gifts
Article

DIY Holiday Soap Ideas to Craft the Perfect Seasonal Gifts

The holiday season is the perfect time to get creative and make personalized gifts for your loved ones. One of the most thoughtful and practical gifts you can make is a set of DIY holiday soaps. These handmade treasures not only smell divine but also add a personal touch that store-bought gifts simply can't match. Whether you're a seasoned soap maker or a complete beginner, crafting holiday soaps is a fun and rewarding way to spread holiday cheer. Before you dive into your Christmas soap ideas, it's important to gather all the necessary supplies. Here's what you'll need to start crafting your holiday soap bars: Soap Base: Choose from a variety of bases such as glycerin, shea butter, or goat's milk. Each base has its own unique properties that can enhance your holiday soaps. Fragrance Oils: To create those delightful holiday scents, you'll need a selection of Christmas fragrance oils. Popular choices include peppermint, cinnamon, gingerbread, and pine. Colorants: Add a festive touch to your soaps with natural or cosmetic-grade colorants. Red, green, gold, and white are perfect for the holiday season. Molds: Soap molds come in various shapes and sizes. Consider using holiday-themed molds like snowflakes, Christmas trees, or stars to make your soaps even more special. Additives: Enhance the texture and appearance of your holiday soaps with additives like oatmeal, dried herbs, or glitter. Tools: Don't forget basic tools like a microwave-safe bowl for melting the soap base, a stirring utensil, and a spray bottle filled with rubbing alcohol to eliminate bubbles. Whether you're new to soap making or have been crafting for years, there are plenty of Christmas soap ideas to try. Here are a few ideas suitable for different skill levels: Peppermint Swirl Soap (Beginner): This simple yet striking soap features red and white swirls and a refreshing peppermint scent. It's a great project for beginners and makes for an eye-catching gift. Gingerbread Soap Bars (Intermediate): Infuse your holiday soaps with the warm, spicy scent of gingerbread. Use a gingerbread man mold and add a touch of cinnamon for a soap that looks and smells like the holidays. Layered Christmas Tree Soap (Advanced): For those who want to challenge themselves, try making layered holiday soap bars in the shape of Christmas trees. Use different shades of green and add a touch of glitter to create a dazzling effect. Hot Cocoa Soap (All Levels): This cozy soap mimics the look of a hot cocoa mug, complete with marshmallow-like soap on top. It's a fun and festive option that's sure to delight anyone on your gift list. Ready to start crafting your holiday soap ideas? Follow this simple step-by-step guide to create your own festive soap bars: Melt the Soap Base: Cut your soap base into small chunks and melt it in a microwave-safe bowl. Heat in short intervals, stirring between each, until fully melted. Add Fragrance and Color: Once the soap base is melted, stir in your chosen Christmas fragrance oils and colorants. Mix well to ensure even distribution. Pour into Molds: Carefully pour the scented and colored soap mixture into your holiday-themed molds. Use a spray bottle filled with rubbing alcohol to eliminate any bubbles that form on the surface. Let It Set: Allow the soap to cool and harden completely in the molds. This can take a few hours, depending on the size and thickness of the soap bars. Remove and Package: Once the soap has set, gently remove it from the molds. Your festive holiday soaps are now ready to be packaged and gifted! Presentation is key when it comes to gift-giving, and your holiday soaps are no exception. Here are some ideas to make your homemade holiday soap bars look as beautiful as they smell: Wrapping: Wrap each soap bar in decorative paper or place it in a small gift box. Use ribbon, twine, or holiday-themed stickers to secure the wrapping. Labels: Create custom labels with the name of the soap and the ingredients used. This adds a professional touch and lets the recipient know exactly what they're getting. Gift Sets: Consider bundling several different holiday soap bars together to create a gift set. Arrange them in a basket or box with a festive bow on top. Personal Notes: Include a handwritten note or a holiday card with a personal message to make the gift even more special. Q: Can I use essential oils instead of fragrance oils in my holiday soaps?A: Yes, essential oils can be used, but keep in mind that they may not be as strong or long-lasting as Christmas fragrance oils. Additionally, some essential oils may have skin sensitivity issues, so always check before using.Q: How long do homemade holiday soaps last?A: Properly made and stored holiday soaps can last for up to a year. Be sure to keep them in a cool, dry place to maintain their fragrance and quality.Q: Can I customize the ingredients in my holiday soaps?A: Absolutely! DIY holiday soaps are highly customizable. You can experiment with different bases, scents, colors, and additives to create a unique product that suits your preferences.Q: Are DIY holiday soaps safe for sensitive skin?A: Most holiday soaps are gentle and safe for all skin types, especially if you use mild ingredients. However, if you have sensitive skin, choose fragrance oils and colorants that are designed for sensitive skin.DIY holiday soaps are a fantastic way to create personalized, thoughtful gifts that your friends and family will love. With a few simple supplies and a little creativity, you can craft beautiful and fragrant holiday soap bars that capture the magic of the season. So, gather your materials, get inspired by these Christmas soap ideas, and start making your holiday gifts today!
Hot Process Soap Making Frequently Asked Questions

Article

Hot Process Soap Making Frequently Asked Questions

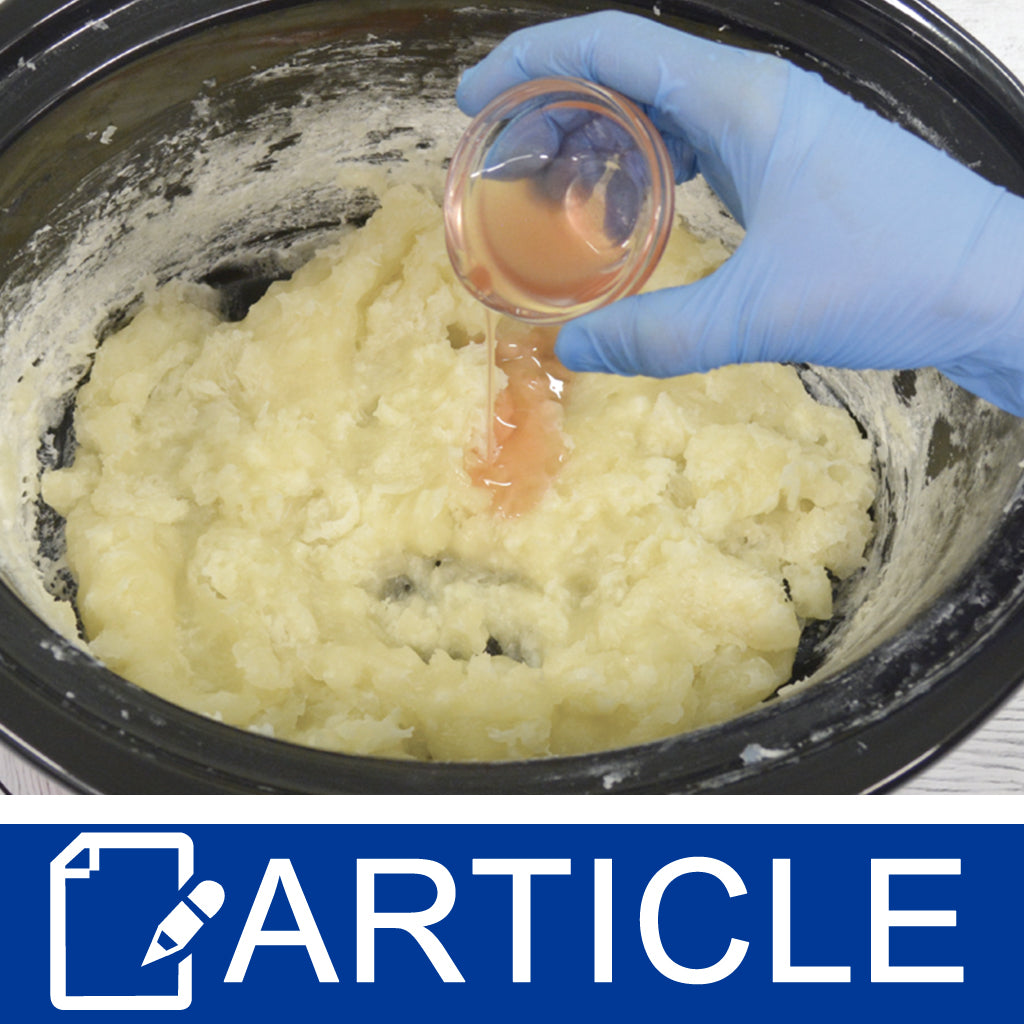
This article answers questions related to the slow cooker method of making hot process soap.