Help & How Tos

Troubleshooting: Creating Layers in Melt & Pour Soap
Article

Troubleshooting: Creating Layers in Melt & Pour Soap
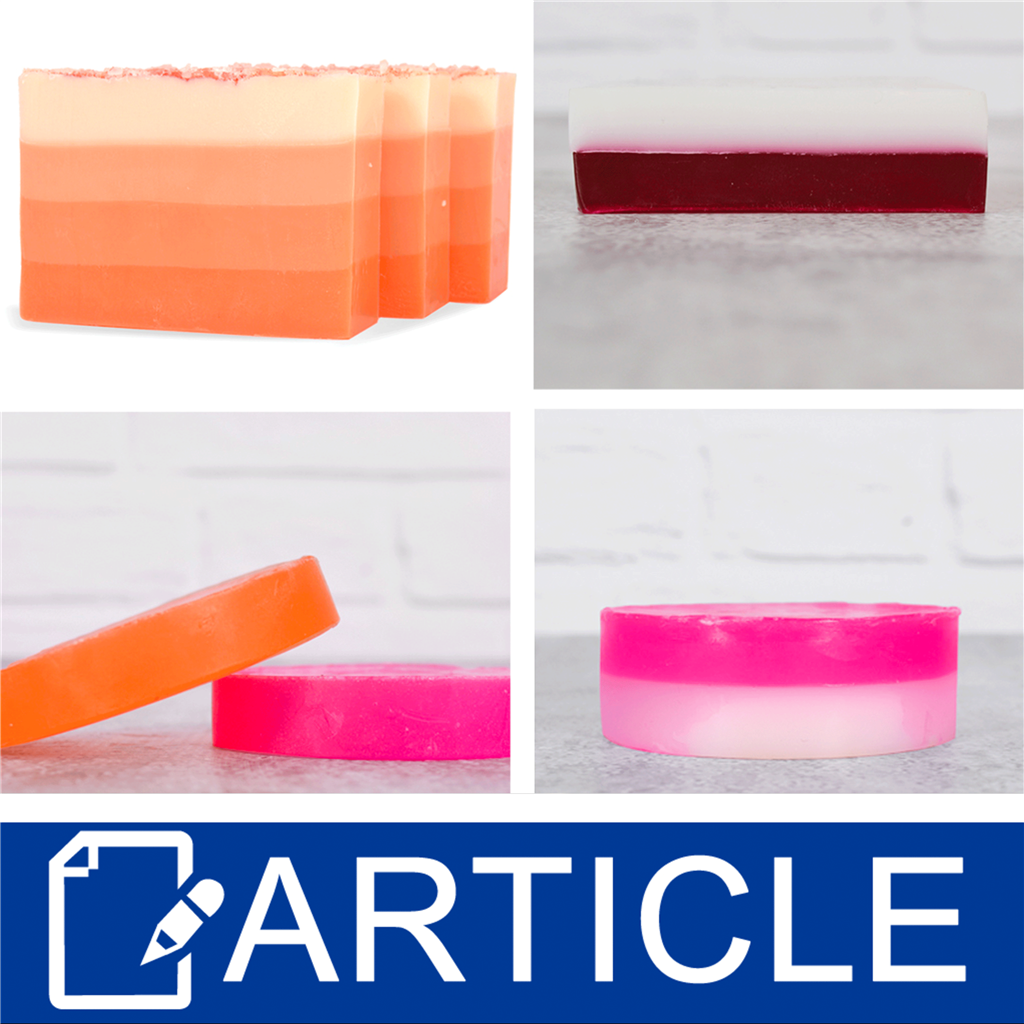
Goal: Beautiful Clean LayersSoap with different colors or fragrances can be combined into one bar. It is not only unique but visually appealing with the added dimension to your final product. Creating layers can be tricky but they’re not impossible, read more to pick up tips and tricks to create flawless layers.
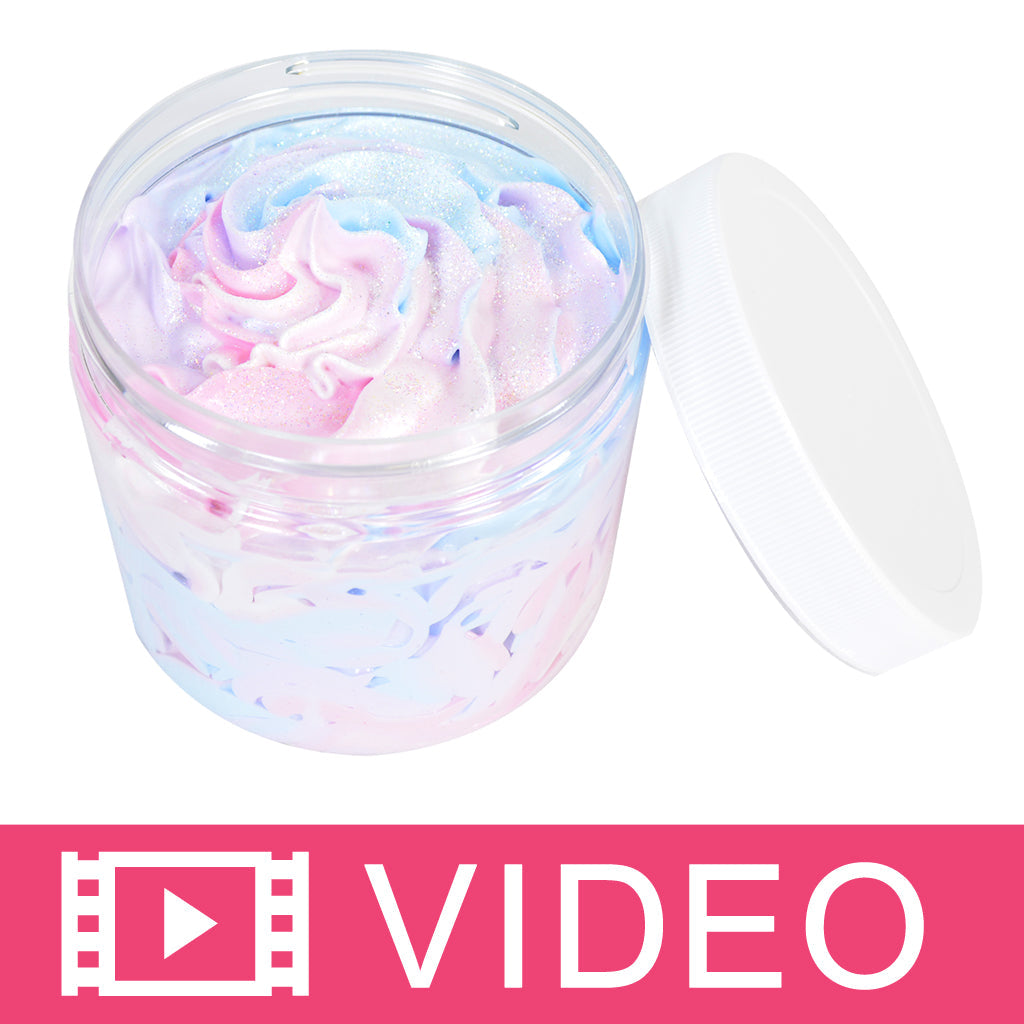
How to Pipe Multiple Colors Video

Article

How to Pipe Multiple Colors Video
Watch how we pipe our Unicorn Dream Whipped Soap! This fun recipe hits on the unicorn trend and is topped with sparkling glitter. This technique can be used to pipe whipped soap or lotion. Choose different colors to customize your product for any trend or occasion.

Article

Rhassoul Clay for Hair: Benefits, Uses, and DIY Shampoo Tips

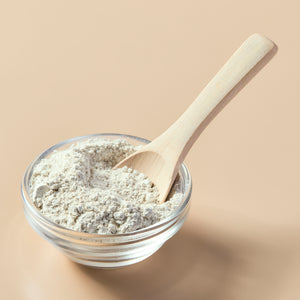
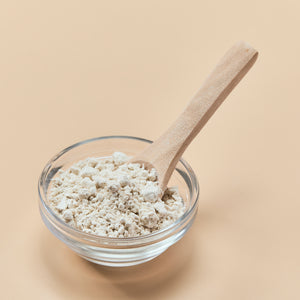
Rhassoul clay, also known as Moroccan lava clay, has been used in beauty and skincare routines for hundreds of years. Sourced from the Atlas Mountains in Morocco, this naturally occurring clay is chock full of rich minerals with cleansing and rejuvenating effects. For skincare and beauty, Rhassoul clay offers a versatile and all-natural ingredient option that supports clean beauty goals and DIY hair and skin formulas. Sought for its cleansing and soothing abilities, Rhassoul is a mineral-rich clay that's formed by volcanoes. It's a proven all-natural exfoliate often added to hair and skincare routines.Plus, it's great for sensitive scalps and for those who adopt a less-is-more approach to their skincare products. It has a reddish-brown color due to its natural blend of minerals, including silica, magnesium, iron oxide, potassium, and calcium. Gently Cleanses the ScalpFor hair care, Rhassoul clay acts as a gentle cleanser. It helps remove excess oils and build-up and is ideal for those who prefer a no-shampoo care routine. Some of the best Rhassoul clay benefits for hair care are that it removes impurities, adds volume, and leaves your hair with a luxurious sheen. May Help With Oil and Build-upRhassoul clay is naturally absorbent. That's why it's useful for treating oily scalps and removing residue from other products. Use Rhassoul clay for a cleaner, lighter feel to your hair, especially when used regularly. Enhance Curl Definition and VolumeWith the right touch, curly hair thrives when treated with Rhassoul clay. Don't tame your hair. Embrace its natural voluminous state with Rhassoul clay. Rich in Minerals That Support Scalp HealthSilica and magnesium are scientifically proven to support hair and scalps. The NIH has conducted multiple studies that analyze the impacts of magnesium on health and silica for skin and hair care. That's one of the many reasons Rhassoul clay is a must-have for DIY creators and people with a passion for natural beauty. As a ShampooRhassoul clay can be used as the base for a gentle, no-shampoo hair care routine. A basic, accessible formula includes: 2 tablespoons Rhassoul clay Enough warm water (or aloe vera juice) to create a smooth paste Optional: a few drops of essential oil suitable for the scalp, such as rosemary or tea tree Apply to damp hair and massage gently into the scalp. Let sit for 2–3 minutes before rinsing thoroughly. Due to its absorbent nature, it's typically used weekly or as needed to manage build-up.As a Hair Mask or RinseFor a deeper cleanse, Rhassoul clay can be applied as a thicker mask. Leave on for 5–10 minutes. This method is used to refresh and cleanse the scalp between styling and before conditioning.Tailored for Different Hair TypesBeauty professionals often adjust Rhassoul clay blends depending on hair type. Those with curly or coily hair may benefit from mixing the clay with moisturizing oils, while individuals with fine or oily hair tend to use more water-based recipes. As always, patch testing and small batch trials are recommended before broader use. Frequency depends on individual hair needs. Generally, it's used once per week on oily hair or biweekly to monthly on normal to dry types. People with sensitive scalps may wish to start with limited exposure and adjust based on personal results.Please note that Rhassoul clay is not a leave-in treatment and should be washed out after 30-50 minutes, depending on hair type. This allows time for the minerals in Rhassoul clay to naturally absorb oil and debris from your hair while leaving you with a lighter, cleaner feeling. Rhassoul clay is considered safe for cosmetic use when handled properly, but a few considerations apply: It may cause dryness if overused, especially on low-porosity or chemically treated hair. Residue can occur if not rinsed thoroughly. Rinse with care using warm, filtered water if possible. As with any new ingredient, you should perform a patch test before full application. Scientific research on Rhassoul clay is limited. However, the main ingredients in Rhassoul clay, namely silica, magnesium, iron oxide, potassium, and calcium, are, in healthy amounts, popular additions to most health and beauty routines. Plus, Rhassoul clay has been used for its beautifying and rejuvenating effects for centuries. Rhassoul clay can be mixed into powder-based or pre-mixed hair products, offering flexibility for different product lines. Consider pairing it with aloe powder, essential oils, or carrier oils to enhance the product's feel and application. Packaging should be airtight to preserve texture and moisture levels.
Heart Lip Balm Tutorial: A Sweet and Simple Valentine’s Day Gift
Article

Heart Lip Balm Tutorial: A Sweet and Simple Valentine’s Day Gift
Create a charming and unique Valentine’s Day gift with this heart-shaped lip balm tutorial. This project is perfect for making personalized gifts, and it’s easier than you think! Follow these simplified steps to craft your own lip balm with a heart. Supplies and Equipment Needed:SpoonsRubber glovesGlass measuring cupsMicrowave (or electric mini melting pot)Small Cookie Cutter Heart – 3/4 inch sizeScaleDisposable pipettesLip Balm Slider Tins – 0.25 ozNatural Lip Balm BaseSugared Strawberries Flavoring OilLip Balm Tint in Rose BlushLip Balm Sweetener (optional) Step 1: Prepare the Lip Balm Base Measure 1 oz of Natural Lip Balm Base using a glass measuring cup. Melt the base in the microwave for 30 seconds at a time, stirring gently between intervals until fully melted. Step 2: Add Flavor and Sweetener Add 6-18 drops of Sugared Strawberries Flavor Oil (1-3% depending on preference) using a disposable pipette. Optionally, add 2% sweetener, stirring to fully incorporate. Step 3: Fill the Tins Place a small heart-shaped cookie cutter in the center of each lip balm tin. Use a clean pipette to fill the tins with the melted base, being careful not to disturb the cutter. Let the balm harden completely before removing the cutter. Step 4: Add the Heart Melt 1 oz of Natural Lip Balm Base, following the same process as before. Add 2 drops of Rose Blush Lip Balm Tint and stir thoroughly. Use a pipette to fill the heart-shaped cavity in each tin, ensuring it’s level with the rest of the balm. Allow the balm to set completely before placing the lids on the tins. Customization: Experiment with different flavors and tints to create a variety of heart-shaped lip balms. For example, use mint flavor and a green tint for a refreshing twist or vanilla with a creamy color for a classic option. Gift Ideas: These heart lip balms make perfect party favors, wedding gifts, or stocking stuffers. Customize the colors and flavors to match the theme of your event. Troubleshooting: If the lip balm doesn’t come out smoothly, try reheating it slightly with a heat gun or hairdryer and smoothing the surface with a spatula. 1. How long does it take for the heart lip balm to set?The lip balm typically sets in 2-3 hours, but it’s best to leave it overnight to ensure it's fully hardened.2. Can I use other cookie cutter shapes?Yes, you can use different shapes, but ensure they fit within the lip balm tin and create a tight seal to prevent the balm from seeping underneath.3. Is it necessary to add sweetener to the lip balm?No, sweetener is optional. It’s mainly added for flavor enhancement, but the lip balm will work fine without it.4. How do I prevent the heart from cracking when removing the cutter?Ensure the balm is completely hardened before removing the cutter. If it’s still soft, leave it to set longer.5. Can I use any lip balm base?It’s recommended to use a natural lip balm base, as it’s designed for easy melting and setting, ensuring a smooth finish.These heart-shaped lip balms are a delightful way to show someone you care. Customize them to your heart's content and enjoy the creative process!
Melt and Pour Design Techniques: Layering
Article

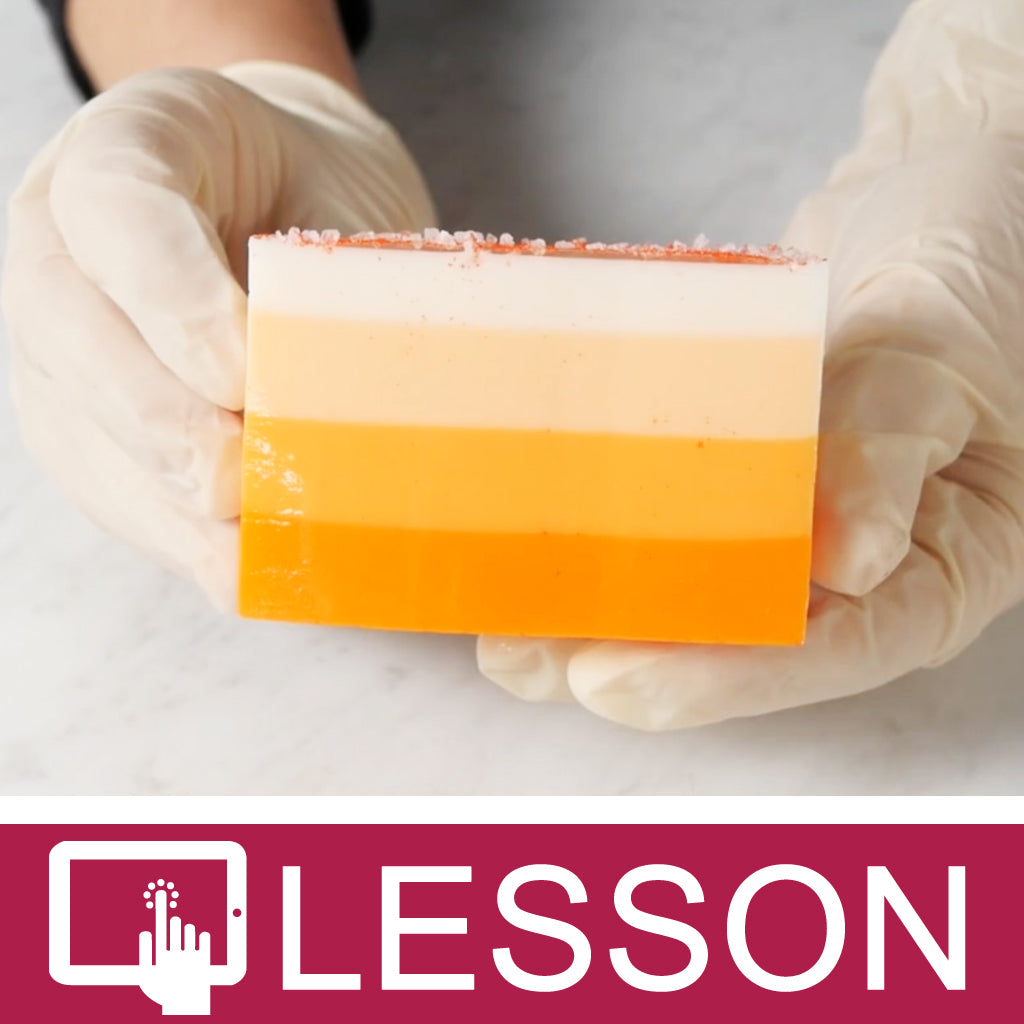
Melt and Pour Design Techniques: Layering
This lesson will explain the simple process of layering MP Soap Base. Layering soap into a mold is a design technique that can create stunning works of art. 
Simple Secrets: Rebatching Soap

Article

Simple Secrets: Rebatching Soap
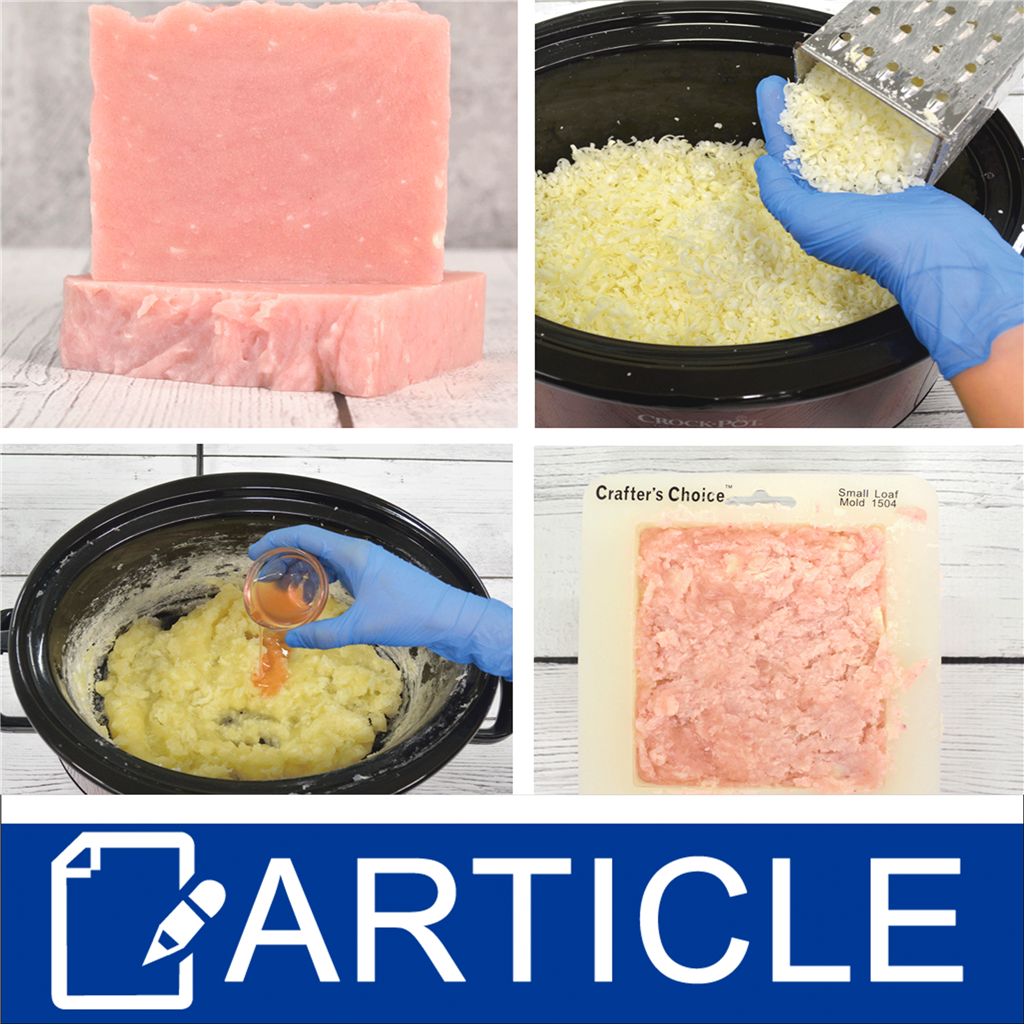
The Goal:Rebatched soap is a soap making method that involves working with a previously made cold process soap batch. We typically rebatch soap when a soap batch went wrong, but we don't want to waste the ingredients. For example, maybe we realize that we forgot to add an oil and now the soap is lye heavy or maybe it is simply because we didn't like the finished design. We reuse the ingredients from the botched batch to make a new soap that people will love. Read more to learn how to rebatch soap.
Simple Secrets: Enhancing Bath Fizzies and Bath Bombs

Article

Simple Secrets: Enhancing Bath Fizzies and Bath Bombs
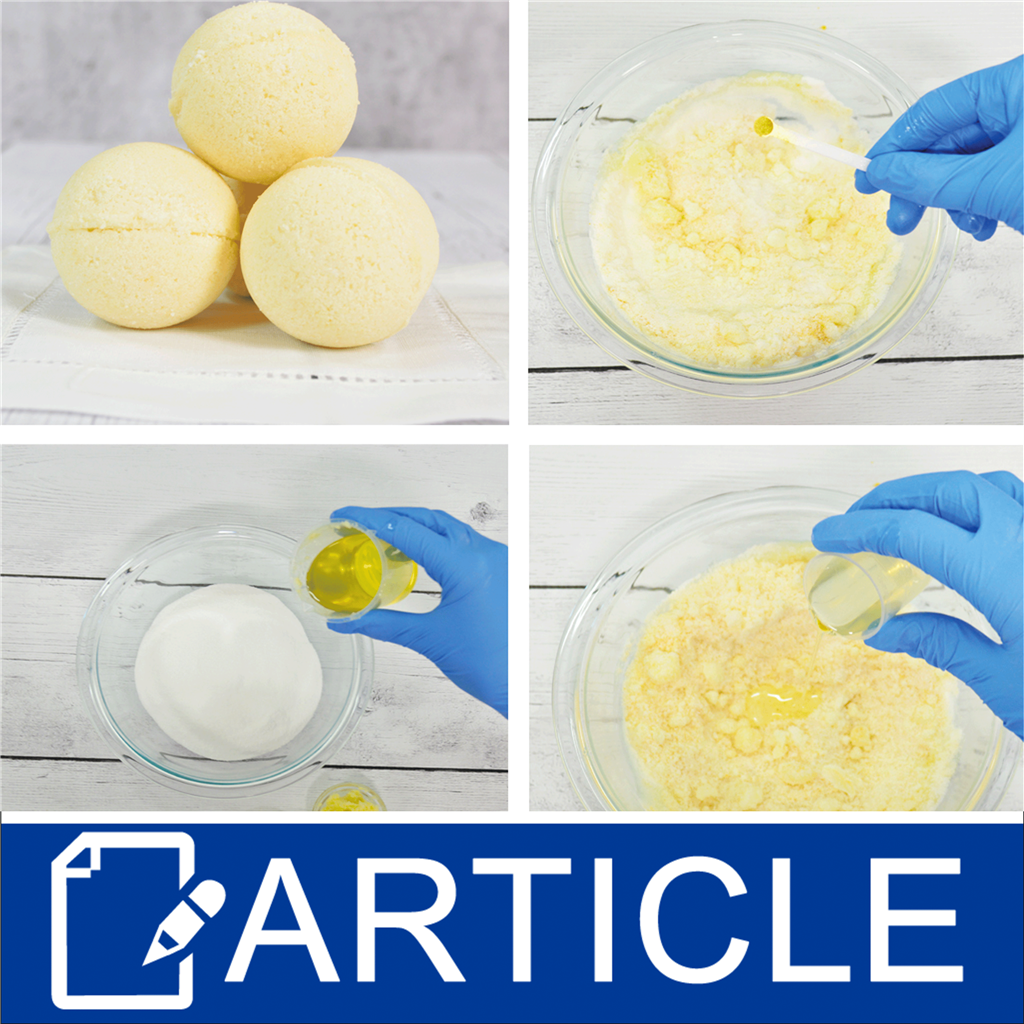
The Goal: Only two ingredients are needed in bath bombs to create the fizzing action we love, but that doesn't mean you should only use two ingredients. Additives enhance bath bombs and bath fizzies, helping you bring the best bath time experience to your customers. Here are tricks and tips for creating the best bath bombs!
How to Make Beeswax Soap

Article

How to Make Beeswax Soap
Learning to make beeswax soap is a rewarding way to create a more durable, moisturizing soap bar. Beeswax, known for its ability to create more complex bars, pairs perfectly with rich oils and other ingredients for a luxurious soap on the skin. This guide will take you through crafting a cold-process soap that combines beeswax with other nourishing elements. Adding beeswax to your soap recipes offers several unique advantages: Longer-Lasting Bars: Beeswax helps create harder bars of soap that don't dissolve as quickly, making them ideal for daily use. Moisturizing Properties: It forms a natural barrier on the skin, sealing in moisture and leaving your skin feeling soft. Mild Scent: Beeswax's natural, subtle aroma complements other scents like honey fragrance or essential oils. For a successful beeswax soap recipe, you'll need the following ingredients: Beeswax: Use small amounts to avoid making the soap too brittle. Coconut Oil: Adds cleansing power and helps the soap lather. Sweet Almond Oil: Contributes to a smooth, moisturizing finish. Shea Butter: Provides richness and creaminess. Sodium Hydroxide (Lye): Necessary for the saponification process. Distilled Water: Ensures a pure lye solution. Honey: Optional to complement the beeswax with a touch of sweetness. Fragrance Oils or Essential Oils: To enhance the soap, choose your favorite scents, such as lavender or honey. Set up a clean, safe workspace before starting your cold process soap recipe. Here's what you'll need: Rubber Gloves and Safety Goggles: Essential for handling sodium hydroxide. Heat-Resistant Containers: For mixing oils and the lye solution. Digital Scale: For precise measurements. Stick Blender: To blend the oils and beeswax with the lye water until it reaches trace. Soap Molds: For shaping your bars of soap. Here's how to make soap using beeswax in a few simple steps: Mix the Lye Solution: Carefully pour the lye into distilled water, stirring until fully dissolved. Let it cool to a safe temperature. Melt the Oils and Beeswax: Combine beeswax, coconut oil, shea butter, and sweet almond oil in a heat-safe container. Warm the mixture gently until the beeswax is melted and everything is fully blended. Combine Lye Water and Oils: Once the lye water and melted oils are both around 110°F, slowly pour the lye mixture into the oils while stirring continuously. Blend to Trace: Use a stick blender to mix until you reach a light trace—the mixture will resemble a thin pudding. Add Fragrance and Honey: Stir in honey and your chosen essential oil or fragrance oils for a rich, natural scent. Pour into Molds: Transfer the soap mixture into your molds, smoothing the top. Let It Set: Allow the soap to harden for 24 to 48 hours before removing from the mold. One of the best parts about making soap with beeswax is the ability to customize it. Here are some ideas: Enhance with Essential Oils: Add oils like eucalyptus or tea tree for a fresh scent. Natural Colorants: Use ingredients like turmeric or activated charcoal for a natural tint. Include Honey: Soap with honey pairs beautifully with beeswax, adding extra moisture. Even with the best preparation, you might run into a few challenges. Here's how to avoid common issues: Overheating Beeswax: Melt beeswax slowly to prevent scorching, as burnt beeswax can alter the soap's scent. Too Much Beeswax: Using too much can make the bars brittle. Stick to small amounts to keep your soap firm yet smooth. Inaccurate Temperatures: Before combining, make sure your lye solution and oils are at similar temperatures (around 110°F). Not Using Safety Gear: Always wear rubber gloves and safety goggles when working with sodium hydroxide. Now that you know how to make beeswax soap, you can enjoy crafting beautifully firm and moisturizing bars of soap at home. With a bit of beeswax and some creativity, you can make a soap that's perfect for yourself or gifting. Plus, this post contains affiliate links, which means we may earn a small commission if you purchase at no extra cost. Happy soap-making!
How to Make Tart Soaps

Article

How to Make Tart Soaps
This tutorial is for making Square Wax Drizzled Tarts using our Square Silicone Soap Mold. There are many things you can do with this mold, but today we are making wax tarts that look like brownies with caramel drizzle on top. These dessert-shaped soap creations are perfect for anyone looking to craft soaps that look like desserts! Tools & Ingredients Needed: Pour pitcher and/or melting pot Thermometer Spoon or bamboo skewer for stirring 16 oz Ky Parasoy Tart Wax or Ky133 Versatile Paraffin Wax Blend Candle Dye Flakes or Liquid Candle Dye 1.6 oz Candle Fragrance Oil (we use 10% when making tarts.) Disposable pipettes Mini Squares Silicone Mold Melter (like a Presto Kitchen Kettle) or a few inches of water in a pan to be used as a double boiler Safety goggles Apron to protect clothing This method can be easily adapted to create your own dessert soap masterpieces! Using soap base and fragrance oils, you can replicate the appearance of brownies, cupcakes, or any dessert you love. Weigh out the wax and fragrance oil to be used. (16 oz of wax and 1.6 oz of fragrance oil.) Have the mold on the counter ready for use. The mold does NOT have to be sprayed with release – the tarts will easily release from the silicone mold. Be sure to wear safety goggles for eye protection. You do not want to be splashed in the eye with hot wax! Safety first. Waxes used in making candles are very similar to cooking oils – they are flammable and poured at high temperatures, but with certain precautions, accidents can be avoided. NEVER HEAT WAX ABOVE 210°F. For safety, wax should be melted in a double boiler. Wax should NEVER be heated directly over an open flame or burner. Direct heating can cause wax to explode and result in serious injury. Use a thermometer to ensure proper wax pouring temperature. Never leave hot wax unattended. Keep children and pets away from the area where wax is being melted and poured. Never pour water on a wax fire. Water will cause the fire to spread. To extinguish a fire in a pan, cover the pan with its lid. Use a dry chemical fire extinguisher. Never pour melted wax into the sink or other drains. Step 1:Melt wax using either a double boiler, a Presto Kitchen Kettle, or some type of melter. As the wax melts, monitor the temperature with a thermometer. For accuracy, do not allow the bottom of the thermometer to touch the bottom or sides of the pouring pot or melter. Tip the pouring pitcher until the bottom of the thermometer is covered with liquid wax.Step 2:When the wax has melted and the temperature reaches 175°F, dip wax out of the melter and into the pour pitcher. Add colorant and stir well. Then, add fragrance oil and stir thoroughly. Mix well, stirring approximately 2 to 3 minutes to fully incorporate additives and help fragrance oil bind to the molten wax.Step 3:When wax has reached approximately 155°F, pour the wax into molds and let it cool and harden.Step 4:Once the tarts have completely cooled, pop them out of the mold and lay them on wax paper or aluminum foil to protect your work area.Step 5:Melt a small amount of wax and add colorant for whatever you'd like the drizzle to be. No need to add scent to this wax because it is such a small amount.Step 6:Using a disposable pipette, gently drizzle the melted wax over the square tart. Be creative and splashy with your designs! Just make sure your safety goggles are on and your work area is protected.Step 7:Let the drizzled tarts cool completely, then trim around the bottom where the drizzle landed. You're now ready to package and sell! You can package them in polypropylene cello bags or in glass jars with a decorative stretchy bow.These dessert-shaped soaps smell as yummy as they look! If you're feeling extra creative, you can modify this method to create soaps that look like desserts instead of wax tarts. The key difference would be using a melt and pour soap base, soap-safe colorants, and soap-safe fragrance oils. You can even use a crayon soap mold for smaller shapes like cupcakes or macarons. Be creative with your scent and color combinations! Here are some suggestions for creating dessert soap variations: Peppermint Swizzle Stick: White tart with red drizzle Pumpkin Pie: Pumpkin Spice liquid colorant for tart and white drizzle Christmas Past: Green tart with red drizzle Caramel Apple: Red tart with light brown drizzle Birthday Cake: White tart with multi-color drizzles Creme Brulee: Ivory tart with medium brown drizzle Peppermint Patty: White or green tart with brown drizzle These ideas can easily translate into fun, playful dessert soaps. Imagine creating a soap that looks like a cupcake with creamy frosting or a soap bar that resembles a slice of pie! With a bit of creativity, you can craft a full line of dessert-shaped soap products perfect for gifting, selling, or enjoying yourself.
Making Shamrock Beer MP Soap

Article

Making Shamrock Beer MP Soap
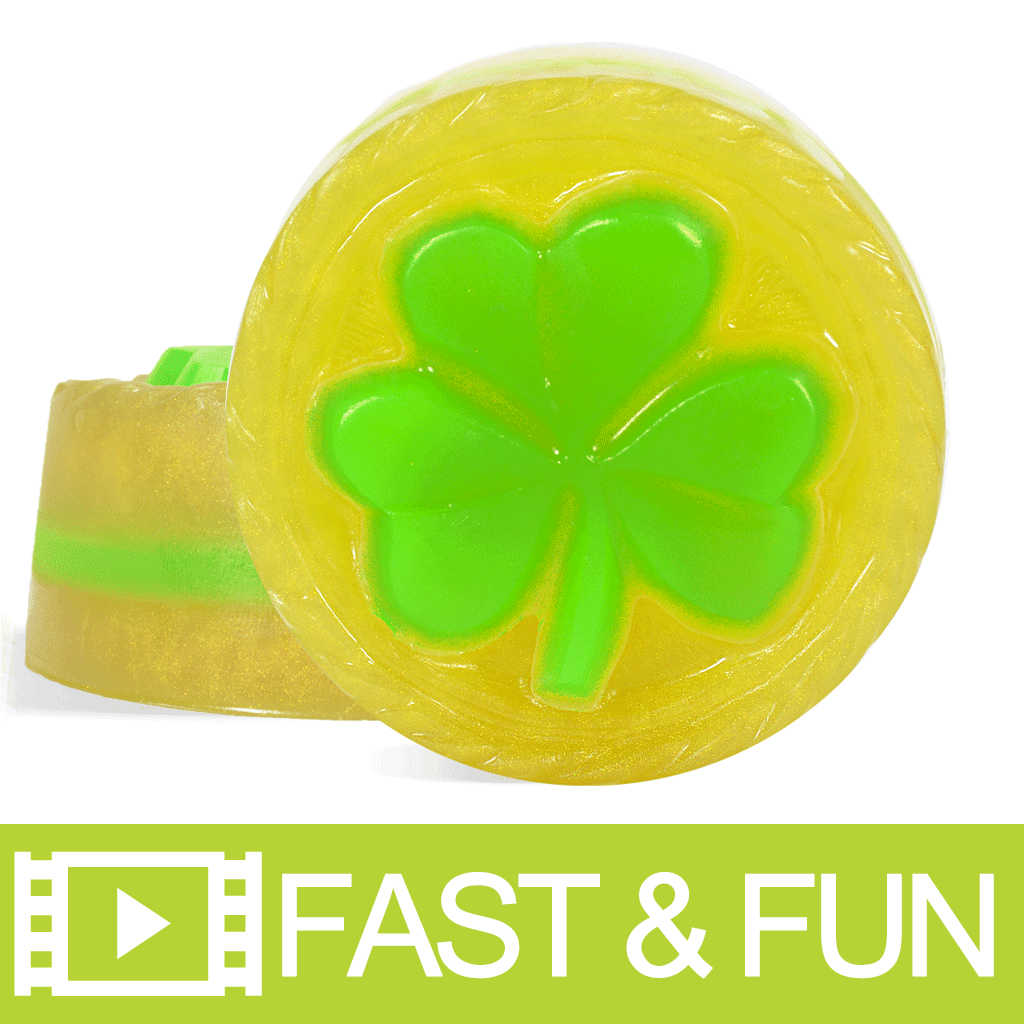
Watch to learn how to make these soaps that are perfect for St. Patrick's Day celebrations. We used our Honey Ale Beer soap base which has a beautiful amber color along with the sweet and robust scent of a handcrafted beer. Using this soap may just bring along the "luck of the Irish"!
Refresh and Rejuvenate with Peppermint Foot Cream: A DIY Guide by Elements Bath & Body
Article

Refresh and Rejuvenate with Peppermint Foot Cream: A DIY Guide by Elements Bath & Body
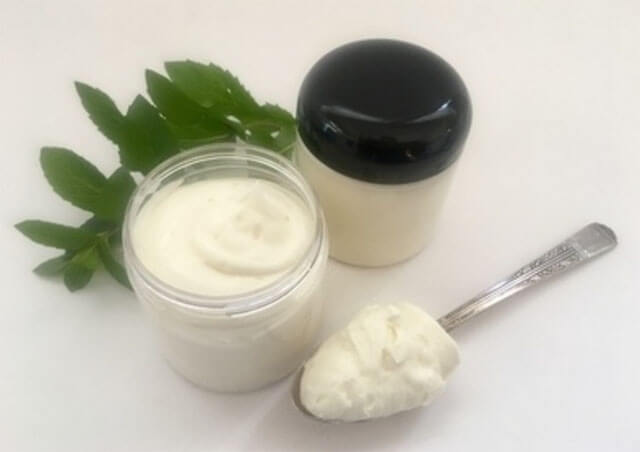
Treat your feet to the ultimate care experience with our DIY Peppermint Foot Cream recipe, crafted by the experts at Elements Bath & Body. This guide will walk you through creating a moisturizing foot cream that combines the invigorating essence of peppermint oil with nourishing ingredients to pamper your feet. Perfect for those seeking a homemade solution, this recipe is designed to provide you with the best peppermint foot cream you can make right in your kitchen. Peppermint oil foot cream is not just a moisturizer; it's a sensory experience that cools, refreshes, and revitalizes tired, achy feet. The natural properties of peppermint oil, combined with rich, moisturizing bases, create a foot cream peppermint lovers and wellness enthusiasts will adore. Discover why peppermint is the perfect ingredient for your DIY foot care routine. When you choose to create your foot cream using the enriching recipe from Elements Bath & Body, you're choosing a path to healthier, happier feet with benefits that extend beyond basic hydration. Here's a deeper look into the enhanced advantages of incorporating this homemade peppermint foot cream into your daily self-care routine:Toxin-Free Solution: By selecting your ingredients, you avoid the harsh chemicals and synthetic fragrances found in many commercial foot creams. This DIY peppermint foot cream is a celebration of nature's best, offering a toxin-free alternative to nourish and protect your skin.Antifungal and Antibacterial Properties: Peppermint oil isn't just refreshing; it's believed to be packed with antifungal and antibacterial properties. This makes the foot cream not only a pleasure to use but also has the potential to serve as a protective barrier against common foot ailments, promoting overall foot health.Relieves Muscle Tension: The cooling effect of peppermint oil goes beyond the surface, penetrating deep to potentially relieve muscle tension and soreness in the feet. This makes the cream a great option to consider for use after workouts, long walks, or a day spent on your feet.Stimulates Circulation: The natural compounds in peppermint oil are said to help stimulate blood circulation in your feet. Improved circulation is believed to mean more oxygen and nutrients are delivered to your tissues, aiding in the healing and revitalization of your skin.Long-Lasting Hydration: The blend of natural oils and butters in this recipe is designed to lock in moisture, providing long-lasting hydration that keeps your feet soft and supple throughout the day.Strengthens Skin Barrier: Regular use of this homemade peppermint foot cream is believed to strengthen the skin's natural barrier, reducing the loss of moisture and protecting against environmental stresses.Sustainable Choice: By making your foot cream, you're making an eco-friendly choice. You can choose sustainable and organic ingredients and reuse containers, reducing your environmental footprint.Cost-Effective: Homemade peppermint foot cream is not only tailored to your needs but also cost-effective. You have control over the quality and quantity of ingredients, allowing you to create a high-end foot care product at a fraction of the price.Customizable Formula: One of the greatest benefits of DIY skincare is the ability to customize the formula. Depending on your skin's needs, you can adjust the levels of peppermint oil for more or less cooling effect, or incorporate other natural ingredients like cocoa butter for enhanced moisturization.Creative Experience: Crafting your peppermint foot cream is a creative and fulfilling experience. It allows you to connect with the ingredients and understand more about natural skincare, making each application of your homemade cream that much more special. Creating your foot cream peppermint recipe at home is a rewarding experience that leaves you with a product tailored to your care needs. This homemade peppermint foot cream recipe by Elements Bath & Body is designed for anyone looking to indulge in the refreshing, soothing benefits of peppermint oil while embracing the joy of DIY skincare. Enjoy crafting your cream and the revitalizing journey that follows with each application. What makes peppermint oil so effective in foot cream?Peppermint oil contains menthol, which has cooling and soothing properties. It helps revitalize tired feet, reduce discomfort, and promote a feeling of relaxation.Can I use this DIY peppermint foot cream every day?Absolutely! Our foot cream with peppermint is designed for daily use. Its natural ingredients make it safe and beneficial for regular application to keep your feet moisturized and refreshed.How long does homemade peppermint foot cream last?When stored in a cool, dry place, your homemade peppermint foot cream can last up to 6 months. Ensure it's kept in an airtight container to preserve its freshness and efficacy.Can I add other essential oils to the peppermint foot cream recipe?Yes, you can customize your DIY peppermint foot cream by adding other essential oils. Lavender for relaxation or eucalyptus for additional cooling effects are great companions to peppermint oil.What makes this the best peppermint foot cream recipe?Our recipe is crafted by Elements Bath & Body experts, focusing on natural ingredients and easy-to-follow steps. It combines the invigorating power of peppermint oil with deeply moisturizing ingredients, making it the best peppermint foot cream for DIY enthusiasts seeking effective, natural foot care solutions.
Making Love Bunny MP Soaps

Article

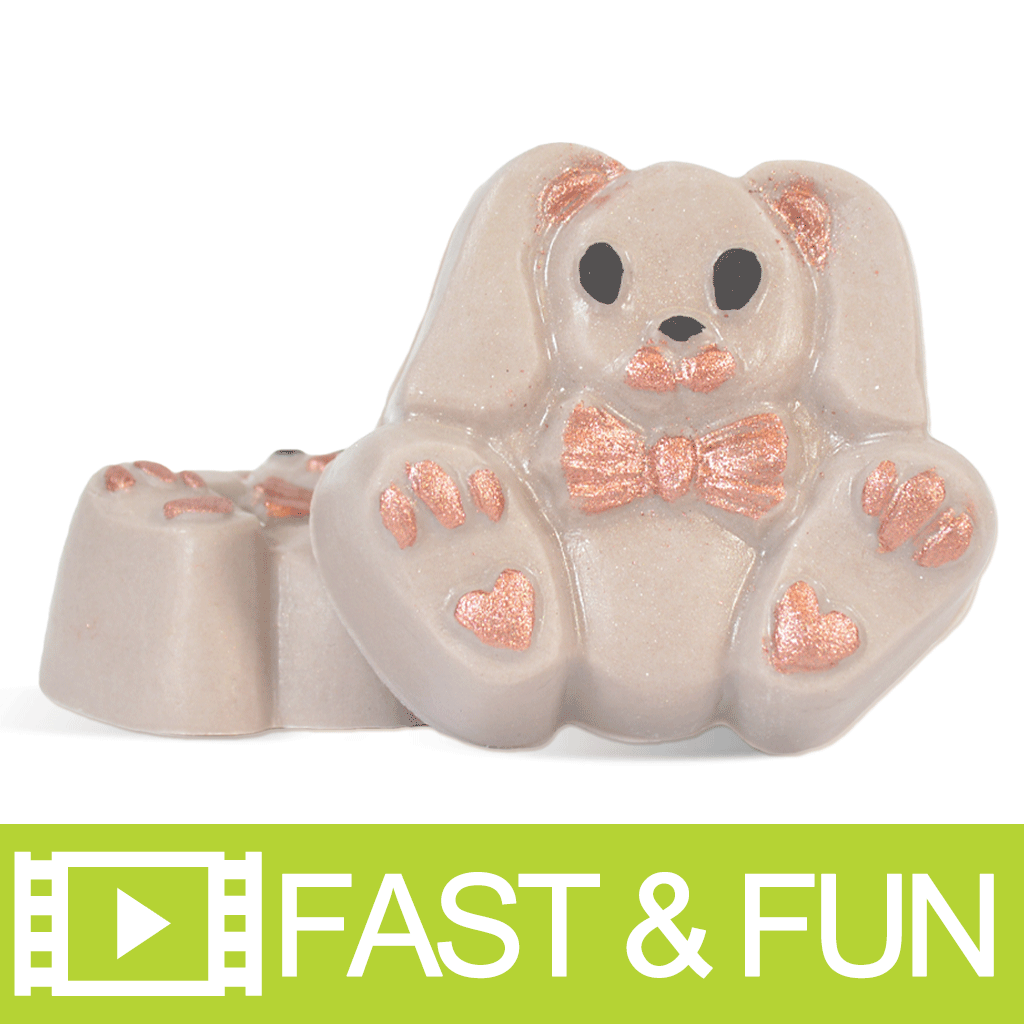
Making Love Bunny MP Soaps
Who could resist learning watching how to make these adorable floppy-eared bunnies? Fragranced with White Truffle Raspberry, this is sure to be a hit at your spring craft show or will make great favors for your Easter dinner!