Articles

When Good Soaps Go Bad: Common Cold Process Soap Making Issues

Article

When Good Soaps Go Bad: Common Cold Process Soap Making Issues

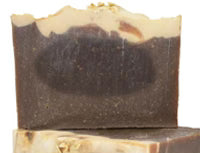
Whether you're a veteran or a rookie when it comes to soap making, you are not immune to mishaps. It happens to everyone, but knowing how to diagnose the problem will better enable you to learn how to fix it.Soap making problems happen to beginners and seasoned professionals alike. No cold process soap maker is immune to mishaps. The key to overcoming the situation is learning and understanding. We've mapped out the most common pitfalls in soap making along with our best tips and tricks to avoid and fix each one. . Have they happened to you? Take careful note and next time you will have the troubleshooting upper hand.
How to Make the Best Cuticle Balm

Article

How to Make the Best Cuticle Balm

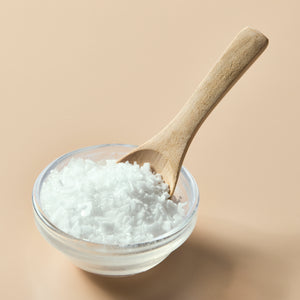
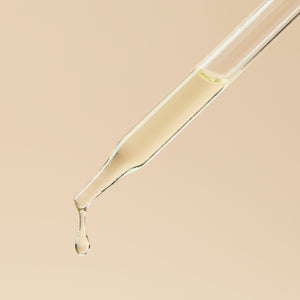
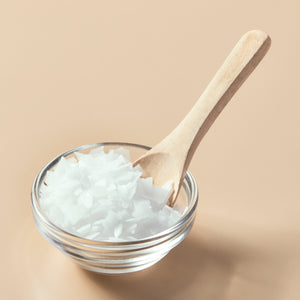
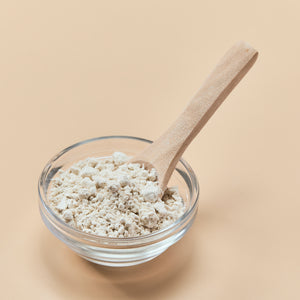
Cuticle balm is a must-have for anyone looking to maintain smooth, silky skin and keep their hands looking their best. This DIY cuticle balm is applied directly to the cuticles and rubbed in, offering deep moisturization and promoting healthier nails. This tutorial features a simple and natural cuticle balm recipe that requires only three ingredients! Supplies and Equipment Needed: Spoon or butter knife for stirring Nitrile gloves Glass measuring cup Digital Scale Disposable pipettes Mini-Melting Pot (optional) Microwave (if no melting pot) 0.87 ounces Beeswax pastilles 0.50 ounces Shea Butter 1.13 ounces Golden Jojoba Oil 15 Clear 3ml Polystyrene Jars w/Black Lids This recipe makes 2.5 ounces of cuticle balm, which will fill approximately 15 of the 3ml Polystyrene Jars. It's one of the best cuticle balm recipes for those who love making their own skincare products at home. Step 1: Pre-weigh all ingredients before starting.You'll need: 0.87 ounces beeswax (35%) 0.50 ounces Shea butter (20%) 1.13 ounces Golden Jojoba oil (45%) This combination of ingredients makes for an effective cuticle repair balm that is both nourishing and easy to apply.Step 2: Melt the BeeswaxAdd the beeswax to a microwave-safe glass measuring cup and microwave it in 30-second intervals until it's halfway melted. Stir gently between each 30-second burst. Be cautious as the glass can become very hot.Optional: A Mini Melting Pot can also be used instead of a microwave to melt the ingredients evenly.Step 3: Add Shea Butter and Jojoba OilOnce the beeswax is partially melted, add the Shea butter and Golden Jojoba oil to the container. This step is crucial in ensuring your cuticle repair balm has the perfect consistency and nourishing properties.Step 4: Melt Until SmoothRepeat Step 2, microwaving the mixture until there are just a few small pieces of wax and butters left. Remove the container from the microwave and stir slowly. The remaining heat will naturally melt the final pieces, preventing your balm from overheating.Step 5: Fill the JarsCarefully fill each jar to the top. You can pour the mixture directly from the measuring cup or use a disposable pipette to dispense the balm into the jars. This method ensures precise application and less mess.Step 6: Cool and CapAllow the balms to set and cool completely before capping them. If the lids are added before the mixture is completely cooled, condensation may form, affecting the balm's texture and shelf life. Like most balms, this recipe is very easy to customize to your preference. If you prefer a harder balm, simply add more beeswax; if you want a softer balm, increase the amount of oils or butters. This flexibility makes it one of the best cuticle balm recipes for tailoring to your specific needs.Optional: Add ScentIf you like, you can add 1% body-safe Fragrance Oil to the balm base after Step 4 using a disposable pipette. Stir until fully incorporated. For 1 oz of balm, 6 drops equals 1%. Adding a fragrance can make your DIY cuticle balm not only effective but also pleasantly aromatic. Using your cuticle balm is simple. Apply a small amount to each cuticle and gently rub it in. For the best results, use your cuticle repair balm daily, especially after washing your hands or before bed, to keep your cuticles soft and your nails healthy. This recipe is designed to be both effective and easy to make. With just three natural ingredients, it's perfect for those who want to avoid synthetic chemicals in their skincare routine. Plus, the customization options allow you to create a cuticle balm that suits your personal preferences, whether you prefer a firmer texture or a specific scent.For those new to making their own skincare products, this tutorial on how to make cuticle balm is an excellent starting point. With a few simple steps, you'll have a nourishing balm that can repair and protect your cuticles, leaving your hands looking and feeling their best.
DIY Natural Lip Balm with Natural Wax Jelly

Article

DIY Natural Lip Balm with Natural Wax Jelly

Natural Wax Jelly is a fantastic alternative to Vaseline, offering a completely natural option free of petrolatum. It's a versatile product that can be used as-is or customized with flavors, making it perfect for both adults and kids. In this guide, we'll show you how to create your own DIY flavored lip balm using Natural Wax Jelly, tailored to your taste and needs. Step 1: Gather the Items You'll NeedBefore starting, make sure you have all the necessary items ready: Natural Wax Jelly: The base ingredient for your DIY natural lip balm. Lip Balm Flavor Oil: Choose your favorite flavor for a personalized touch. Sweetener (optional): Add a touch of sweetness if desired, making the lip balm even more enjoyable. Zip Seal Sandwich Bags: Used for mixing and piping your flavored lip balm. Digital Scales: Essential for accurate measurement of your ingredients. Dixie Cups: Perfect for holding and mixing your flavor oils and sweeteners. Spoon: For stirring and transferring ingredients. Step 2: Measure Your IngredientsUsing a digital scale, accurately weigh the lip balm flavoring oil and sweetener into a Dixie cup. Set this aside for later use.Step 3: Prepare the Natural Wax JellyBefore adding any flavor or sweetener, give the Natural Wax Jelly a good stir to ensure it's evenly mixed and smooth.Step 4: Line Your Mixing CupTake a 5 oz. Dixie cup and line it with a zip seal sandwich bag. This will make it easier to mix and transfer your DIY flavored lip balm.Step 5: Measure the BaseScoop the required amount of Natural Wax Jelly into the lined Dixie cup. The amount will depend on how much lip balm you want to make.Step 6: Add Flavor and SweetenerPour the pre-measured lip balm flavoring oil and sweetener into the Natural Wax Jelly base.Step 7: Mix ThoroughlySeal the sandwich bag and knead or squish the mixture until everything is completely incorporated. This step ensures that the flavor and sweetness are evenly distributed throughout your natural lip balm.Step 8: Prepare for PipingSnip off a small corner of the sandwich bag to create an opening for piping.Step 9: Pipe into ContainersCarefully pipe the mixed lip balm into small pots, jars, or any other cosmetic containers you have on hand.Step 10: Final TouchCap the containers, and your DIY natural lip balm is ready to use! Q: What are the benefits of using Natural Wax Jelly over traditional Vaseline?A: Natural Wax Jelly is an all-natural product, free from petrolatum and synthetic additives. It provides a safe, eco-friendly alternative that's gentle on the skin, making it ideal for sensitive areas like the lips.Q: Can I use essential oils instead of lip balm flavor oils?A: Yes, you can use essential oils, but make sure they are safe for use on the lips. Some essential oils can be too harsh, so it's important to research or consult a professional before adding them to your DIY natural lip balm.Q: How long will the DIY natural lip balm last?A: The shelf life of your DIY natural lip balm will depend on the freshness of your ingredients. Typically, it can last up to six months if stored in a cool, dry place. One of the best things about making your own natural lip balm is the ability to customize it to your liking. Experiment with different lip balm flavor oils, add a hint of sweetener for a more enjoyable experience, or even mix in a bit of shimmer for a subtle sparkle. Whether you prefer a simple, natural lip balm or something a bit more fun, this guide gives you the flexibility to create a product that suits your style.So, why settle for store-bought when you can make your own DIY flavored lip balm at home? Not only is it fun, but you'll also know exactly what's in it—ensuring it's both natural and safe for everyone in the family.
Easy Whipped Shea Butter Recipe

Article

Easy Whipped Shea Butter Recipe

This simple whipped shea butter recipe is perfect for pampering your skin. Whether your skin is dry from winter or summer, this whipped shea body butter will help. This recipe makes 16 oz of body butter and is quick and easy to prepare. 2 containers (for weighing shea butter and oil) Digital Scale Large Spoon Rubber gloves Rubber or silicone spatula Stand mixer with a stainless steel whip beater Stainless steel bowl Apricot Kernel Oil Low Profile Frosted 2.9 oz Jars with Lids Natural Shea Butter Body-safe Fragrance Oil Disposable Pipette Shea butter can become grainy if it melts and solidifies at different rates. To fix grainy shea butter, you can temper it.How to Temper Shea Butter: Melt the shea butter in a double boiler at 175°F (80°C) for about 15 minutes. Pour it into a container and place it in the freezer immediately to cool quickly. Once solid, remove from the freezer and store at room temperature. You can now measure and use it. Step 1: Weigh the Ingredients 80% Shea Butter: 12.8 ounces 19% Apricot Kernel Oil: 3.04 ounces 1% Fragrance Oil: 0.16 ounces (approximately 4 ml) Step 2: Prepare the Shea Butter Place the shea butter into the mixing bowl. Slowly add the apricot kernel oil to the mixing bowl. This oil is light, quick-absorbing, and moisturizing, perfect for complementing the shea butter. Step 3: Mix the Ingredients Mix on slow using a wire whisk attachment for about 1 minute. Add the fragrance oil, then increase the speed to high and mix for 7 minutes. Step 4: Check and Store After 7 minutes, the body butter should be smooth, fluffy, and thick. Scoop into jars, cap, and you're all set! Enjoy your DIY whipped shea butter, perfect for soothing and moisturizing your skin! 1. What are the benefits of using whipped shea butter on my skin?Whipped shea butter is highly moisturizing and nourishing for the skin. It contains vitamins A and E, which help improve skin elasticity, reduce inflammation, and promote healing. This whipped shea body butter is especially beneficial for dry or sensitive skin, providing a smooth and soft texture that is easily absorbed.2. Can I customize my whipped shea butter recipe with other oils?Absolutely! One of the great things about a DIY whipped shea butter recipe is its versatility. You can substitute or add other oils like almond oil, avocado oil, or argan oil to cater to your skin's specific needs. Each oil brings unique properties, allowing you to customize your whipped shea body butter to your preferences.3. How should I store my whipped shea butter to maintain its texture?To maintain the fluffy texture of your whipped shea butter, store it in a cool, dry place away from direct sunlight. An airtight container is ideal to prevent the mixture from melting or hardening. If it does lose its texture, you can re-whip it with a hand mixer to restore its original consistency.4. Can I use whipped shea butter on my hair?Yes, whipped shea butter can be an excellent addition to your hair care routine. It helps moisturize and protect hair, reducing frizz and adding shine. Apply a small amount of whipped shea body butter to the ends of your hair or use it as a deep conditioning treatment by leaving it in for 30 minutes before washing it out.5. What essential oils work best in a whipped shea butter recipe?Many essential oils complement a whipped shea butter recipe. Lavender and chamomile are great for soothing skin, while tea tree oil has antibacterial properties. For a refreshing scent, consider using peppermint or citrus oils. Customize your whipped shea body butter with essential oils that suit your skin type and personal preferences.
Round Silicone Lip Tube Filling Tray Video
Article

Round Silicone Lip Tube Filling Tray Video

Professionally and quickly fill round lip tubes! This video demonstrates how quick and easy it is to fill lip tubes using the Crafter's Choice - Round Silicone Lip Tube Filling Tray (3001). We love how smooth and flat the lip product sits in the tube using this method.
Say Hello To Hibiscus

Article

Say Hello To Hibiscus

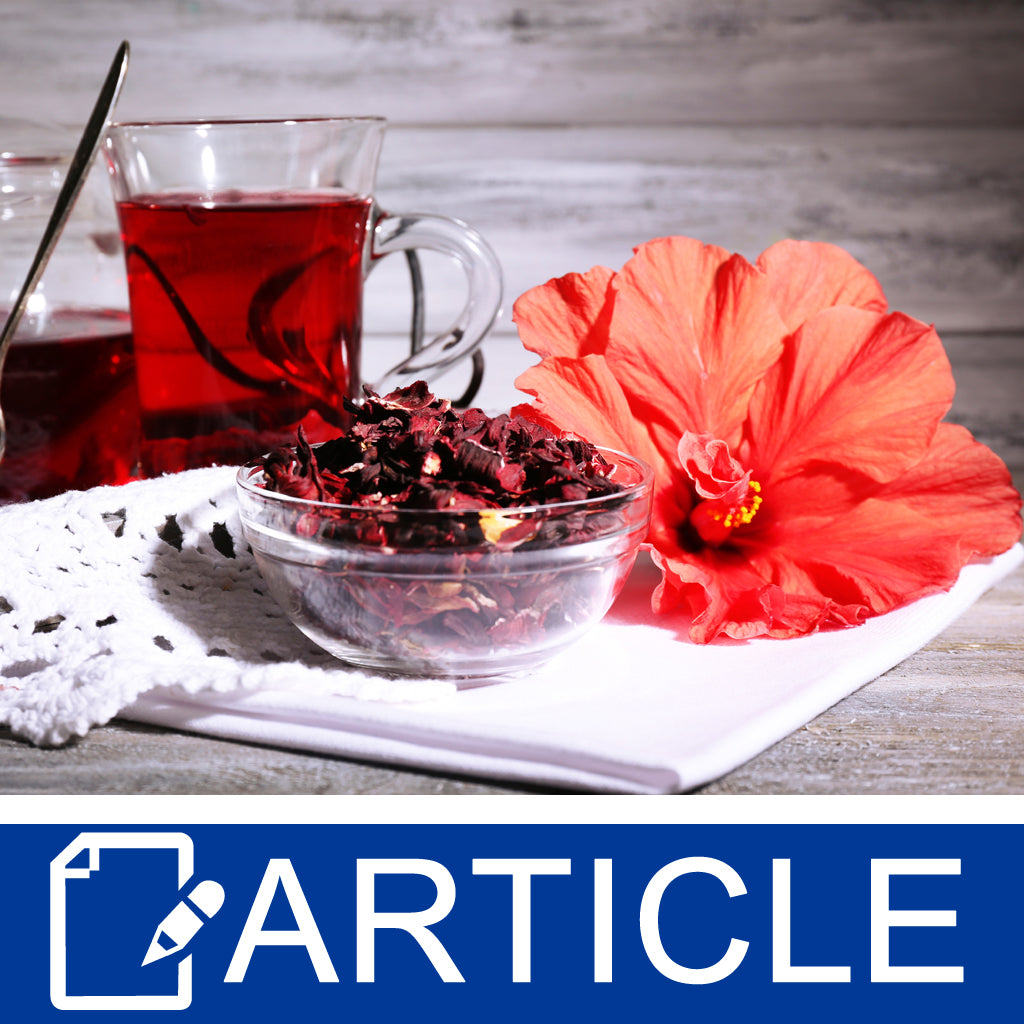
Hibiscus is a large shrub or small tree from a genus of flowering plants in the mallow family, Malvaceae. Hibiscuses produce huge, colorful, trumpet-shaped flowers over a long growing season. The plants can grow to 15 feet tall in some areas. Flowers may be up to 6 inches in diameter, with colors ranging from yellow to peach to red. The flowers are attractive to butterflies and hummingbirds.
Perks Of Coffee In Skincare

Article

Perks Of Coffee In Skincare

Coffea is a genus of flowering shrubs or small trees whose seeds, called coffee beans, are used to make coffee. Coffee ranks as one of the world’s most valuable and widely traded commodity crops and is an important export product of several countries, including those in Central and South America, the Caribbean and Africa.
Choosing, Quick, Easy And Hot Selling Ingredients

Article

Choosing, Quick, Easy And Hot Selling Ingredients

If you are making product for a fundraiser or another similar event, it is likely that you will need to adapt your product line. Here are a few tips to keep in mind as you prepare for this event!

Article

Romantic Massage Oil Recipe

Each component is chosen not only for its therapeutic benefits but also for its ability to awaken the senses, soothe the mind, and kindle the flame of romance. The oils in our homemade massage oil recipe are known for their nourishing and moisturizing properties, making the skin feel silky smooth and deeply hydrated. Other essential oils are then blended in, each adding its own unique fragrance and therapeutic properties to the mix, ensuring that the oil ignites passion while also promoting relaxation and well-being. Discover our massage oil kits to assist in your oil making journey. While our romantic massage oil recipe provides a fantastic starting point, personalizing it can make your experience even more special. Consider your partner's favorite scents or the therapeutic needs that you both might have. Adding a few drops of different essential oils can tailor the massage oil to suit your mood, whether you're looking for something uplifting, relaxing, or deeply sensual. Experimenting with the texture and slip of the oil can also be done by adjusting the ratios of the base oils, making sure it's just right for both of your preferences.This romantic massage oil recipe is more than just a mixture of oils; it's a gateway to closer, more intimate moments with your partner. By taking the time to create something by hand, you're not only crafting a unique blend but also infusing your relationship with care, thoughtfulness, and passion. Can I use the romantic massage oil recipe on sensitive skin?Yes, our recipe is designed to be gentle on the skin. However, if you or your partner have particularly sensitive skin, it's a good idea to perform a patch test first. You can also customize the recipe by choosing base oils and essential oils known for their suitability for sensitive skin.How long does the homemade massage oil last?When stored properly in a cool, dark place, the romantic massage oil can last up to 6 months. We recommend using dark glass bottles for storage to preserve the oil's properties and extend its shelf life.Can I use the massage oil for purposes other than massaging?Absolutely! This versatile oil can be used as a bath oil, providing a relaxing and aromatic experience. Just add a few drops to your bath water and enjoy the luxurious feel and fragrance.Are there any essential oils that should be avoided in a romantic massage oil recipe?While most essential oils can be used to create a romantic atmosphere, it's best to avoid oils that might cause skin irritation, such as lemon, clove, or peppermint. Always research or consult an expert when experimenting with new essential oils, and be sure to follow IFRA guidelines. INFORMATION Difficulty: Beginner Yield: 2x 4 oz Bottles TIMINGPerform Time: 5 MinutesSUPPLIES Digital Scale Spatula or Spoon Spray Bottle with 70% Isopropyl Alcohol Funnel Pitcher Pipettes (for preservatives and essential oils) Paper Towels 2 x 4 oz Bottles 2 x Closures INGREDIENTS 7.6 oz / 210g Sweet Almond Oil 2 mL Sweet Orange Essential Oil 1.5 mL Bergamot Essential Oil 0.5 mL Patchouli Essential Oil
Fragrance Formulator: Northeast Region Scents

Article

Fragrance Formulator: Northeast Region Scents

Fragrance Fomulator oils have a specific molecular composition, which allows them to be successfully used as single note scents or blended for custom formulations. This revolutionary system has been designed by a team of scientists to allow consumers to develop their own unique scents for soaps and cosmetics. Set yourself apart from your competition with your own blends. Below are some of our custom blends that were inspired by the Northeast
The Chemistry behind Alcohol and MP Soap

Article

The Chemistry behind Alcohol and MP Soap

Because the chemistry of Cold Process (CP) soap is delightfully complex, I have spent many happy hours devising experiments to answer questions and solve problems for those who make CP soap. Makers of Melt and Pour (MP) soap, however, face problems different from those I have investigated before. For example, while CP and MP soaps can be poured in layers, CP layers are usually at the same temperature and in the same state (liquid). But a hot, liquid MP layer is usually poured on top of a cold, solid MP layer, and because of these differences, the joint between layers may not be strong. Additionally, transparent soap is much more common in the MP world than it is in the CP one, and so bubbles and blemishes within a transparent layer must be minimized. 
Waiting For A Cure: Is It Worth The Weight?

Article

Waiting For A Cure: Is It Worth The Weight?

In advice to a Young Tradesman (1748), Benjamin Franklin penned the oft-repeated proverb, “Time is Money.” His father, Josiah Franklin, was a maker of candles and soap, and young Ben was brought up in that trade. If he wasn’t writing specifically about soap making, it was certainly part of his early business training.