Cold Process Soap Making: A Beginner's Guide
Cold process soap making combines oils with a lye and water solution, no external heat required, to create a bar that cures into a firm, long-lasting product. By the end of this guide, you'll know what to buy, how to measure and mix safely, and how to take a batch from liquid oils to a finished bar ready for your shelf or your customers. Start with one proven recipe and you have a repeatable process you can scale into a full product line.
What Is Cold Process Soap?
Cold process soap gets its structure from saponification: oils react with a lye solution at room temperature to about 120°F, with no added heat source, then cures for 4 to 6 weeks as the bars harden and mellow. Melt and pour soap works differently. It starts from a pre-made base that you melt, add fragrance and color to, and pour, with no lye handling and no cure time required. Cold process takes more time and a real safety routine, but it gives you full control over the formula, from oil blend to superfat, which is why so many Makers building a product line for sale choose it over a pre-made base. If you want a faster project with fewer variables, melt and pour soap is the better starting point.
What You Need: Supplies and Safety Gear
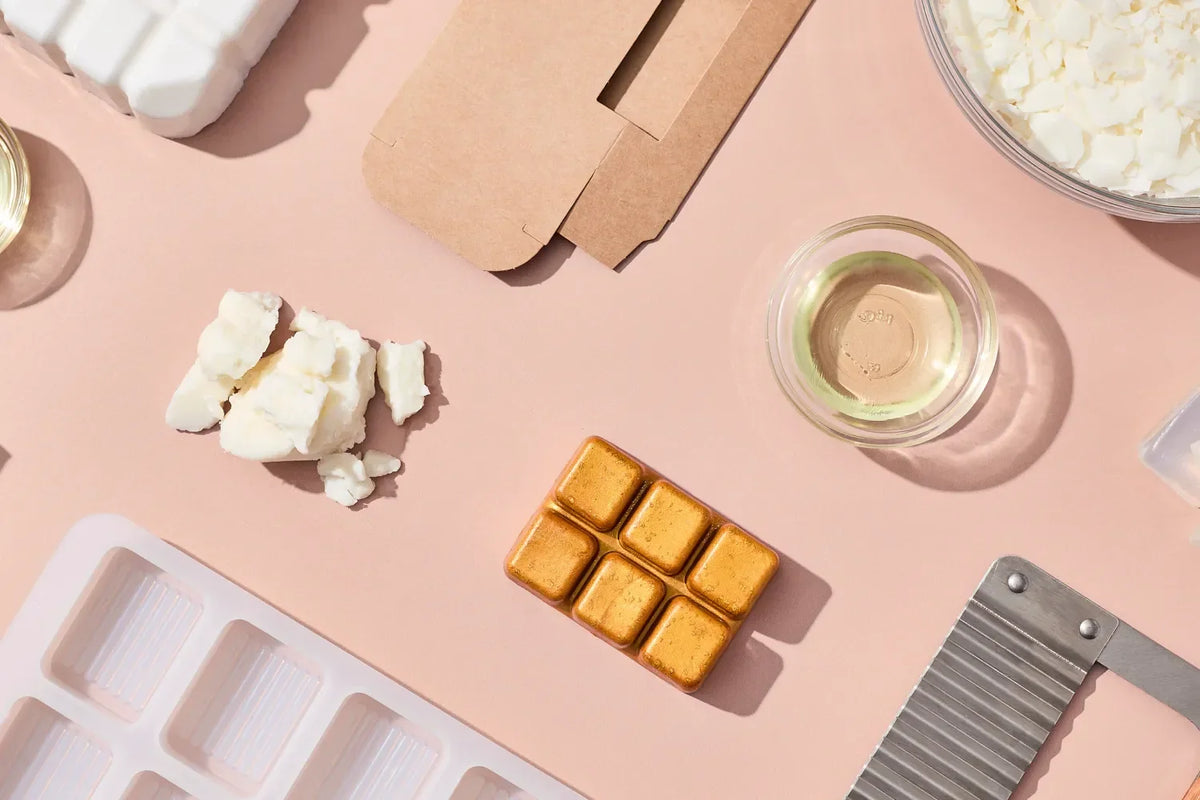
A reliable batch starts with the right tools on the counter before you measure a single ingredient. Build your kit around these essentials:
- Lye (sodium hydroxide): alkali that reacts with your oils to form soap. Buy soap-making grade only, and store it in a sealed, clearly labeled container away from children and pets.
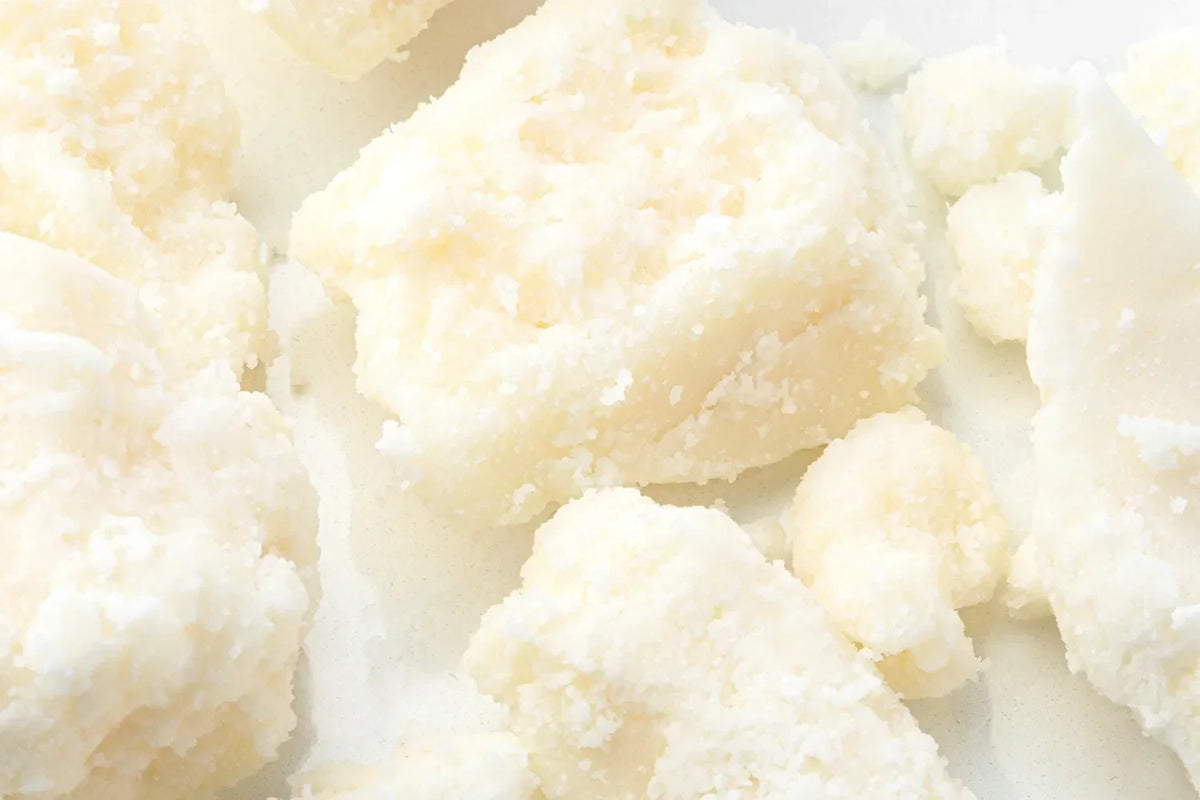
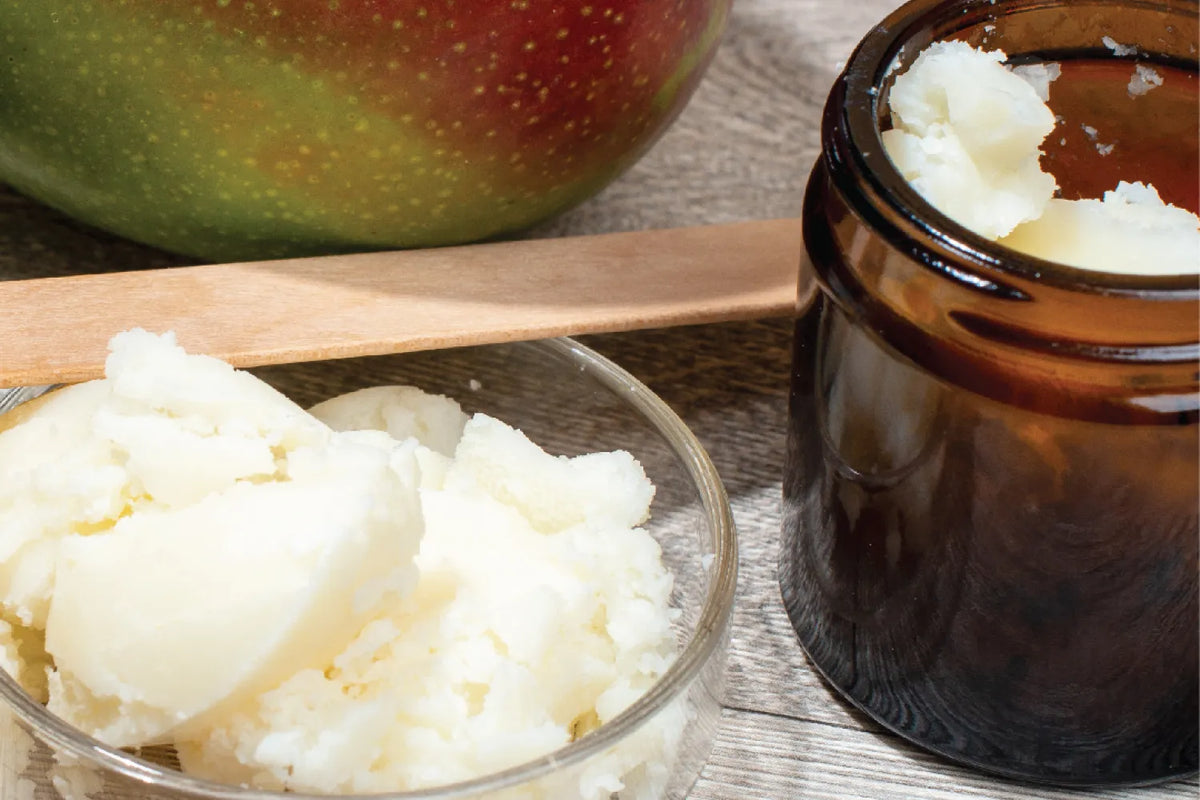
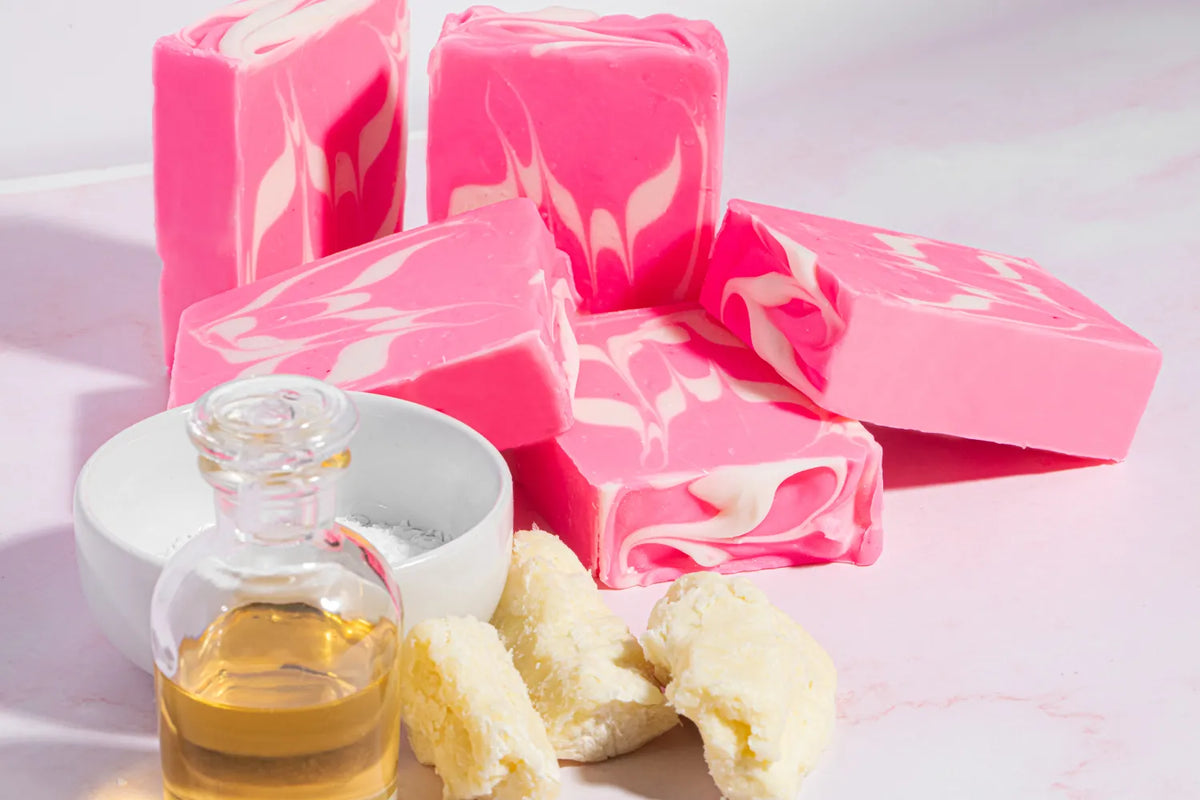
- Base oils and butters: See our guide to the best oils for soap making for how each one performs. A blend of hard and soft oils gives you lather, hardness, and conditioning in one bar.
- A digital scale: soap making is a weight-based craft. Measuring cups introduce error that a scale eliminates, and precision matters more once you’re formulating batches to sell.
- A stick blender: cuts your trace time from an hour of hand-stirring to a few minutes.
- Heat-safe containers: one for your lye solution, one for your oils, both large enough to prevent overflow.
- A soap mold: silicone or lined wood molds both release cleanly once the bars have set.
- Fragrance oils and colorants: optional for your first batch, but worth having on hand once you are ready to develop a signature scent or look.
- Safety gear: chemical-resistant gloves, safety goggles or a face shield, long sleeves, and closed-toe shoes. Lye solution is caustic and demands full coverage, every batch, no exceptions.
- A dedicated soap-making thermometer: confirms your lye solution and oils are in range before you combine them.
Keep this gear separate from your regular kitchen tools once it has touched lye. Before your first pour, run your recipe through our soap and lye calculator to confirm your lye amount is correct for the oils you chose.
How to Make Cold Process Soap, Step by Step
Once your supplies are staged and your workspace is ventilated and clear of pets and kids, work through these steps in order. For your first few batches, keep the size small, around 1 to 3 pounds of finished soap, so any mistake is easy to manage and cheap to repeat.
Measure Lye and Water
Run your recipe through a lye calculator first to confirm the exact amounts for the oils you chose, then weigh your water into a heat-safe container and weigh your lye separately. Always add the lye to the water, never the water to the lye. Stir until fully dissolved. The solution will heat rapidly, often past 150°F, and release fumes, so mix in a well-ventilated space and keep your face clear of the container. Set the solution aside to cool.
Melt and Combine Oils
Weigh your hard oils, such as coconut oil, and melt them gently. Add your liquid oils, such as olive oil, and stir until combined. Check the temperature of both your oil blend and your cooling lye solution. Most recipes call for both to sit in a similar range, generally around 90°F to 110°F, before you combine them.
Blend to Trace
Pour the lye solution into the oils and blend in short bursts with your stick blender, alternating with hand stirring to avoid overheating the mixture. Watch for trace: the point where the batter thickens enough to leave a visible trail on the surface when you drizzle it back in, similar to a light cake batter. Trace comes in stages. Light trace looks thin and pours easily, useful for swirled designs. Medium trace holds a soft mound and works well for most fragrances. Heavy trace is thick and spoonable, best reserved for recipes that call for it by name. Trace of any stage confirms saponification is underway and the batch is ready for fragrance and color. For a closer look at the chemistry behind this reaction, see the science of saponification.
Add Fragrance and Color
At light trace, mix in your fragrance oil and any colorants. Work quickly if your fragrance is known to accelerate trace, since some blends thicken the batter fast once added. Our guide to using fragrance in cold process soap covers how to plan for fast-moving scents before you pour.
Pour and Insulate
Pour the batter into your prepared mold, tap it to release air bubbles, and cover it. Insulating the mold for the first 12 to 24 hours holds in heat and supports a complete gel phase, which produces a more consistent bar.
Unmold and Cut
Once the soap has firmed, typically 1 to 3 days after pouring, unmold it and cut it into bars. Press a thumbnail lightly into a corner. If it holds a firm edge and does not stick, it is ready to cut. The soap will still feel slightly soft at this stage, and that is expected.
Cure for 4 to 6 Weeks
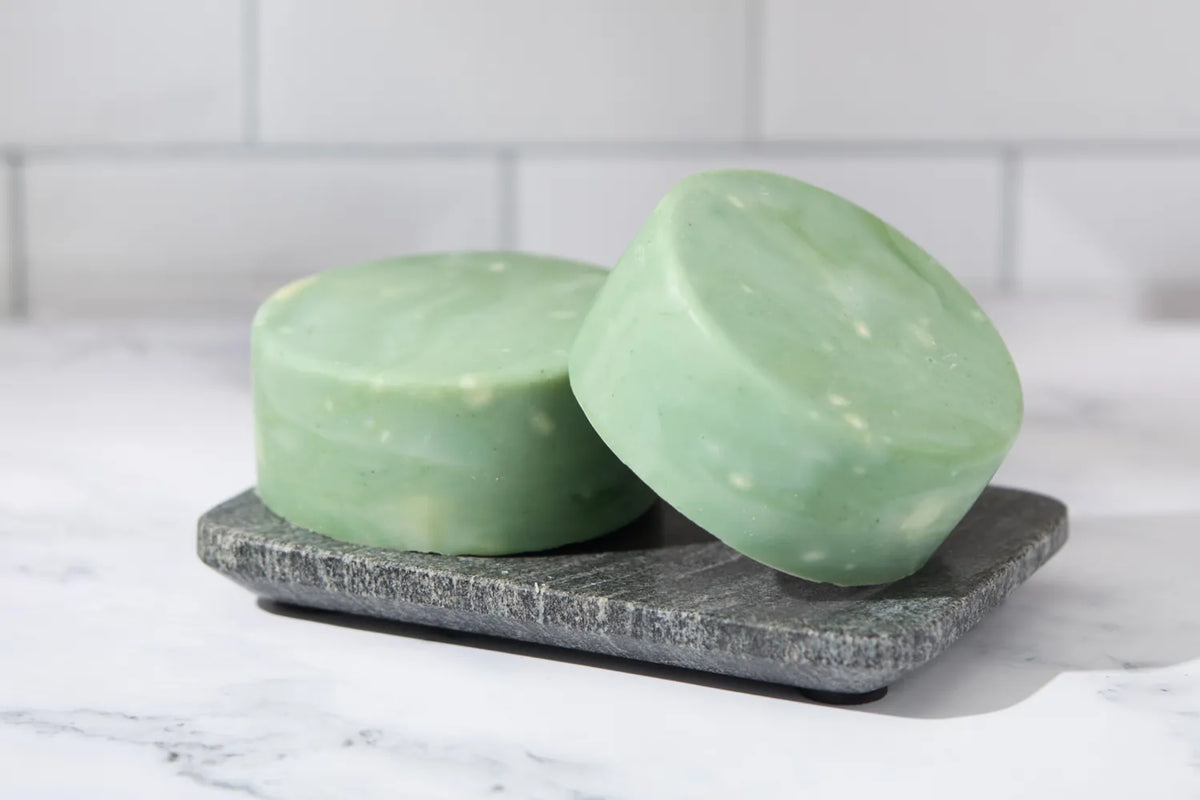
Set your bars on a rack in a cool, well-circulated space and let them cure for 4 to 6 weeks, flipping them occasionally for even airflow. During this time, excess water evaporates and the bars harden, producing a milder, longer-lasting bar with a finer lather. Skipping the cure produces a softer bar that dissolves faster and can still feel harsh on skin. Build the cure window into your production schedule from the start. If you plan to sell what you make, batching on a 6-week rotation keeps stock moving without rushing a bar out before it is ready.
Common Beginner Questions
New Makers tend to run into the same handful of questions on their first few batches. Here is what you need to know.
What does trace mean?
Trace is the point where your batter has thickened enough to leave a visible mark on the surface when drizzled back in. It signals that saponification has begun and the batch is ready for fragrance, color, and pour.
What is superfat, and why does it matter?
Superfat is the percentage of oil left unreacted with lye once saponification finishes, added on purpose to keep the bar gentle and moisturizing. A superfat around 5% is a practical starting point for new formulators, since it builds in a margin against natural variation between oil batches and keeps the finished bar from feeling harsh on skin.
Why does cold process soap need to cure?
Curing lets water evaporate and the bar's crystal structure finish forming. A cured bar lasts longer in the shower, produces a denser lather, and feels milder on skin than a bar used right after cutting.
How much lye does my recipe need?
Every oil has a different saponification value, so the correct lye amount changes with every recipe. Run your oil list and weights through a lye calculator before you mix. Guessing, or reusing an old ratio for a new oil blend, is the most common cause of a harsh or unstable bar.
Is there lye in the finished bar?
No. When measured correctly, the lye reacts completely with the oils during saponification, leaving soap, not lye, in the cured bar. That is the chemistry behind why cold process works as a skin-safe product when the recipe is followed.
What Can Go Wrong (and How to Avoid It)
Most first-batch problems track back to temperature, measurement, or a fast-moving fragrance. Soap that seizes turns thick and unworkable almost instantly, usually from a fragrance reacting badly with the batter. Soap that separates into oil and liquid layers usually means the batch was not blended long enough to reach a full trace. A white, powdery coating on the surface, known as soda ash, is cosmetic only and comes from unreacted lye meeting air; a light steam or a quick trim removes it. A soft bar that will not release from the mold often means the cure has not gone far enough, or the recipe carried too much liquid oil for the mold used. Each of these is fixable once you know the cause. For a full breakdown of causes and fixes, see our guide to troubleshooting cold process soap.
Frequently Asked Questions
Is cold process soap safe?
Yes, when made correctly. The lye reacts completely with the oils during saponification, leaving no lye in the cured bar, only soap. The risk sits in the raw lye solution during mixing, which is why gloves, goggles, protective clothing, and good ventilation matter every time you measure and blend, without exception.
How long until I can use it?
Plan on 4 to 6 weeks from pour to first use. That cure window lets excess water evaporate and the bar's structure finish setting, which produces a firmer, longer-lasting bar with a finer lather than one used straight out of the mold.
Do I need a stick blender?
You can hand-stir a batch to trace, but expect it to take up to an hour of steady mixing to get there. A stick blender cuts that down to a few minutes, saves your arm, and gives you more consistent results from batch to batch, which matters once you are formulating for resale.
What oils are best for beginners?
A solid starting formula pairs a hard oil, such as coconut oil, for cleansing lather with a soft oil, such as olive oil, for conditioning, rounded out with a smaller amount of a specialty oil or butter. Keep the superfat around 5% while you build confidence. See our guide to the best oils and butters for soap making.
Ready to Start Your First Batch?
You have the process. Now build your kit. Shop our website for lye, base oils, molds, and safety gear in one place, or start with a tested beginner recipe and make your first batch this week. Keep notes on every batch, oils, weights, fragrance, cure date, so your second batch improves on your first instead of starting from scratch. WSP has supported Makers building their own product lines for over 20 years, and we’re here with the ingredients and the guidance to back your next batch, and the one after that.