How to Make Soap: A Complete Beginner's Guide (Cold Process & Melt-and-Pour)
Soap making is a skill you can build at home, and you don’t need a lab or years of chemistry to start. Beginners choose between two paths: melt-and-pour, which uses a pre-made base and skips lye entirely, and cold process, which builds soap from raw oils and lye for full control over the finished bar.
Through this guide, you will learn how each method works, what supplies to buy, how to handle lye safely, and how to move from a single test batch to a repeatable process.
Both methods produce a real, sellable bar. The right one for you depends on how much control you want over the formula and how soon you need finished product in hand.
The Two Ways to Make Soap: Cold Process vs Melt-and-Pour
Melt-and-pour is ready to use the same day. Cold process starts with lye and raw oils and needs four to six weeks to cure. Melt-and-pour is faster and simpler for a first batch. Cold process gives you full control over ingredients, texture, and formulation once you’re ready for it.
To go deeper on either path, see hot process vs cold process soap and how to choose a melt and pour base.
Which Method Should You Start With?
-
Testing the waters: start with melt-and-pour. You will see a finished bar the same day and know quickly whether soap making holds your interest.
-
Selling within a few weeks: start with melt-and-pour. Cold process bars are not sellable during the four to six week cure, so timeline matters if you have a market or event coming up.
-
Building a proprietary product line: go straight to cold process. You control the exact oil blend, hardness, and lather, which is what sets a bar apart from a base every other maker can buy.
-
Managing cost per bar: cold process typically costs less per bar once you are comfortable with the process, because you are buying raw oils instead of a formulated base.
Is It Hard to Make Soap? What Beginners Should Know
Making soap is not hard, but it rewards attention. Melt-and-pour takes about an hour, most of it spent waiting for the base to set. Cold process takes 30 to 45 minutes of active work, plus weeks of curing before the bars are ready to sell. Neither method requires special certification or a commercial kitchen for a first batch, though local rules apply once you start selling regularly.
The biggest hurdle for new makers is not the process; it is the lye. Sodium hydroxide is caustic before it reacts with oil, and it demands gloves, eye protection, and a well-ventilated space every time you use it. Mix lye and water outdoors or near an open window, keep pets and kids out of the workspace, and never leave a lye solution unattended while it cools. Follow that discipline and cold process becomes a repeatable skill instead of a one-time experiment.
See Lye Safety: How to Handle Lye for Soap for the full breakdown before you mix your first batch.
The Supplies You Need to Make Soap
WSP's Beginner Starter Kit
For a first cold process batch, sized for a standard 2 lb loaf mold:
-
2 lbs total oils and butters, using the beginner blend below
-
Sodium hydroxide lye, exact amount from the lye calculator
-
Distilled water
-
Digital scale accurate to 1 ounce.
-
Stick blender and two heatproof containers
-
Instant read thermometer
-
Loaf mold with liner
-
Gloves, goggles, and long sleeves
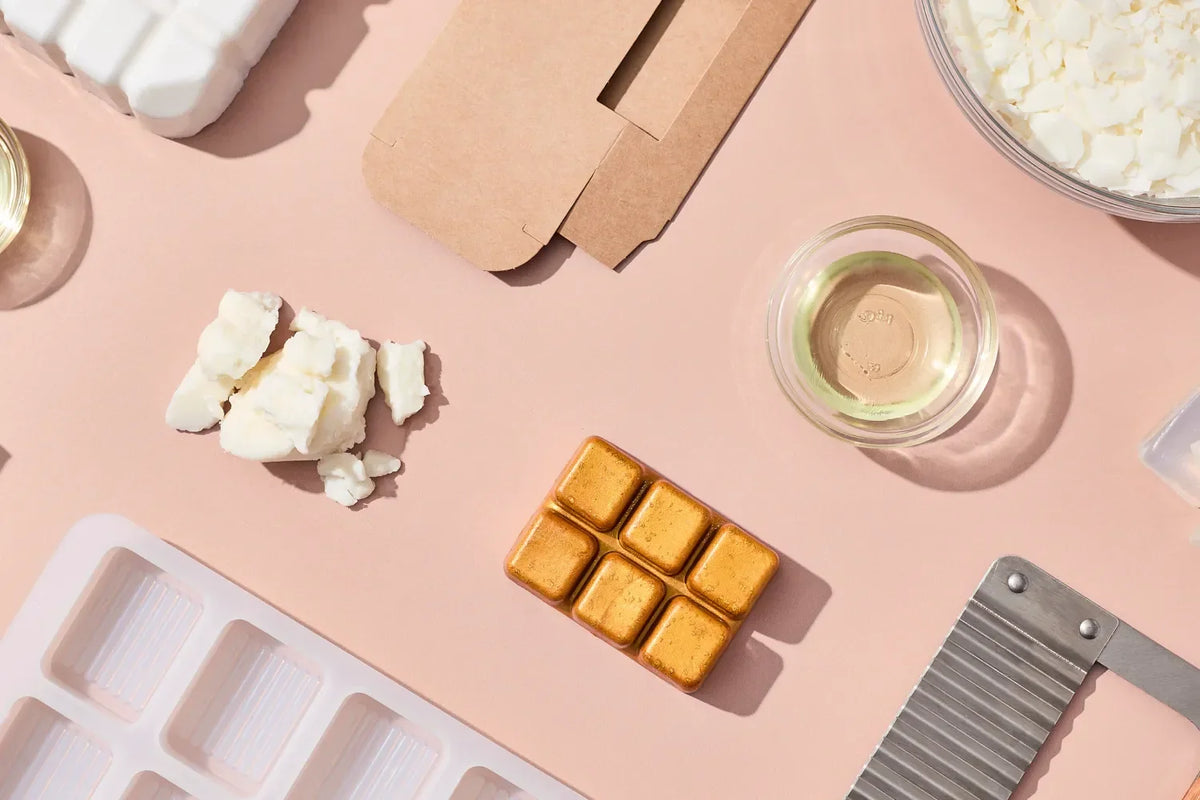
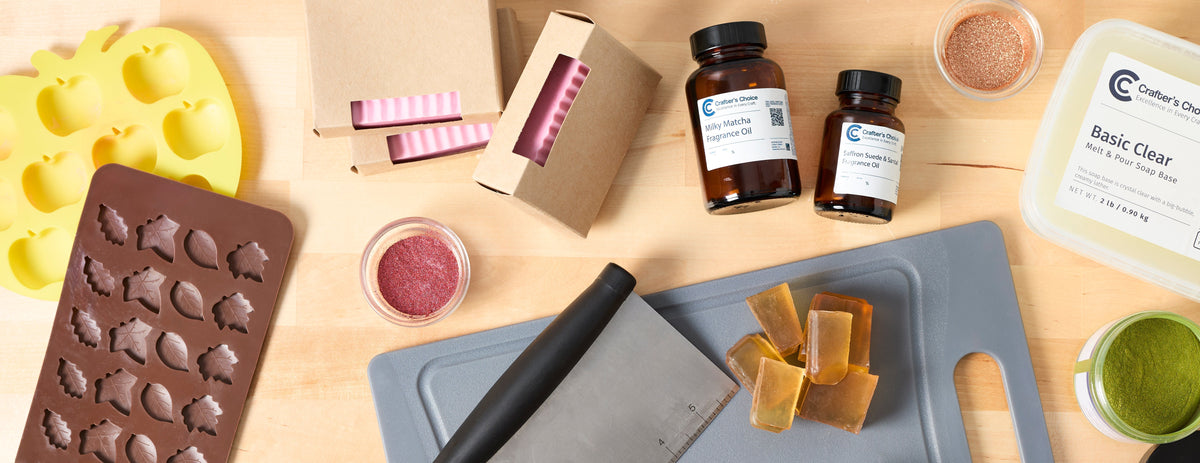
For a first melt-and-pour batch, sized for a 6 cavity silicone mold:
-
2 lbs melt-and-pour base, any type
-
Heatproof measuring pitcher
-
Fragrance oil formulated for melt-and-pour
-
Mica or liquid colorant
-
Rubbing alcohol in a spray bottle
-
Silicone mold
Most of this equipment does double duty in the kitchen, but keep soap tools separate once lye touches them. A dedicated set for soap making avoids any cross contamination with cookware.
How to Make Cold Process Soap (Step-by-Step Overview)
This is the condensed version. Follow a tested recipe and run it through a lye calculator before you start.
-
Weigh your oils, water, and lye precisely with a digital scale.
-
Add lye to water, NEVER water to lye, and stir until fully dissolved.
-
Bring your oils and lye solution to a compatible temperature, typically 90 to 100°F.
-
Combine the lye solution into the oils and blend to trace.
-
Add fragrance and colorant once you reach a light trace.
-
Pour into your mold and insulate for 24 to 48 hours.
-
Unmold and cut into bars.
-
Cure for 4 to 6 weeks in a well-ventilated space, turning the bars occasionally.
For full measurements, safety steps, and troubleshooting, see cold process soap making: getting started, the science of saponification, and troubleshooting cold process soap.
How to Make Melt-and-Pour Soap (Step-by-Step Overview)
-
Cut your melt-and-pour base into cubes.
-
Melt in a double boiler or microwave in short bursts of 30 seconds, stirring between each.
-
Add fragrance oil once the base cools slightly, then add colorant.
-
Pour into your mold and spritz with rubbing alcohol to remove air bubbles.
-
Let set at room temperature for 1 to 2 hours.
-
Unmold. The soap is ready to use or sell.
See how to choose a melt and pour base and what's in melt and pour soap base for more on formulation, and how to color soap for mica, oxide, and clay options.
Choosing Your Ingredients (Oils, Butters, Additives)
Different oils bring different properties to a bar of soap. Olive oil produces a gentle, conditioning bar with a dense lather. Coconut oil brings big, bubbly lather and cleansing power, used in moderation to avoid a drying bar. Palm oil, or a palm-free alternative, adds hardness and a stable lather structure. Castor oil boosts lather stability in small amounts, and sunflower or sweet almond oil add extra conditioning for a milder bar.
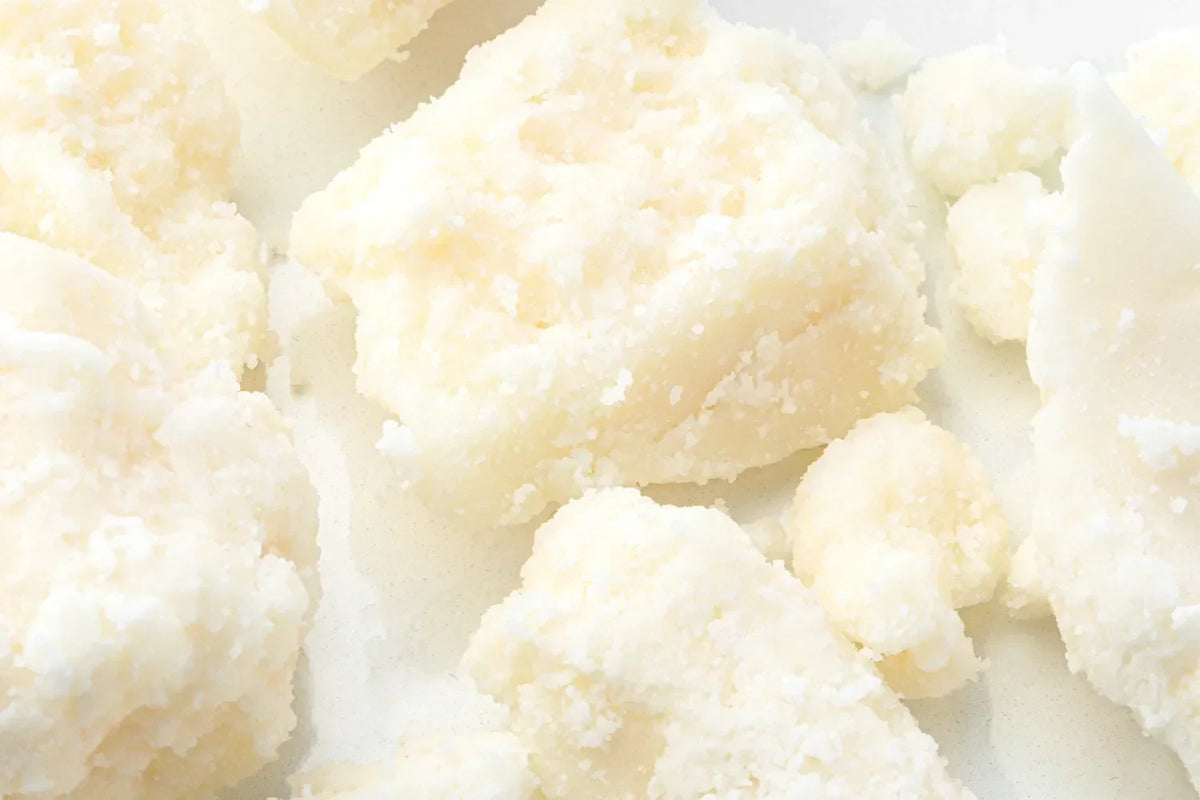
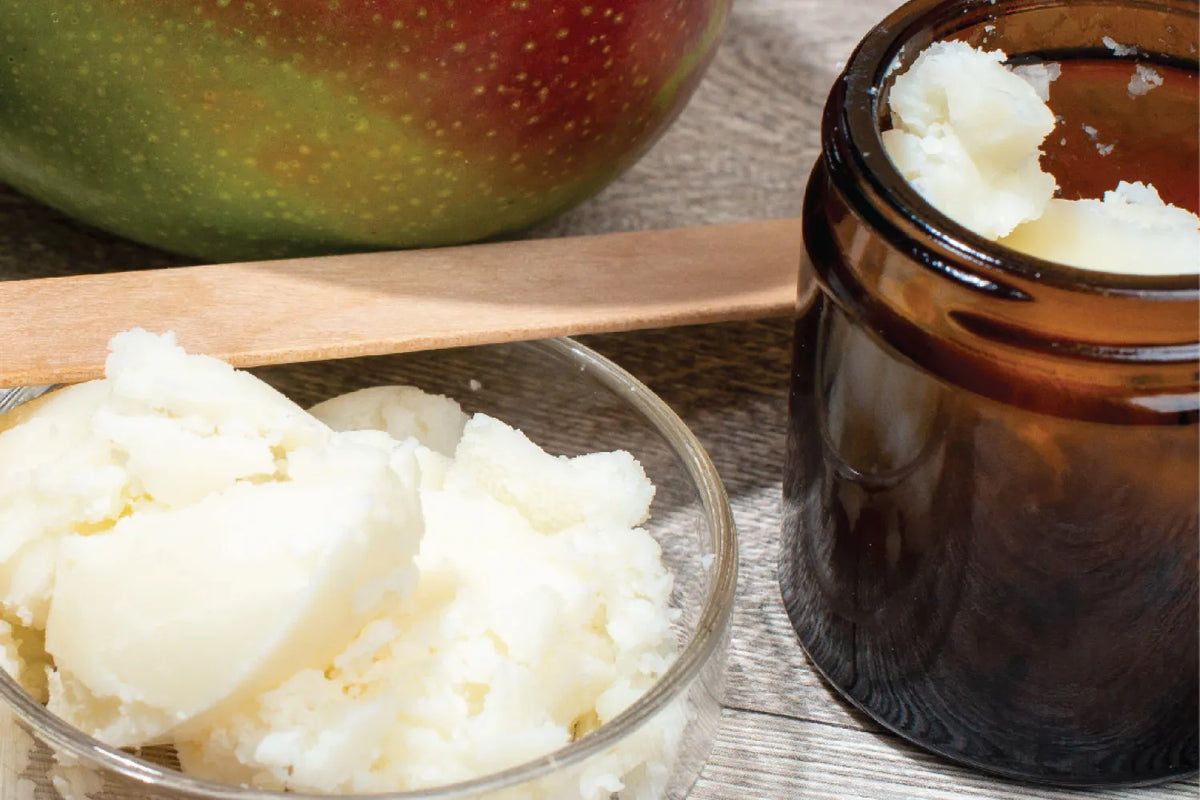
Butters like shea butter and cocoa butter add richness and moisturizing properties without changing the lather much. Mango butter and kokum butter work similarly, each with a slightly different melting point and skin feel.
Additives change performance beyond the oil blend. Kaolin clay adds slip and a silky finish. Sodium lactate makes bars harder and easier to unmold, which matters once you are producing in volume.
Every oil contributes to the finished bar in a measurable way. Small changes to a blend shift hardness, lather, and how long a bar lasts in the shower, so track what you change between batches.
For a side-by-side comparison of how each oil and butter performs across hardness, lather, and conditioning, see the soap oil and butter properties chart and best oils and butters for soap making before you finalize a recipe.
Coloring and Scenting Your Soap
Color and scent move a bar beyond just being functional. Micas, oxides, and clays behave differently in cold process and melt-and-pour, and some fragrance oils accelerate trace or fade over time. See how to color soap for which colorant works with which method, and using fragrance in cold process soap before you commit a fragrance to a full batch.
Test any new fragrance or colorant in a small batch first. What performs well in melt-and-pour does not always translate to cold process, and a fragrance that smells strong in the bottle can fade after curing.
Micas can bleed or morph in cold process, where high pH and heat during gel phase change the color you started with. Oxides and clays hold color more predictably in cold process, while micas are more reliable in melt-and-pour since the base does not go through the same chemical reaction. Note every colorant and fragrance combination that works, so results stay consistent from batch to batch.
Curing, Safety, and Selling
Cold process soap needs four to six weeks to cure. Curing lets excess water evaporate, which makes the bar harder, longer lasting, and gentler on skin. Melt-and-pour skips this step because the base is already fully saponified before you buy it.
Store curing bars on their sides with airflow between them, out of direct sunlight and away from humidity. A fully cured, correctly made bar contains no leftover lye, because saponification converts it into soap and glycerin during the cure.
If you plan to sell what you make, curing time is not optional, and neither is labeling. See Lye Safety: How to Handle Lye for Soap for handling guidance and labeling and selling handmade soap for what your ingredient list, weight, and warnings need to include before a bar goes on a shelf.
Keep a batch record for every recipe: oils, lye, water, fragrance percentage, and cure date. Consistency is what turns a good bar into a repeatable product, and buyers expect the same bar every time. A batch record also makes it easier to troubleshoot if a future batch does not turn out the way you expect.
Handmade soap is a growing category for makers building a real product line. The market was valued near $168 million in 2024 and is projected to top $300 million by 2034, growing roughly 6 percent a year (Market.us). Natural and organic personal care overall is expected to grow from about $34 billion in 2025 to $76 billion by 2035 (Future Market Insights). Makers who build a repeatable process now are positioned to grow with the category.
Ready to Start?
Soap making rewards makers who treat it as a process, not a one-time project. Start with melt-and-pour for a fast, lye-free first batch, or go straight to cold process if full formulation control is the goal. Either way, the fundamentals stay the same: accurate measurements, proven ingredients, and a repeatable method you can scale.
The details in this guide, from the starter kit to the beginner oil blend, are the same fundamentals WSP builds into every product we carry. Once your first batch is cured and cut, the next step is refining a recipe you can repeat with confidence.
Shop WSP's soap-making supplies to get everything you need in one place and browse our beginner soap recipes to put this guide into practice.
FAQ
Is it hard to make soap?
No. Melt-and-pour requires no lye and takes about an hour. Cold process takes more precision because you work directly with lye, but the process is straightforward once you follow safety steps and measure accurately. Most beginners produce a usable bar on the first attempt.
Do I have to use lye?
Only for cold process soap. Melt-and-pour bases are already saponified, so no lye is needed. If you want full control over your recipe's ingredients and hardness, cold process is the method to learn, and it does require handling lye safely.
What's the difference between cold process and melt-and-pour?
Melt-and-pour uses a pre-made base, skips lye, and is ready the same day. Cold process builds soap from raw oils and lye, giving you full control over the formula.
How long does soap take to cure?
Cold process soap cures for four to six weeks. This lets excess water evaporate, which hardens the bar and makes it milder on skin. Melt-and-pour soap does not require curing because the base is fully saponified before you buy it.
Is homemade soap safe?
Yes, when made correctly. A fully cured, correctly formulated bar contains no leftover lye, because saponification converts it into soap and glycerin. Measure lye and oils precisely, verify your recipe with a calculator, and follow proper safety gear guidelines.