Hot Process vs Cold Process Soap: How to Choose
Both methods start with the same lye and oil reaction. The difference is heat, and that difference changes what happens next: how soon you can sell, how the bar looks, and which fragrance oils perform well. Cold process relies on residual heat to finish saponification gradually over several weeks, which gives you time to swirl, layer, and design before the batter fully sets. Hot process applies direct heat to drive that same reaction to completion in the pot, so the soap is fully saponified and usable almost immediately.
For a Maker building a soap line, that difference carries real business weight. It affects how much cure space you need, how fast you can turn inventory, and how consistently your fragrance performs batch to batch. Neither method is more advanced than the other. They are built for different priorities, and the right choice depends on what your line needs in the moment. The sections below break down where the two methods diverge and how to decide based on what you are making and selling.
What Is Hot Process Soap?
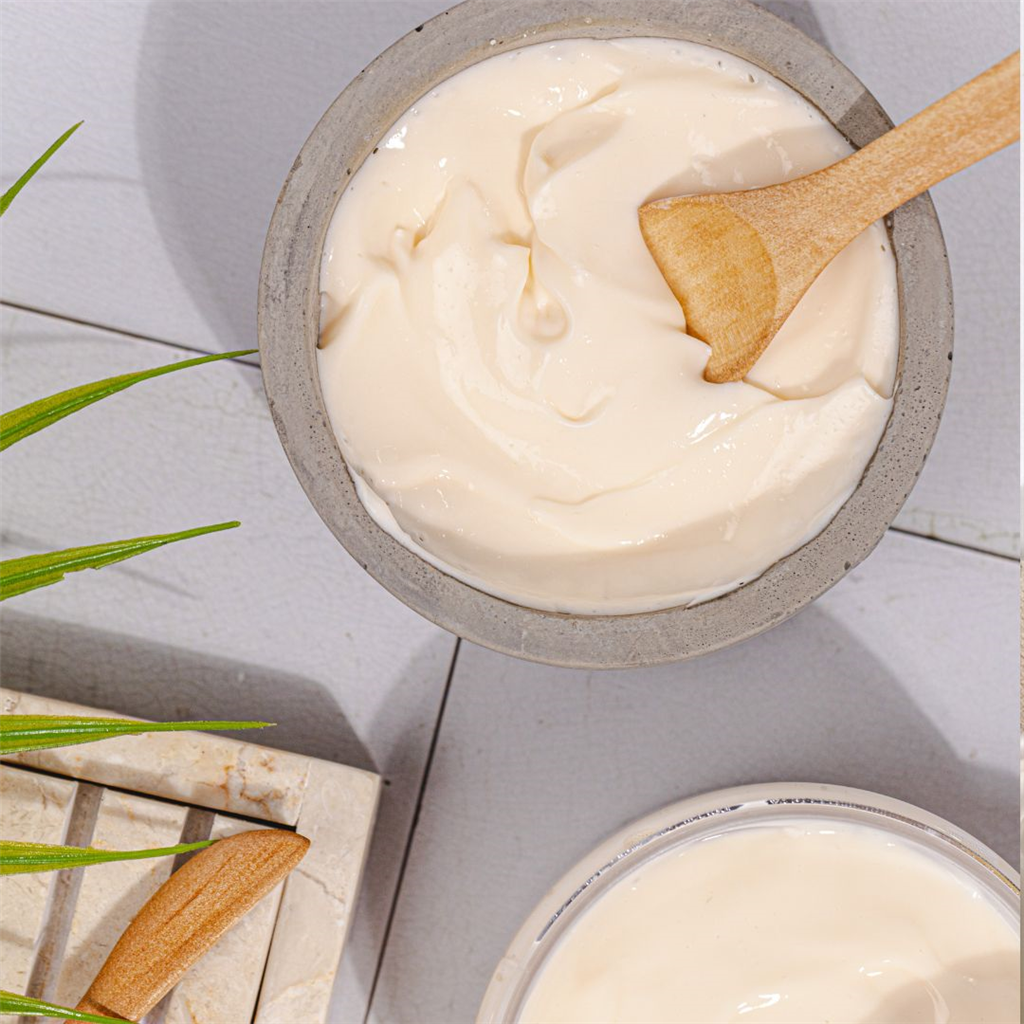
Hot process soap making uses applied heat, typically a slow cooker, double boiler, or oven, to push the saponification reaction to completion during the cook rather than over weeks of curing. You combine lye water with oils and butters the same way you would for cold process. The batter is brought to trace, then held at a steady simmer through gel phase until it turns glossy, translucent, and thick, a stage most Makers describe as looking like applesauce or mashed potatoes. Once the batter reaches that stage, the reaction is essentially finished, the pH has dropped into a usable range, and the soap can be scented, colored, molded, and unmolded within the same session.
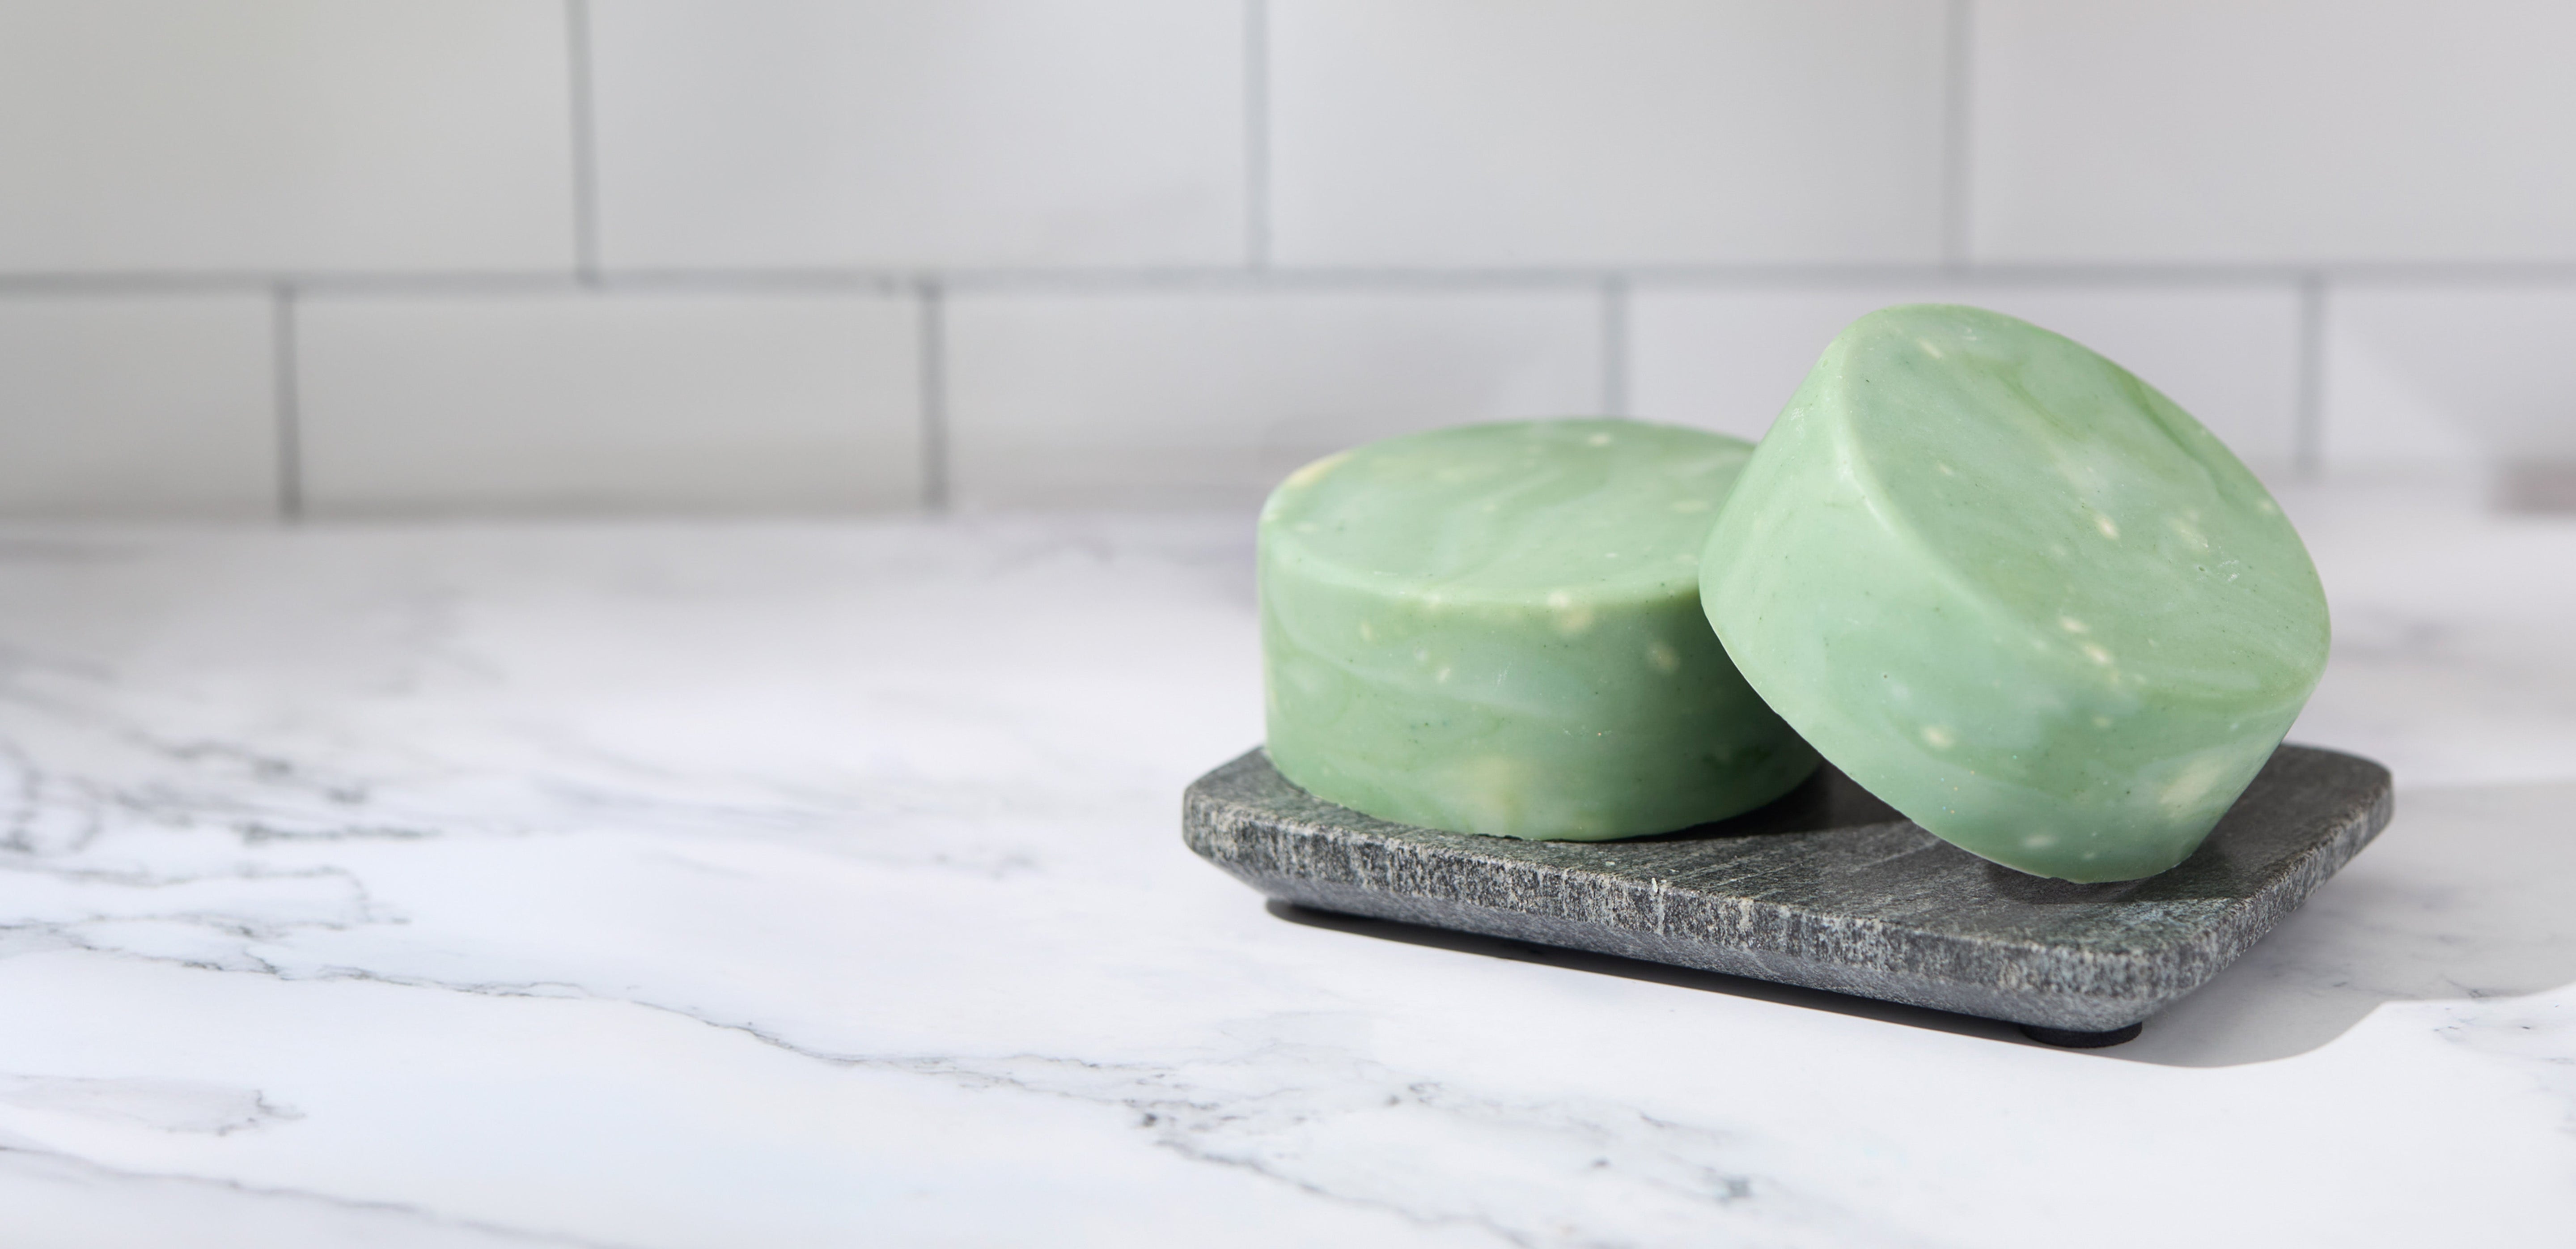
This is why Makers reach for hot process when speed and consistency matter more than a flawless surface. Because the cook forces gel phase every time, hot process batches behave more predictably than cold process, which depends on insulation and room temperature to gel correctly on its own. The tradeoff shows up in texture. Cooked batter is thicker and less pourable, so hot process bars typically have a rougher, more rustic surface with visible texture instead of the smooth, glossy finish cold process produces.
The equipment overlaps with cold process almost entirely. You need the same scale, stick blender, and lye-safe containers. The one addition is a dedicated heat source, most often a slow cooker reserved for soap making, though a double boiler or a low oven works too. That small equipment shift is what unlocks the speed and consistency hot process is known for.
Hot Process vs Cold Process: Side by Side
Both methods rely on the same core chemistry. Where they split is heat, timing, and the finished look.
The cure time gap is the biggest business consideration. Cold process ties up mold and shelf space for over a month before a bar can be sold. Hot process frees that inventory in days, which matters if you are filling a market schedule. The design gap runs the other way. Cold process's longer working time at trace supports fine swirls and smooth tops that cooked hot process batter cannot replicate. Difficulty is not about which method is harder, it is about which set of skills you would rather manage: watching heat and gel phase, or controlling trace and timing.
When to Choose Hot Process
Choose hot process when turnaround speed drives the decision. Because the reaction finishes in the pot, bars are ready to cut, cure briefly, and ship far sooner than cold process allows. The rustic, textured surface also suits rugged or natural-branded lines where a hand-cooked look is part of the appeal rather than a flaw to hide.
Fragrance behavior is where hot process earns its keep. Because scent is added after the cook instead of during trace, fragrance oils that accelerate, rice, or discolor in cold process often behave far more predictably in hot process. Vanillin-heavy fragrances, for example, still darken the bar over time but cause fewer working problems since they are stirred in once saponification is already complete. The exception is delicate top notes: citrus and light florals can flatten under sustained simmer heat, so it pays to test a small batch before committing a full one.
Two additives make hot process easier to manage at scale. Sodium lactate, added to the lye solution before mixing, produces a harder, more fluid bar and loosens up the thick cooked batter enough to pack smoothly into a mold. And choosing fragrance oils specifically rated for hot process, rather than assuming any fragrance will hold, keeps scent throw consistent from batch to batch. Both are worth stocking if hot process is part of your regular production.
A slow cooker set aside for soap making earns its keep quickly. So does an oven thermometer if you cook in the oven, since gel phase depends on holding a steady temperature rather than guessing at it. Stocking a small range of hot-process-rated fragrance oils alongside your regular line gives you a reliable option whenever a favorite scent turns out to be too fast or too fussy for cold process.
When to Choose Cold Process
Choose cold process when the finished look needs to be smooth, layered, or intricately swirled. The extended working time at trace gives you room to pour clean layers, drag in-mold swirls, and hold fine detail that cooked hot process batter simply cannot hold. For market bars, gift sets, or any product where the visual is the first thing a customer notices, that design freedom is the deciding factor.
Cold process also suits Makers who are building a repeatable production schedule around a longer cure. If you already plan inventory 4 to 6 weeks out, the cure time is a scheduling detail rather than a limitation, and techniques like hanger swirls, funnel pours, and in-mold layering are only possible because the batter stays workable long enough to manipulate. For a deeper walkthrough of the method itself, see our guide to cold process soap making, and for fragrance oils that behave well at trace, our tips on fragrance behavior in cold process soap cover which scents to trust and which to test first. If a batch does not go as planned, our cold process troubleshooting guide covers the most common fixes.
How to Make Hot Process Soap: A Quick Method
This condensed version covers the crockpot method most Makers start with.
1. Weigh your oils, butters, lye, and water accurately, and gear up with goggles and gloves before mixing.
2. Mix the lye solution, combine it with your melted oils and butters, and blend to a light trace.
3. Transfer the batter to a slow cooker set on low heat and cover.
4. Cook through gel phase, checking every 15 minutes and stirring gently to redistribute heat. The edges will turn translucent first, then the center follows. This typically takes 45 to 60 minutes depending on batch size and heat source.
5. Confirm the batch is done when the batter looks glossy and thick, similar to applesauce or mashed potatoes, with no cloudy streaks remaining.
6. Let the batter cool slightly, then stir in fragrance oil, sodium lactate if using, and colorant. Work quickly, since cooked batter firms up faster than raw batter at trace.
7. Pack the mixture firmly into your mold since it will not self-level on its own, pressing out air pockets as you go. Let it cool completely, then unmold within 24 hours and use within a few days once fully cooled.
FAQ
Does hot process soap need to cure?
Not the way cold process does. Saponification is complete by the end of the cook, so hot process bars are safe to use within a day or two. A short 1-to-2-week rest still helps: it allows extra moisture to evaporate, producing a slightly harder, longer-lasting bar.
Which method is easier for beginners?
Hot process gives more immediate feedback since you can watch saponification happen and confirm the reaction is finished. Cold process demands more precision with trace and timing, but its longer working window makes it easier to correct design mistakes before the pour sets.
Does fragrance survive hot process?
Fragrance oils rated for high heat hold up well, since they are added after the cook rather than during trace. Delicate florals and citrus top notes can fade under sustained heat. Choosing fragrance oils formulated for hot process keeps scent throw consistent from batch to batch.
Can you swirl hot process soap?
Yes, though the technique differs from cold process. Thick, cooked batter supports spoon swirls, drop swirls, and layered color rather than the fine in-mold pours cold process allows. Adding sodium lactate can loosen the batter enough for smoother color blending before it sets.
Ready to Start Your Next Batch?
WSP carries what both methods need to perform consistently: reliable lye, oils and butters formulated for predictable saponification, sodium lactate for cleaner hot process pours, and fragrance oils tested for heat stability. If you are still deciding, start with a small batch of each using the same recipe and compare the results side by side. Most Makers end up keeping both methods in rotation, choosing hot process for speed and cold process for design. Shop our soap making supplies and browse our cold process soap recipes to put either method to work in your next batch.